


Tiger In Normandy -44
by Stefan Carlsson
Historical background:
This unit was formed 22 October 1943 from a Tiger battalion that was intended for the II. SS-Panzer Corps.
At the beginning of June the unit was in Oldebroek in Holland. It was not ready for combat since many men were detached from the unit. The majority of the tank drivers had been sent to Paderborn in Germany for training. Similarly the majority of the radio operators had been sent away. Also 70 technician had been sent away for training. They were all scheduled to return to the battalion on 15 June. After that date exercises with in platoon and company formations could be initiated. The battalion commander estimated that his unit would be combat ready on 15 July.
Despite the battalion commanders estimate that the battalion was not combat ready until mid July, it was ordered to transfer to Normandy in June. On 22 June, eight trains had departed, six of them had reached the area around Paris. One day later, three trains had unloaded west of Paris. The rail transport took several days, it was not until 2 July that the last train was unloaded (at Versailles).
After having unloaded from train at Paris, the battalion had to drive the Tigers to Normandy. During July the battalion was with II. SS-Panzer Corps, usually as a substitute for the missing Panther battalion in Frundsberg (10. SS-Pz.Div.). It seems that the battalion first went into action on 9 July.25
Until 31 July the battalion lost three Tigers (complete write-offs). At the beginning of August the battalion was still with the II. SS-Pz.Korps but on 9 August it was sent to the area north of Falaise.
It fought successive actions at Espins, Martainville, Falaise and Necy until 18 August. During the retreat from the Falaise pocket the battalion seem to have lost most of its tanks. Several damaged Tigers were lost when they had to be blown up on 24 August during the retreat to the Seine.
The unit was sent back to Germany for re-equip with the new King Tiger tank but that never happend because of shortage of tanks.
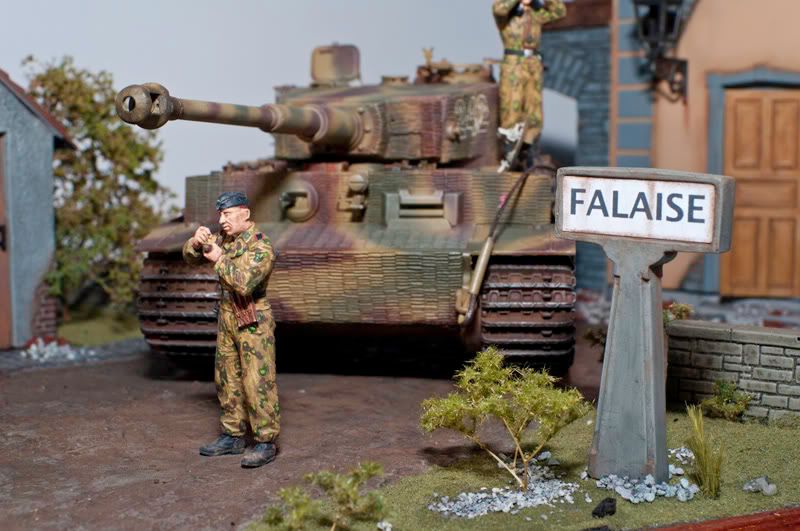
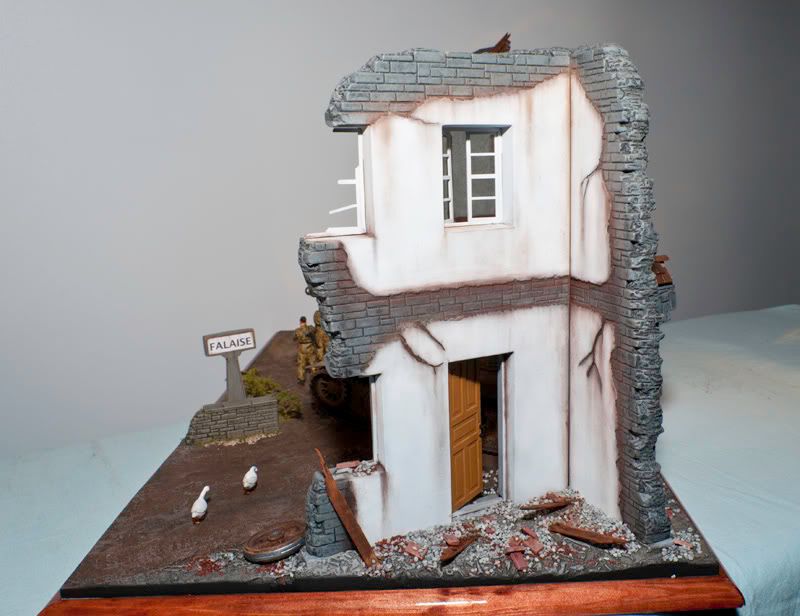
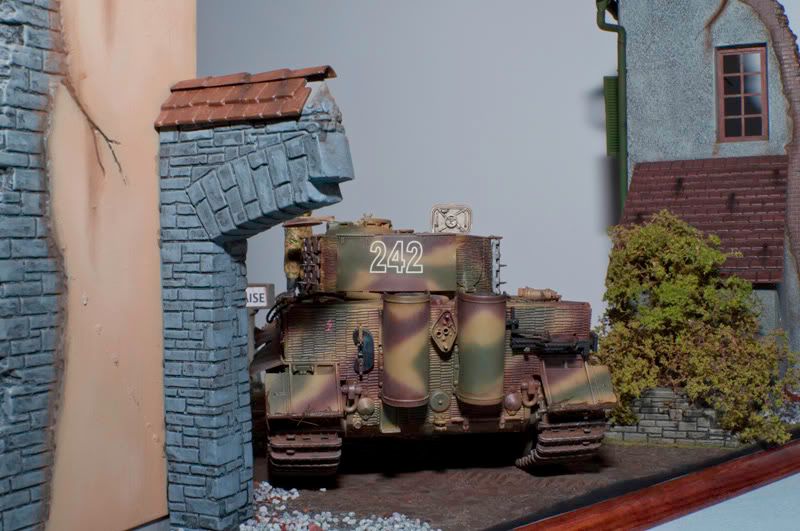
So my idea with this diorama was to illustrate a Tiger tank from the 102:nd unit
in August -44 that has stop in the village of Falaise to drew up plan a for a counterattack.
Facts about the build:
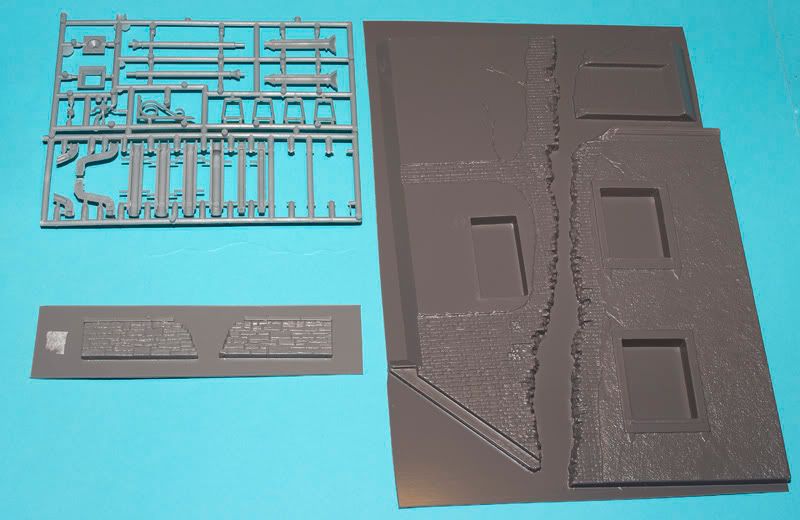
Kits: MiniArt 1/35 Normandy Cross Roads Diorama #36019
Dragon 1/35 Tiger I Late Prod #6383
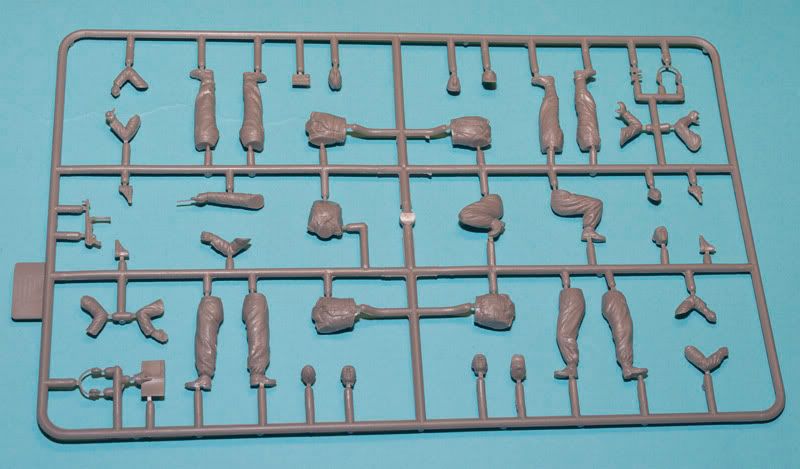
Zvezda 1/35 German Tank Crew 1943-45 #3614
Paint: Tamiya, Vallejo, Lifecolor
Wash and Pigments: ProModeller, various oil colors
Varnish; Vallejo Acrylic Flat Varnish
Scenic material: Woodland Scenics
So on with the box and sprue shoots:
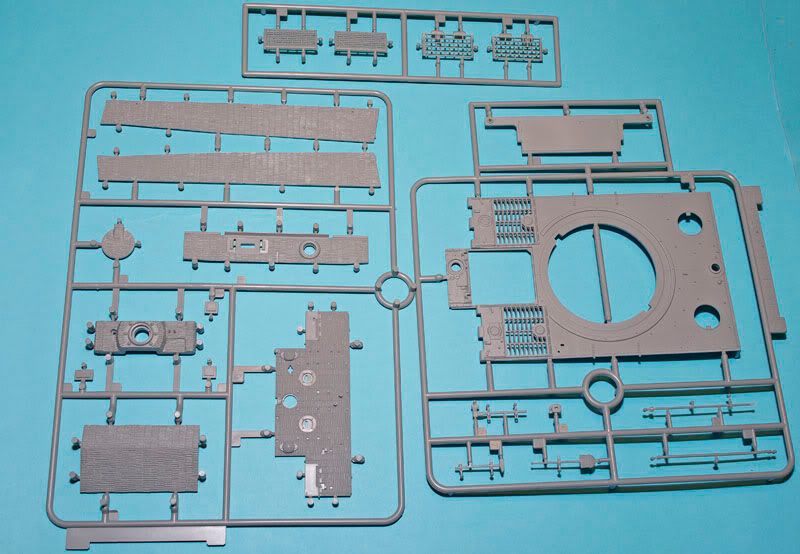
The Tiger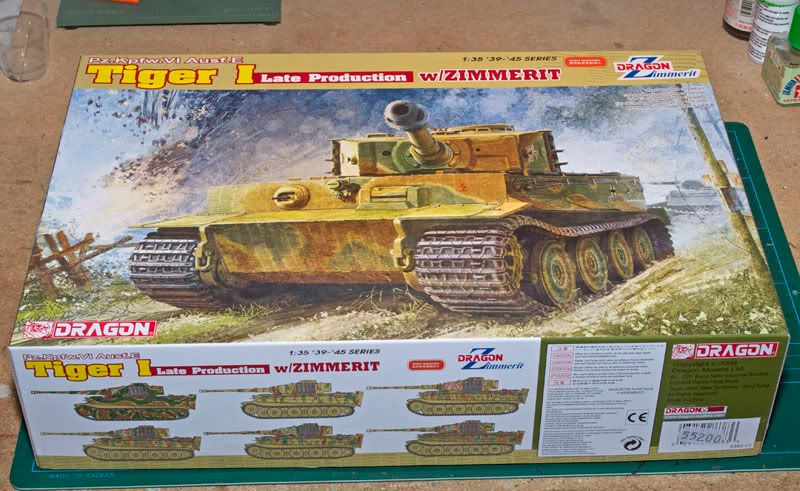
The Dragon kits may seems expensive but they really comes with all the extra
parts you can wish for.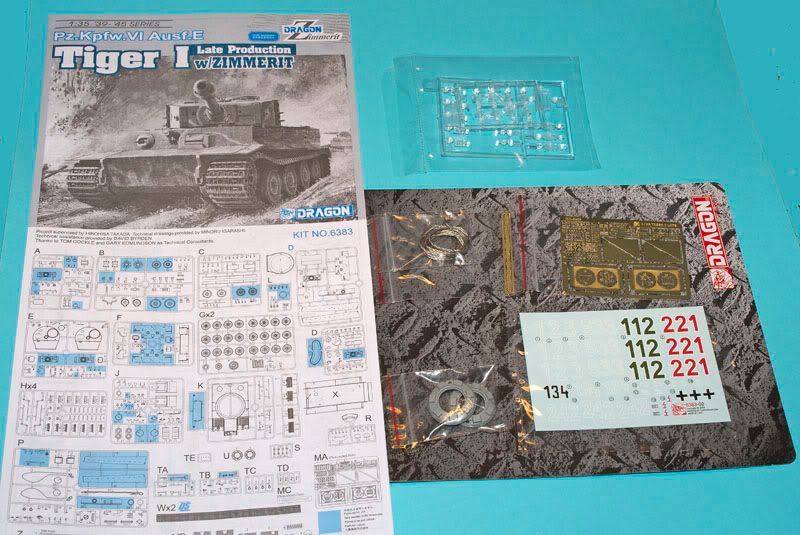
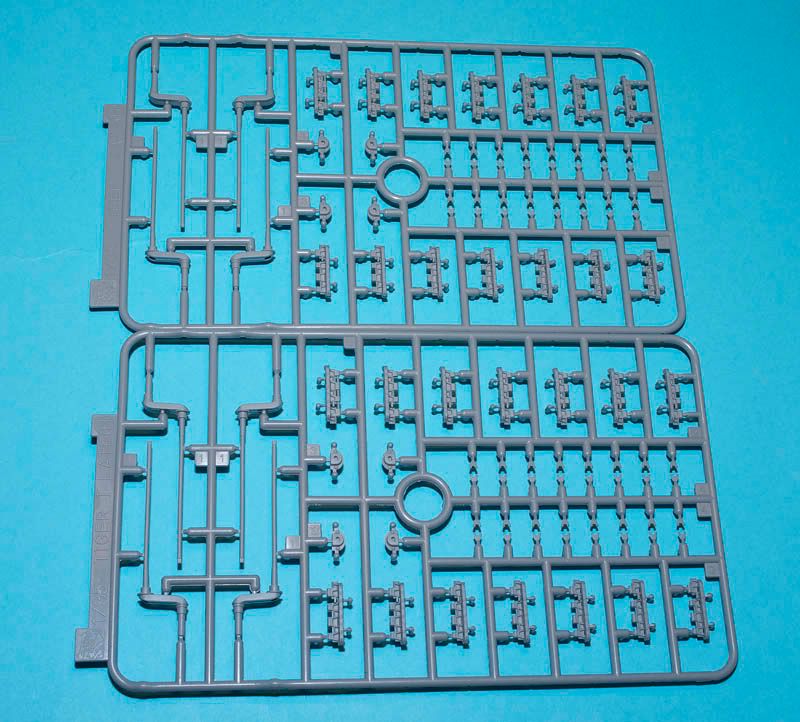
The tracks is one piece and I have preferred the Magic Tracks but the details on these seems very nice so we will see how they looks
when the paint is on.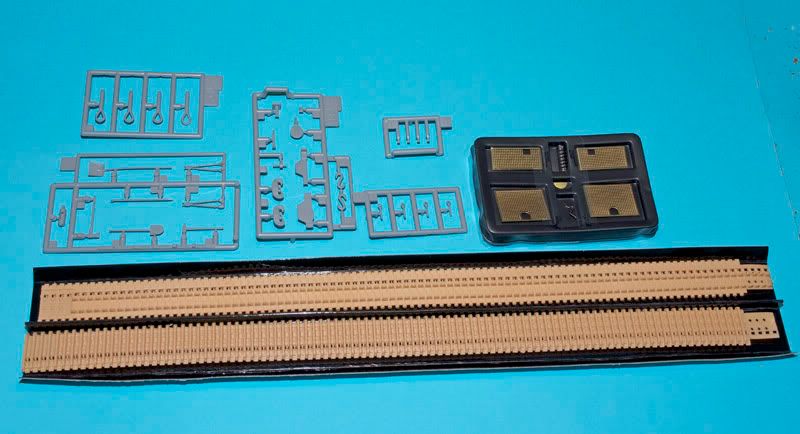
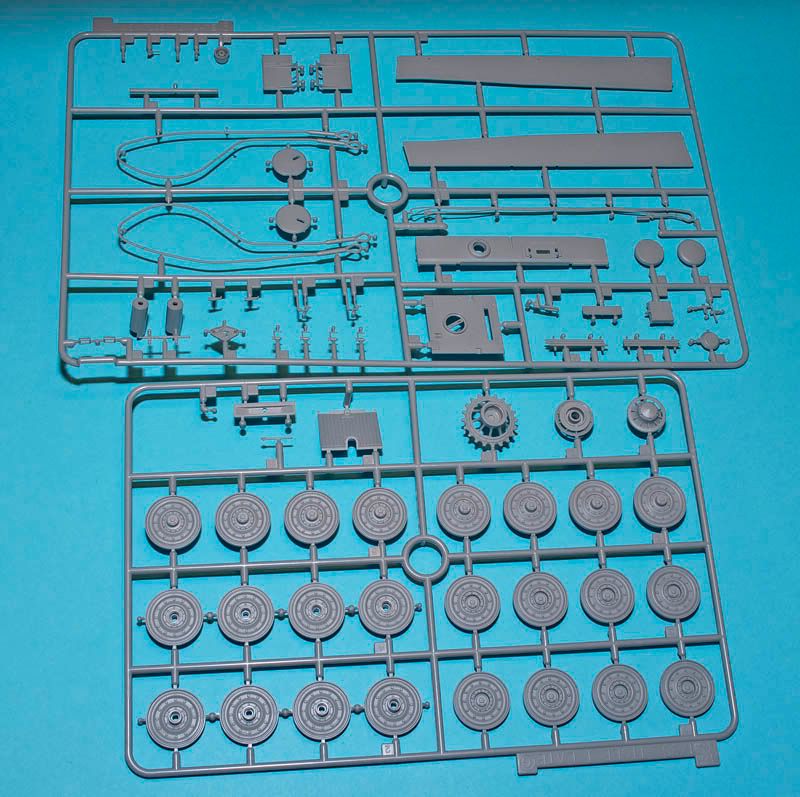
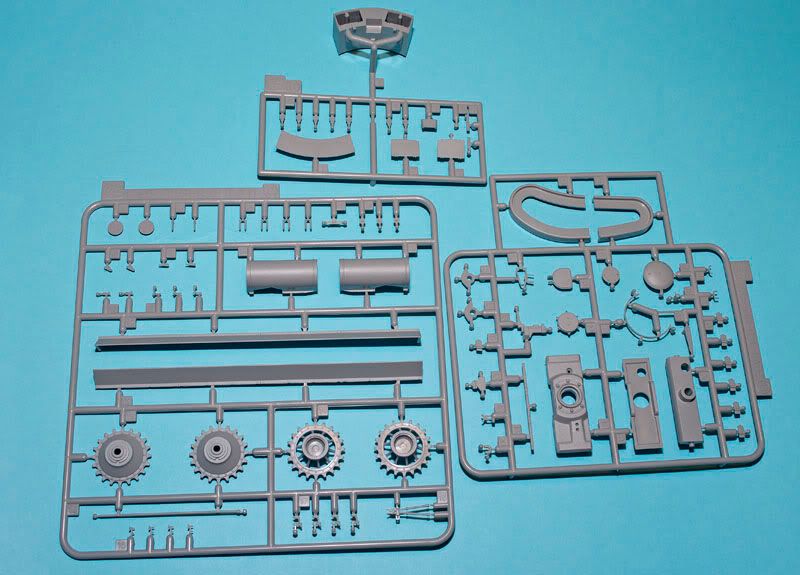
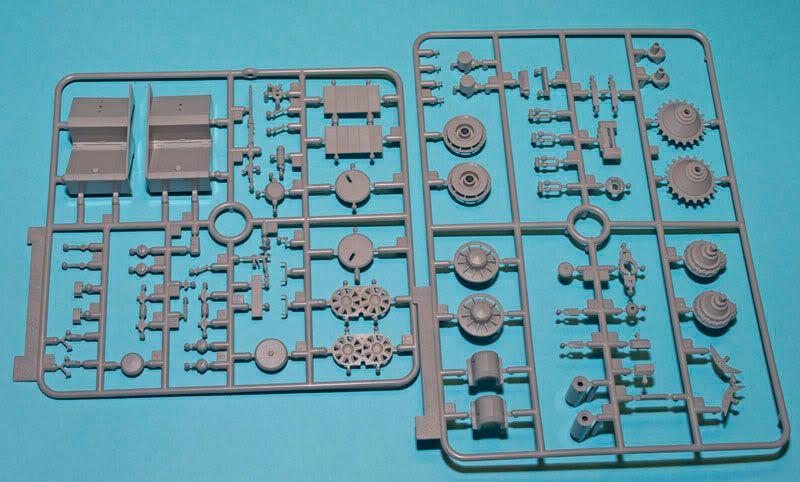
As always with Dragon there is plenty of parts that not will be used for
just this version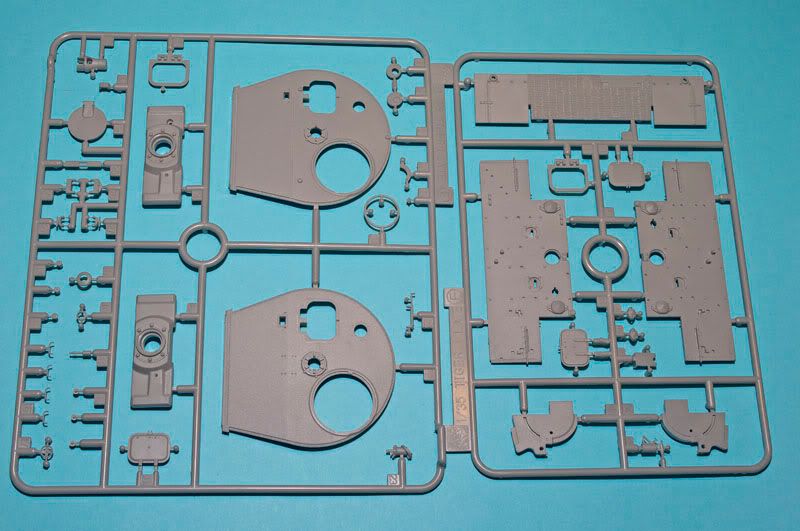
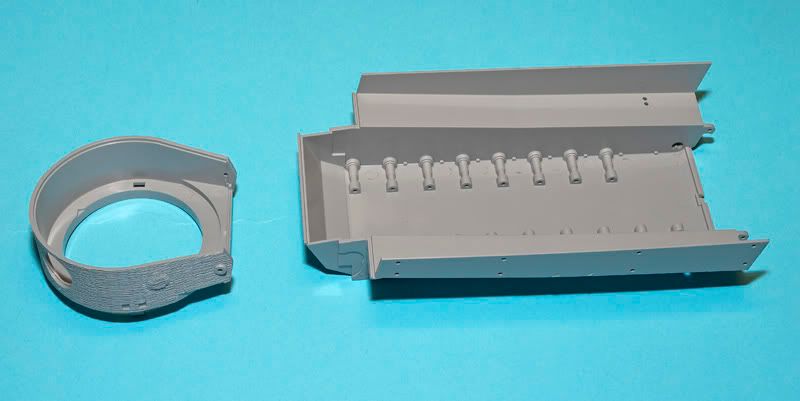
The Zimmerit details looks very nice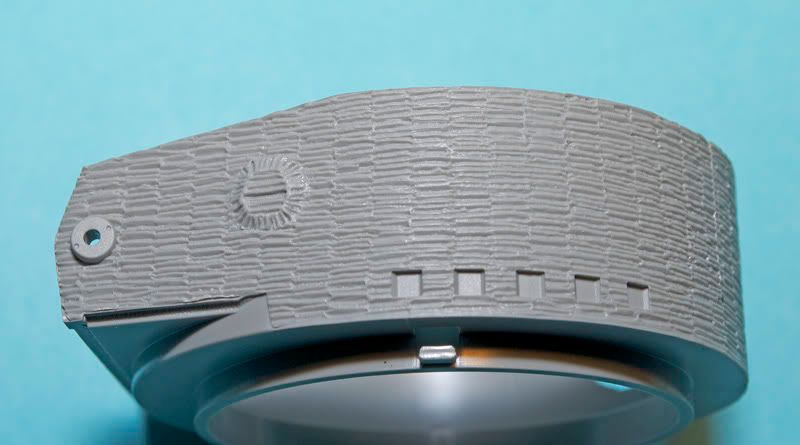
The Crew: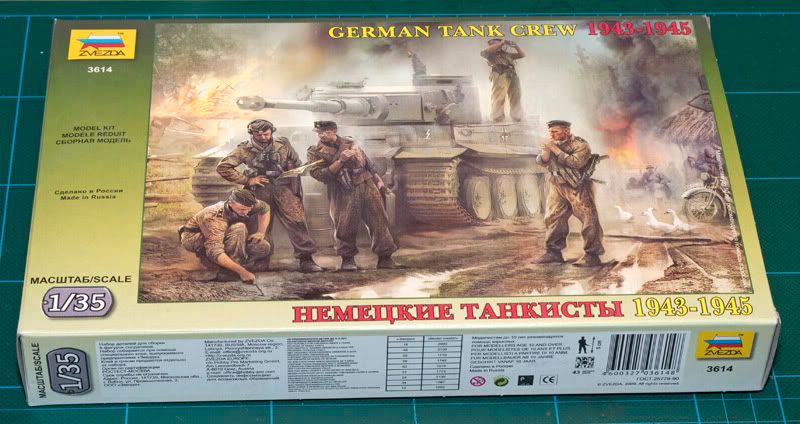
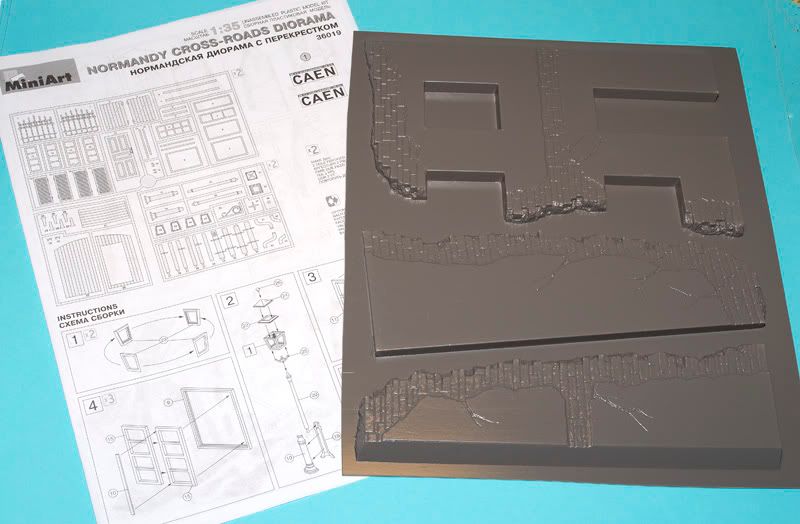
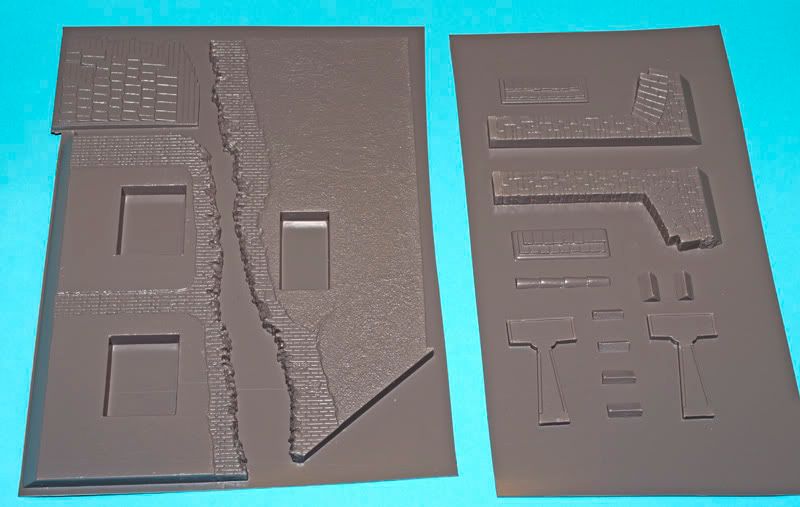
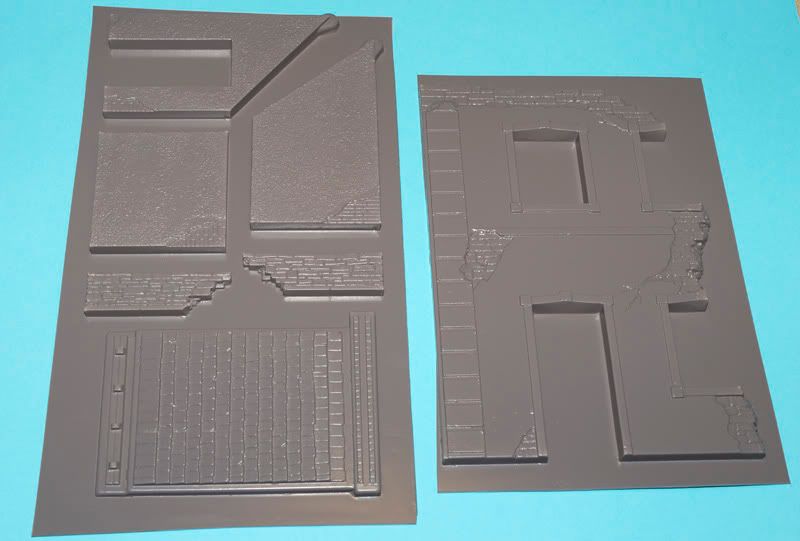
The buildings: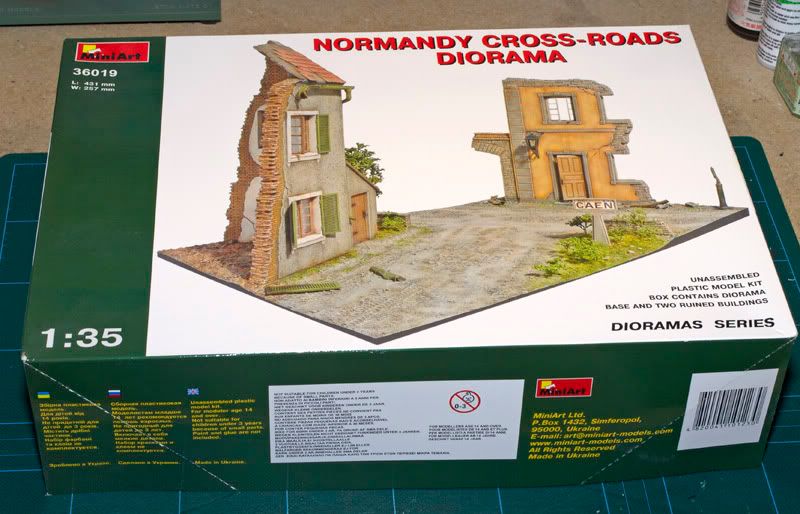

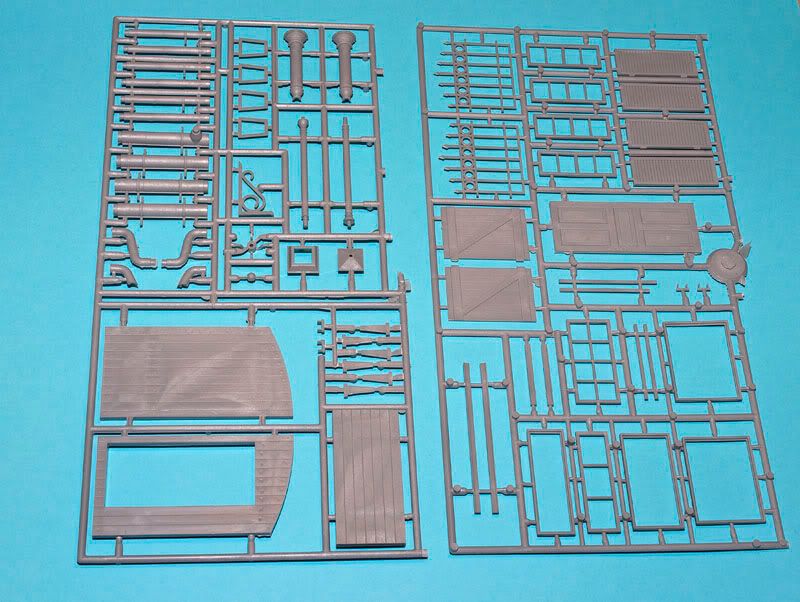
So that was the parts, now lets start to build 
Started with the suspension and that is really very nice in the Dragon kit. It have the torsion bars just as the real thing has
so the suspension can be made to work and that will make it much easier to get the tank to sit right
on the ground and you don't risk to end up with some of the road wheel up in the air.
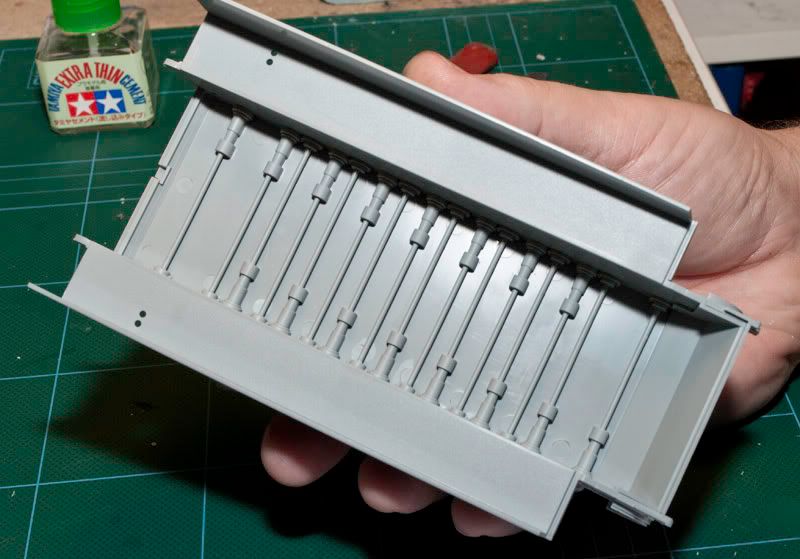
The end point for the torsion bar have a angled slot so the road wheel arm get its right angle.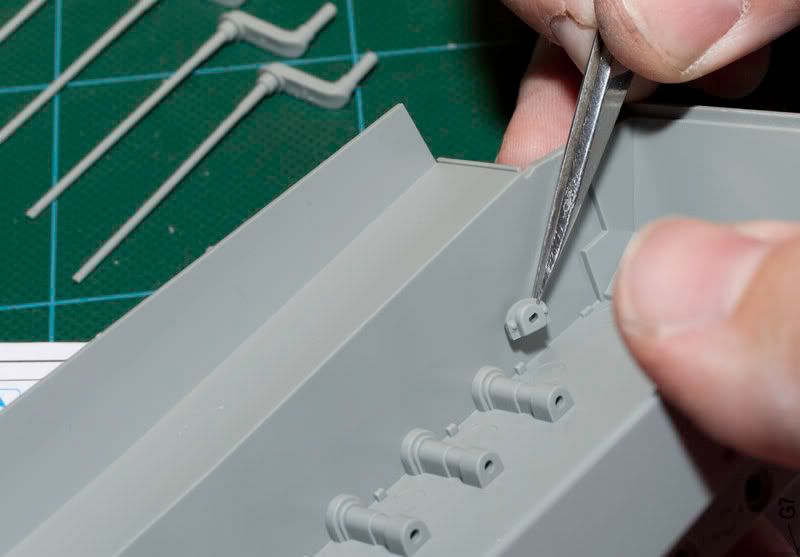
And the torsion bars slides in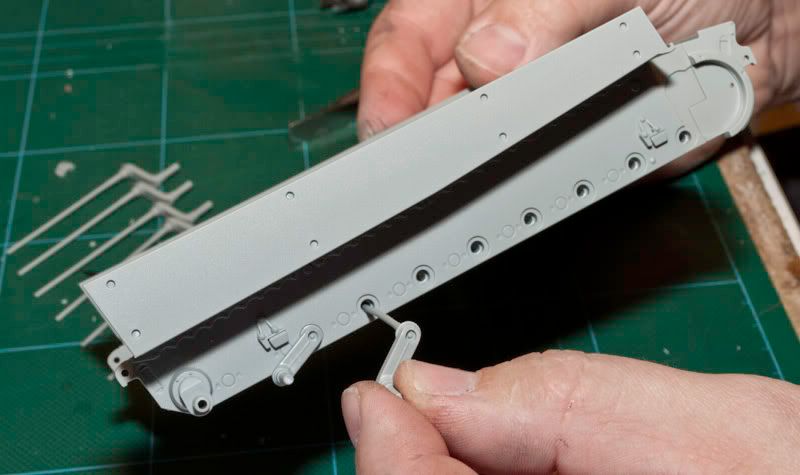
All in place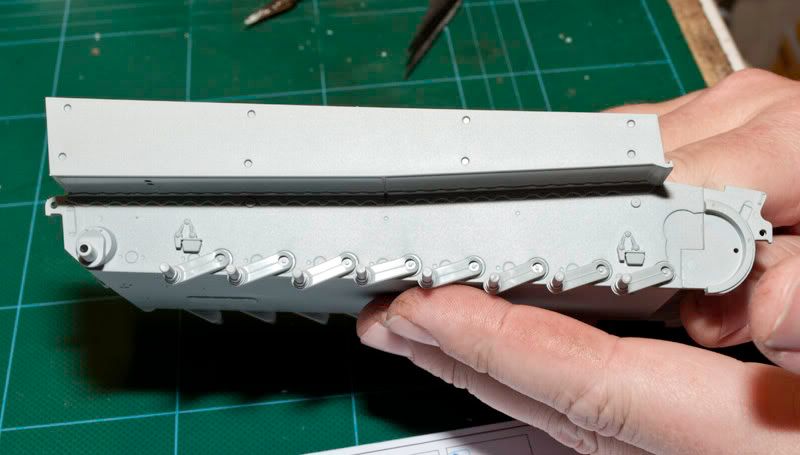
And with the wheel in place you can see the suspension working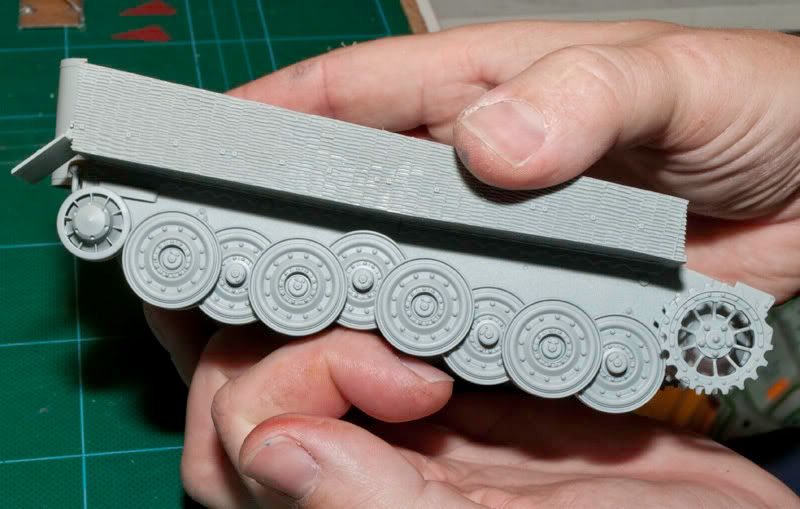
Have also done the fuel tanks and the radiators with the cooling fans.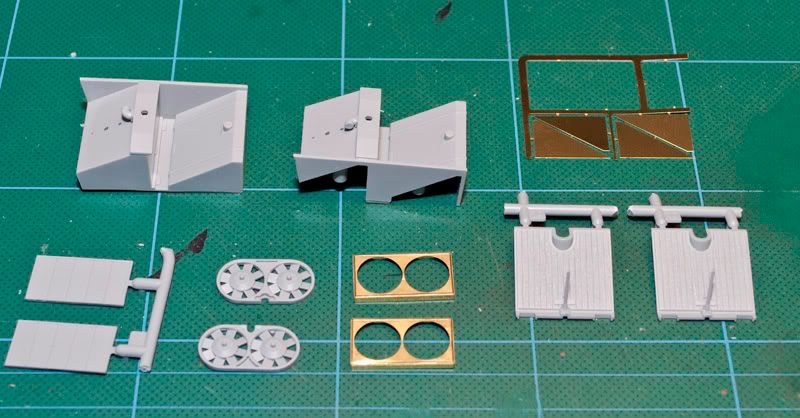
Painting and weathering done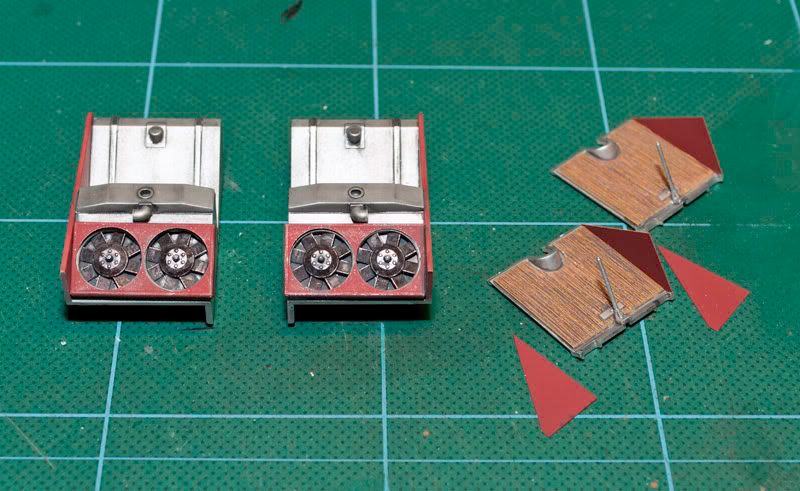
In its place in the back of the tank
The two half of the base have been glued together and I used filler to
hide the seam.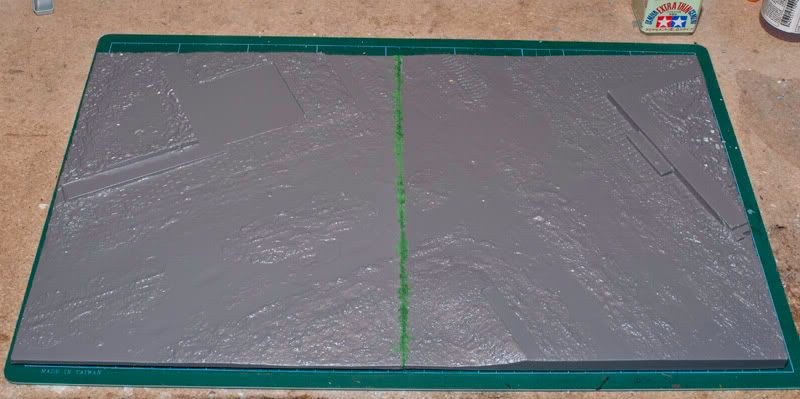
On the underside have I use wood beads to reinforce the vac form plastic.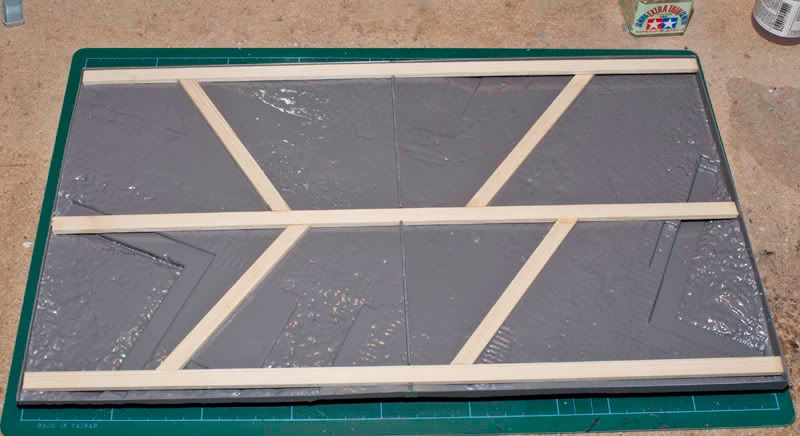
The primer coat is on
The top of the hull need some help to get in place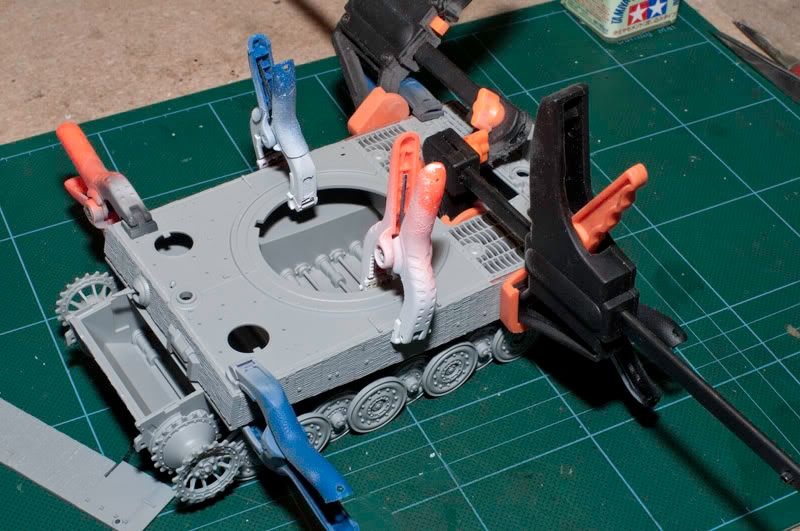
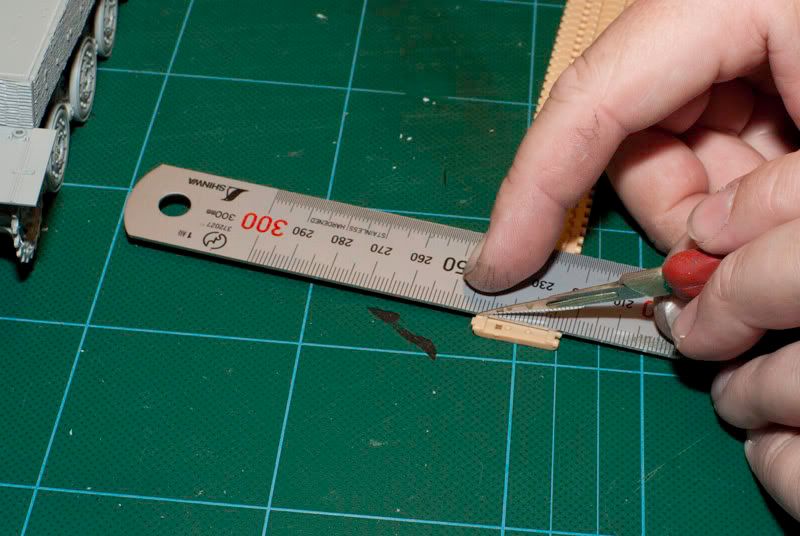
The track is to long to fit right,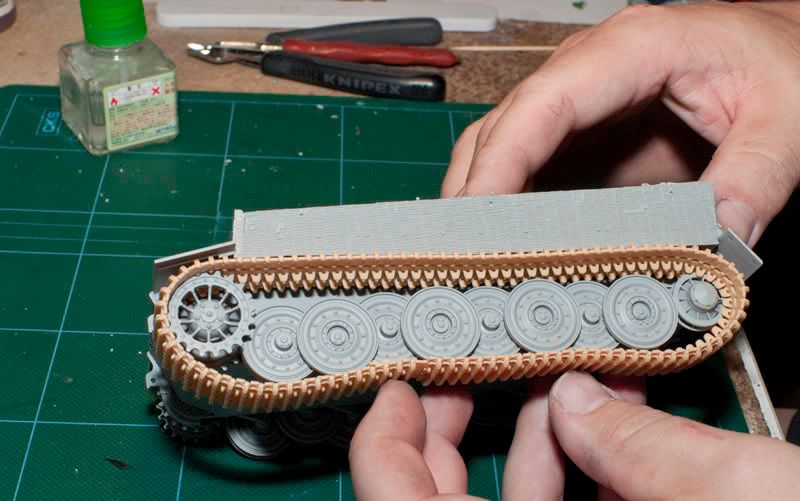
even when the idler wheel is set in the back position the tracks need to be
shorter
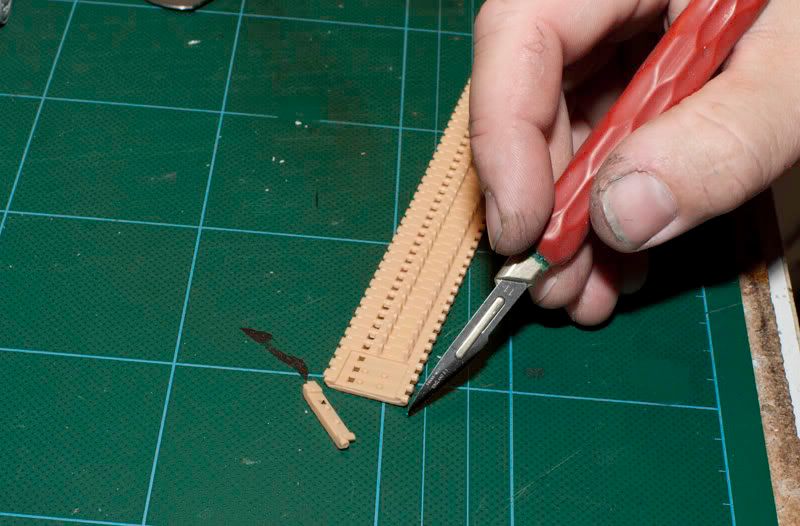
so I will cut one link of each track.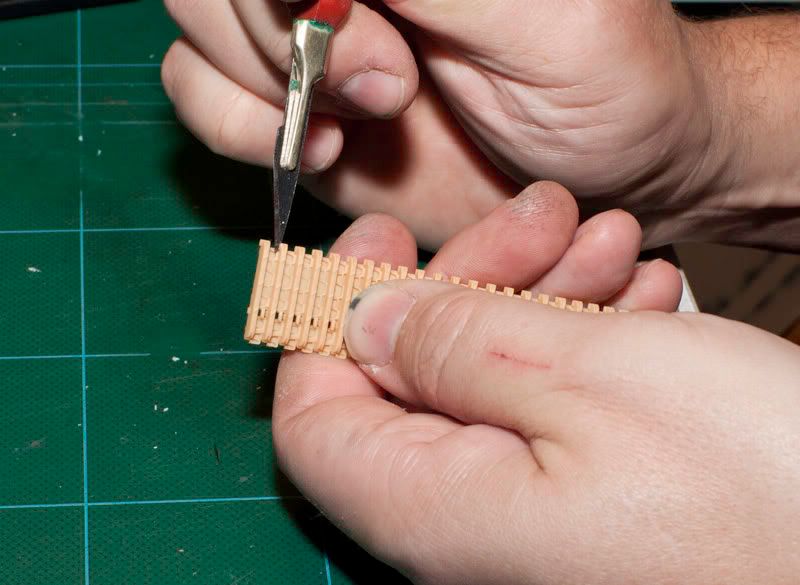
It is a little tricky to get the track in place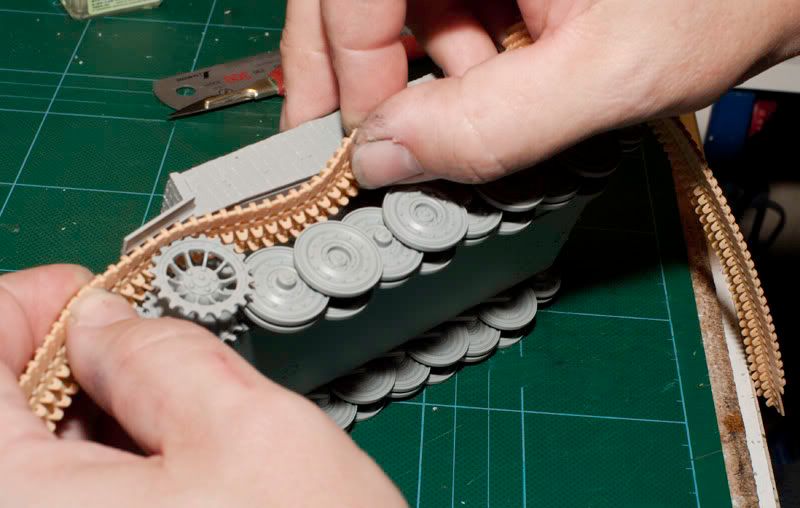
The tracks can be glued with regular plastic cement
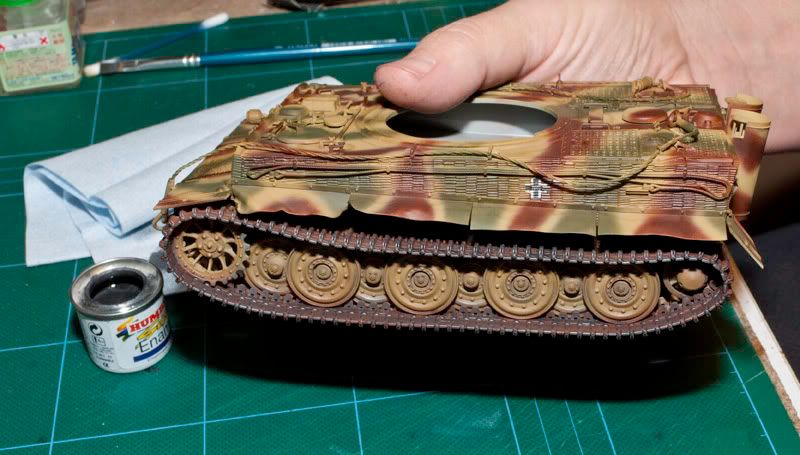
To get the right track sag so have I used papper towel to push the track down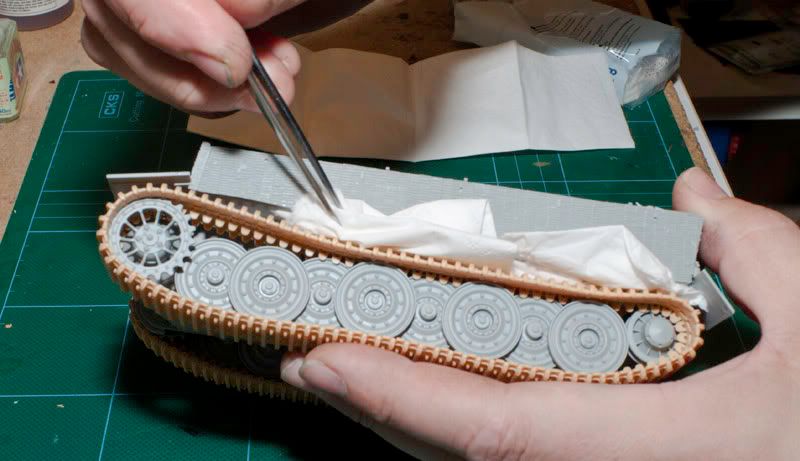

Then I glued the track 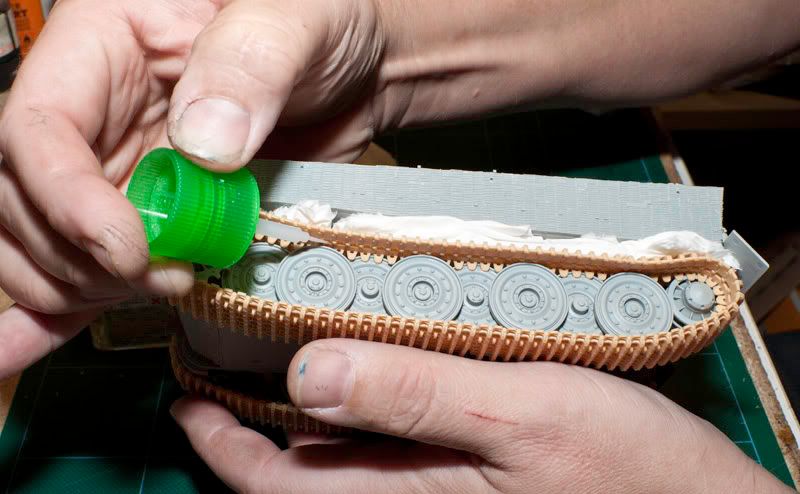
And the final result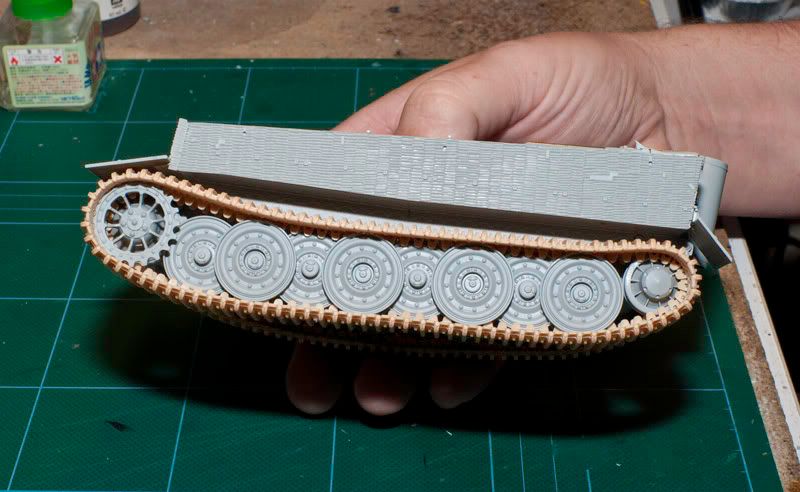
To get a more battle damage look so will I build new side fenders
with some sheet of 0.25mm brass and plasticard strips.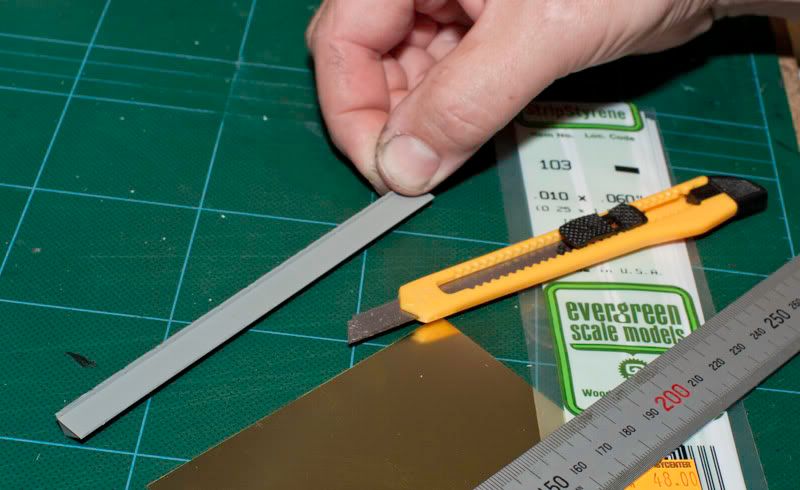
Starting with cut a groove for the bending
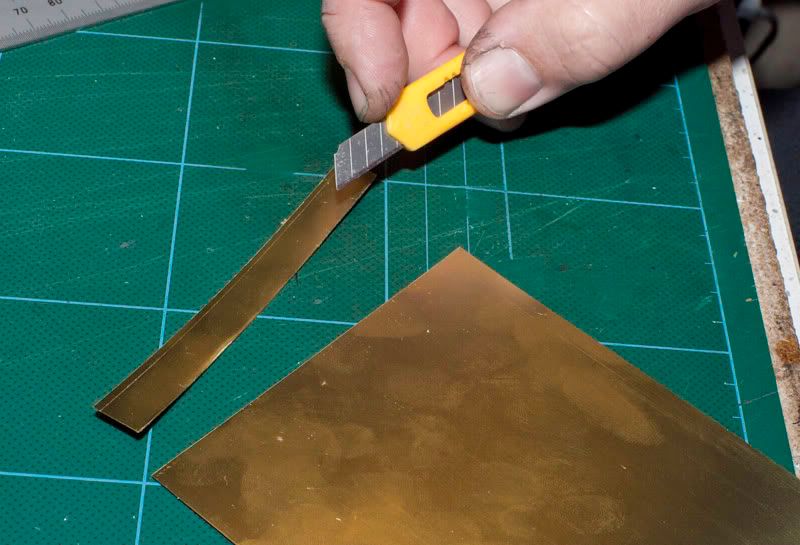
then I cut the fender to right size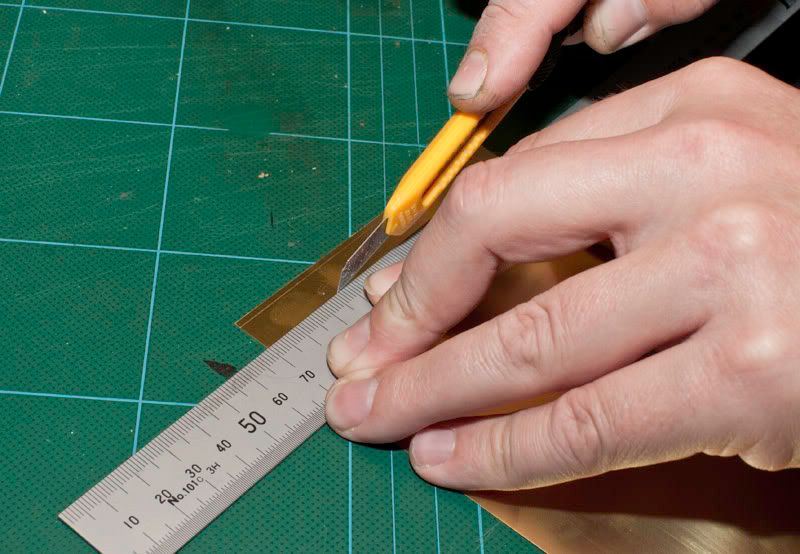
To bend the fender have I use my Etch Mate bending tool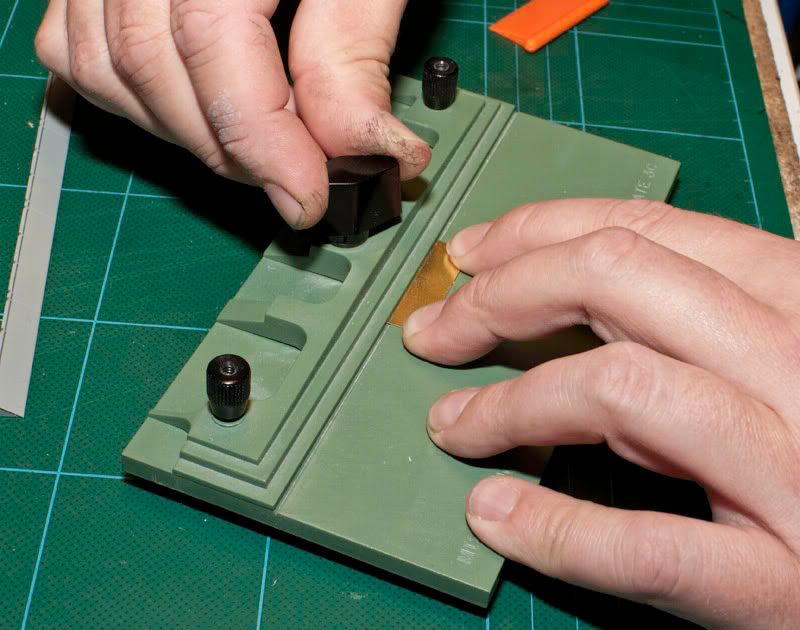

Test fit on the tank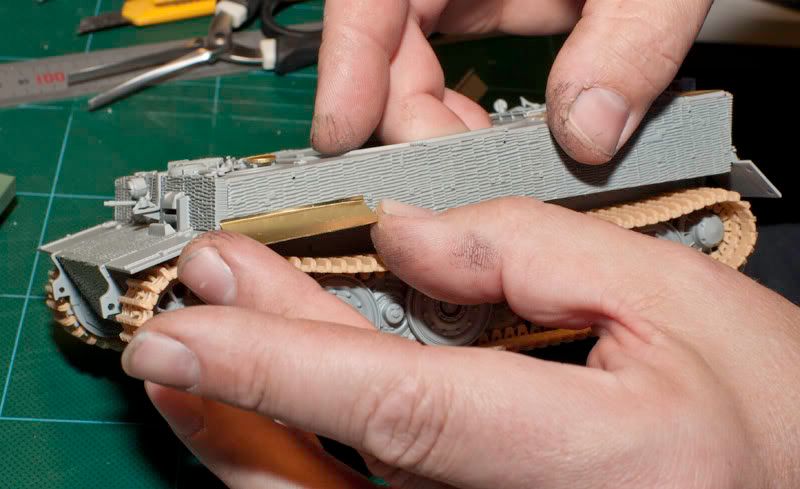
The mounting part of the fender is done with a strip of plasticard and
super glued in place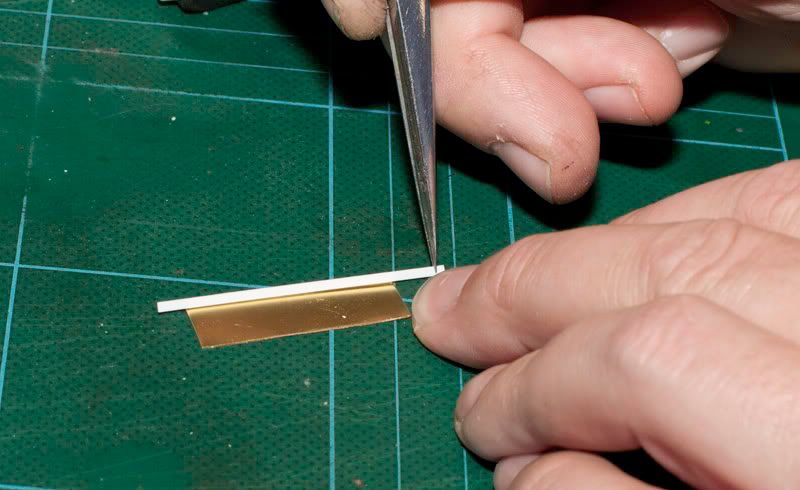
My box of mixed bolts and nuts 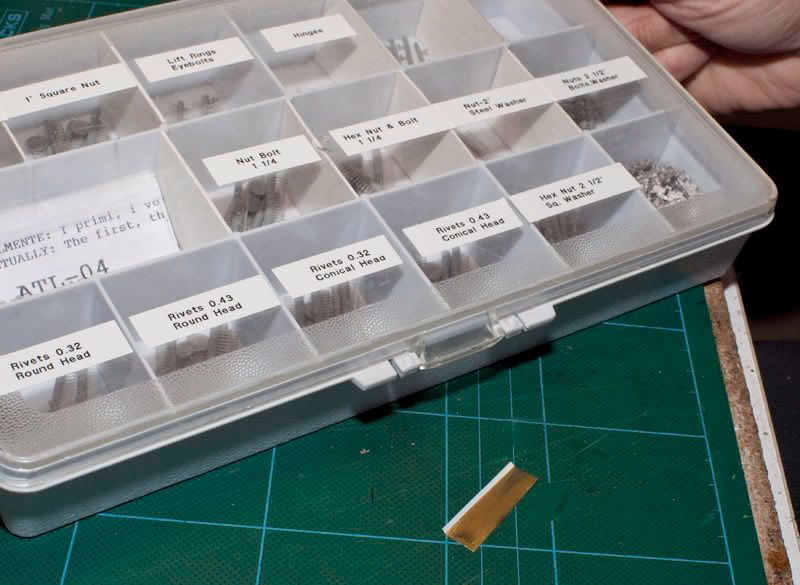
The tiny bolts is glued in place
and the kit part with the new one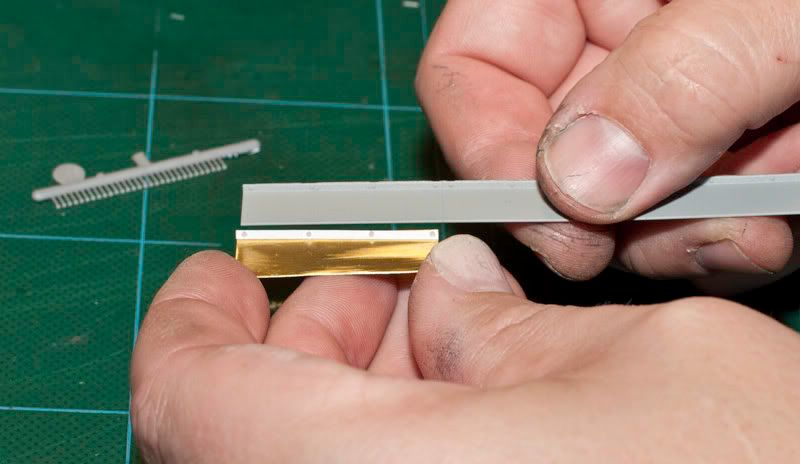
To make the battle damage have use a round bending pliers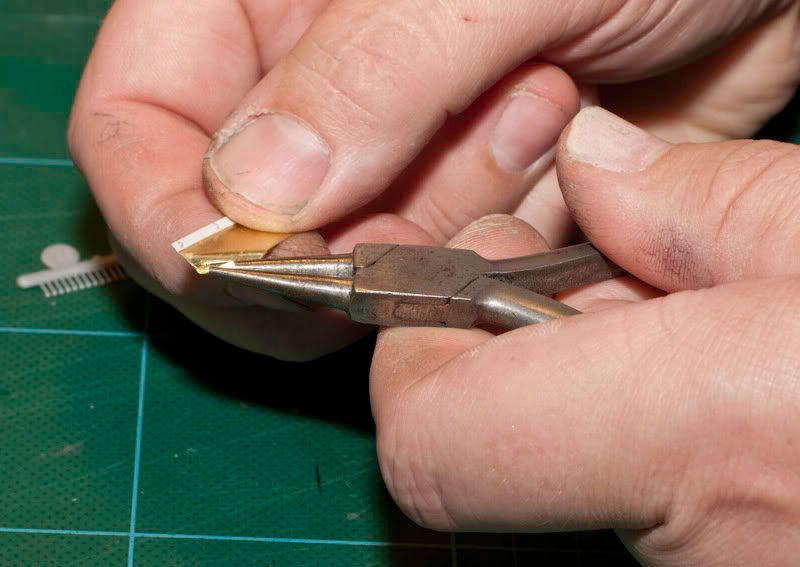
One done, three to go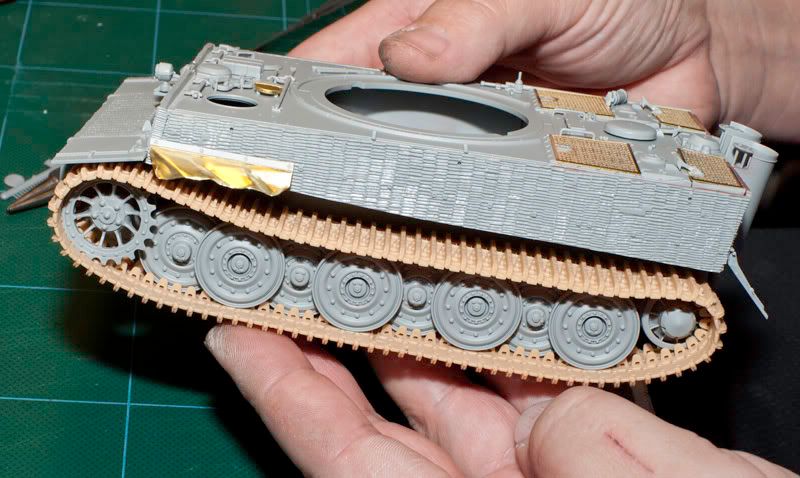
All done, now have only the other side left to do 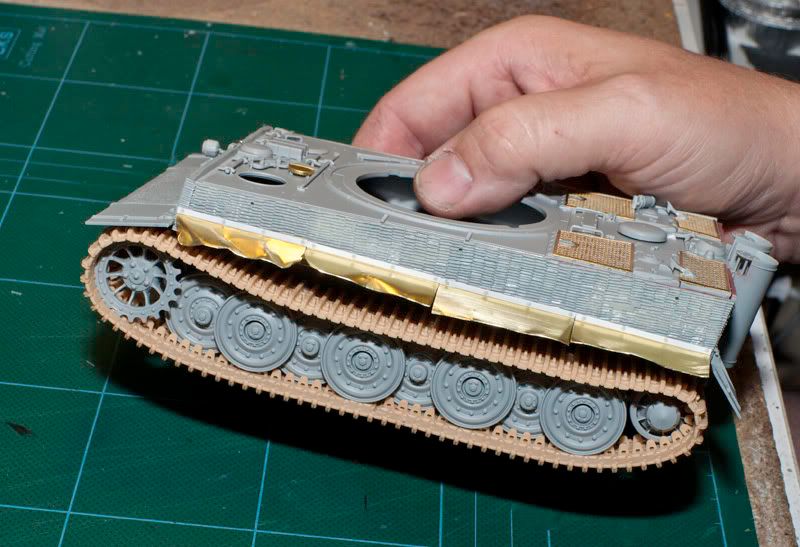
Have done some work on the Tiger, and it's now ready with primer coat on.
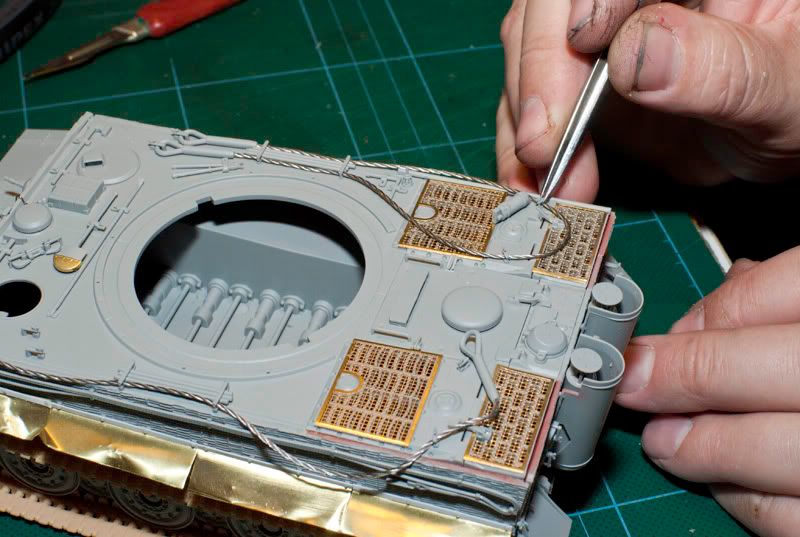
The steel towing cable is put in place.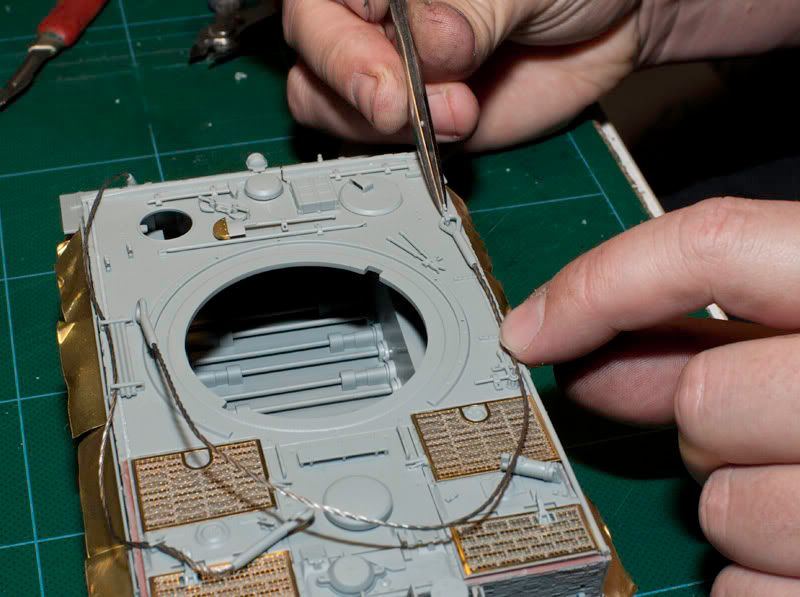
The complete Tiger, the hatches on the turret and for the driver will be
in open position but I have shut them temporarily for easier painting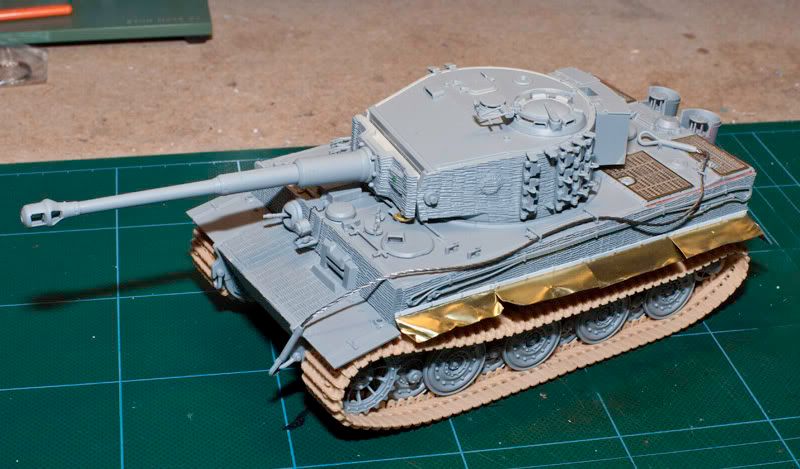
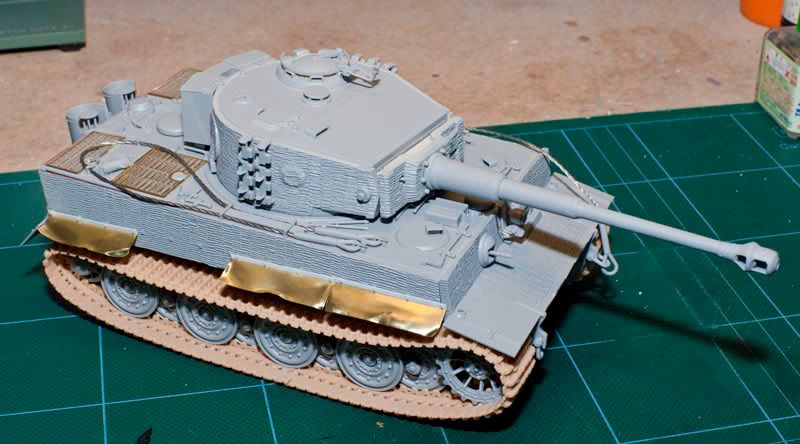
And with the primer coat on, I have use car body primer from a spray can
for this.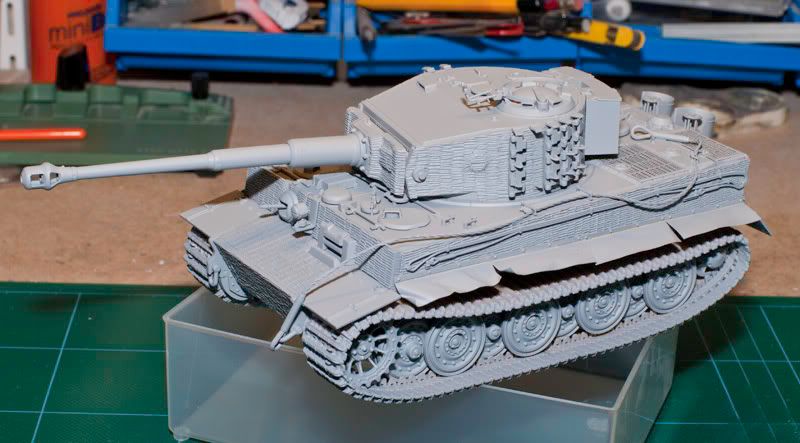

Have also start to make the buildings for the dio base but more of they in the next update 
Starting to paint the underside and behind the tracks with Tamiya XF-52 Flat Earth, have also use that for pre-shading on the wheels.
The Dunkel Gelb is painted, Tamiya XF-60 Dark Yellow is used.
The track is painted with Tamiya XF-79 Linoleum Deck Brown, I have use this before and I think is a good base for the tracks
and move on with the weathering from here.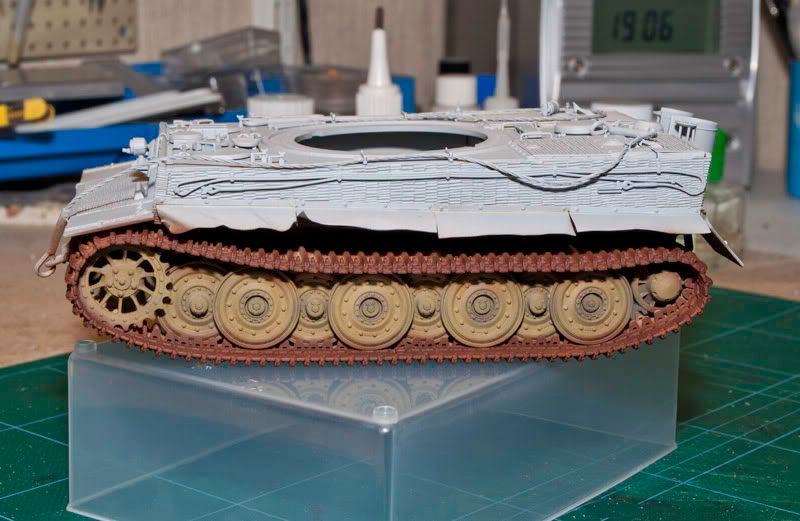
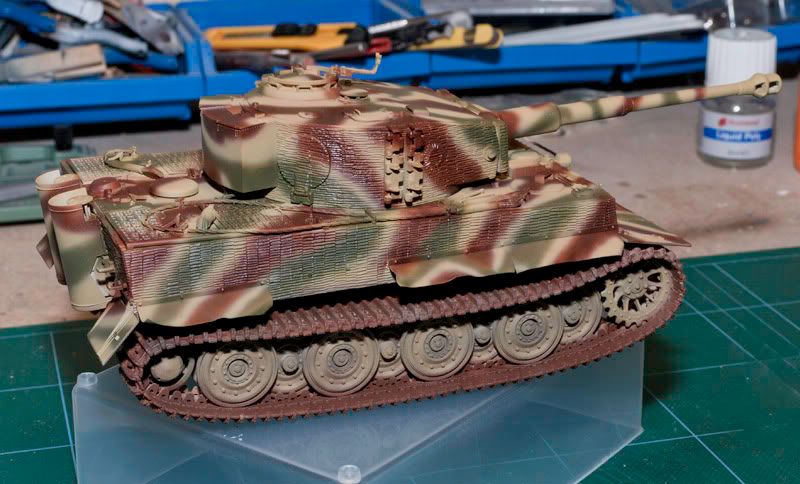
The rest of the tank is painted with XF-60. I skip the pre-shading on the tank because on the Normandy Tigers the green and red brown camo
colors is in majority so I have seen before that the pre-shade will not do so much work on those colors so they will be shaded later instead.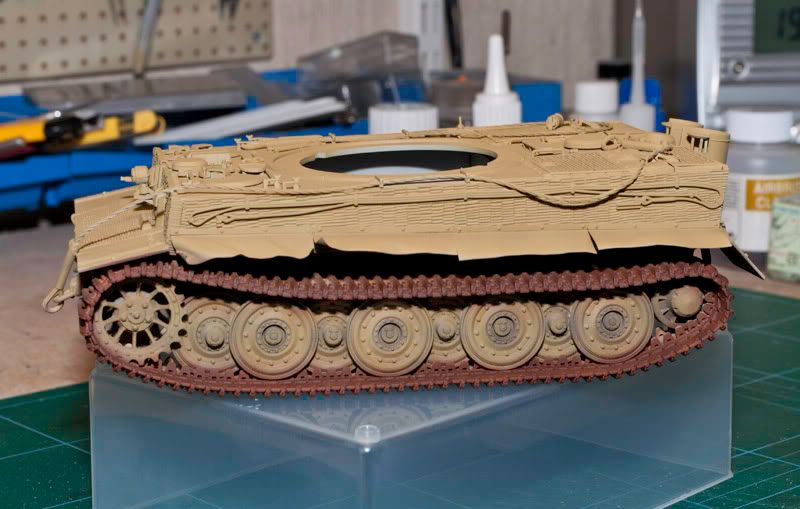
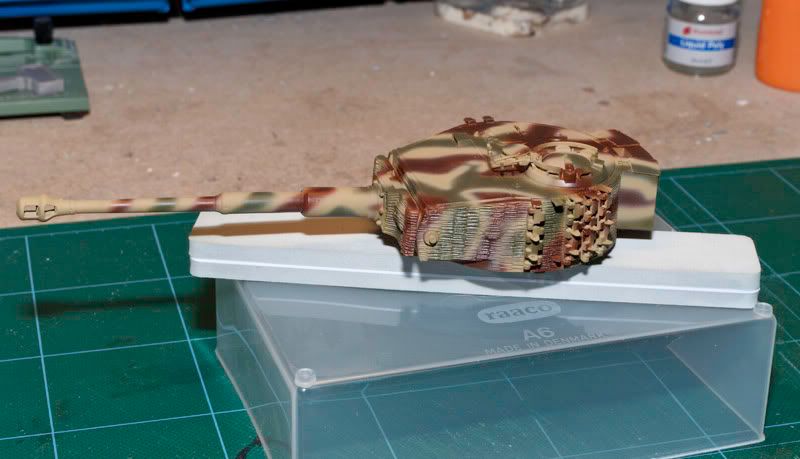
The turret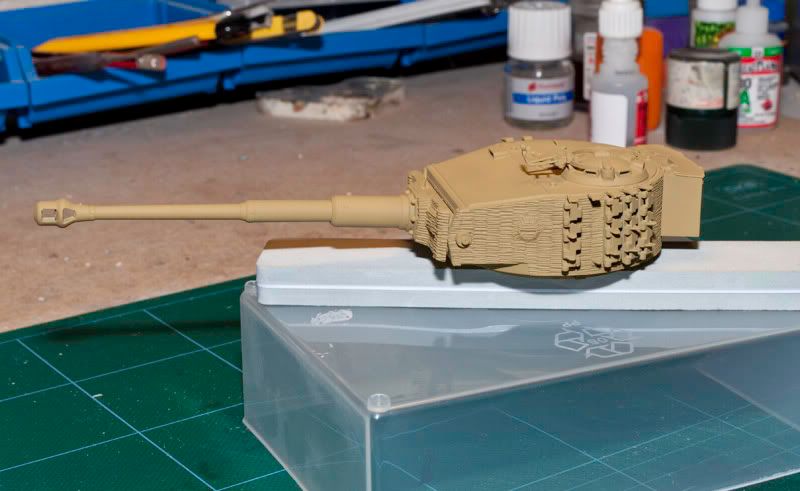
And so is the green and brown painted. For this have I use Vallejo Model Air
011 Tank Green and 041 Tank Brown.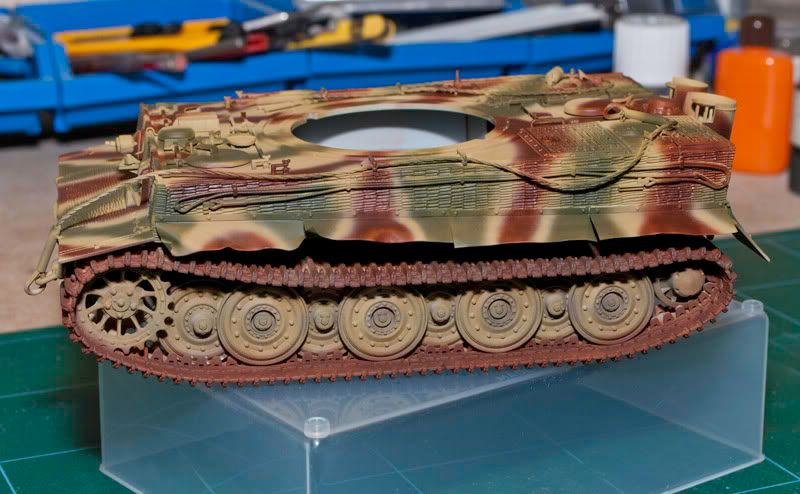

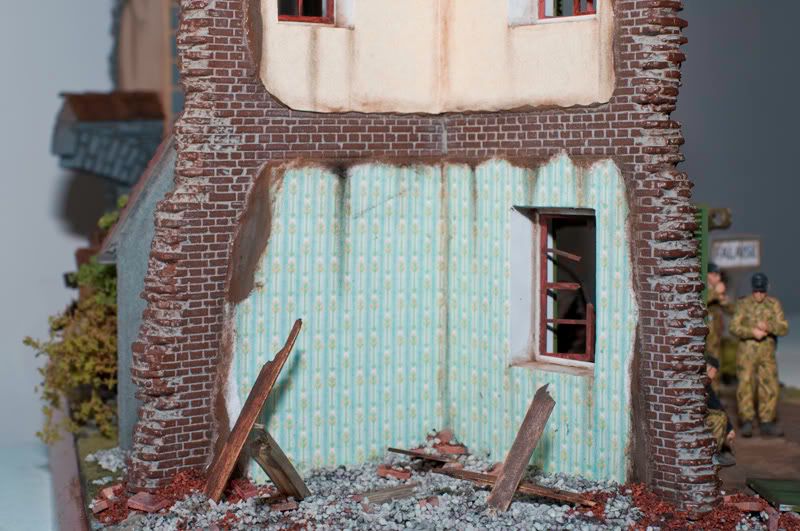
The buildings is ready and tested on the base,and have also made a wood frame for the base.
I have not take any pictures of the build step on the MiniArt house but I have done this in my Jagdtiger build, so if there is someone who have
not seen that and is interested so is the step by step build pictures here: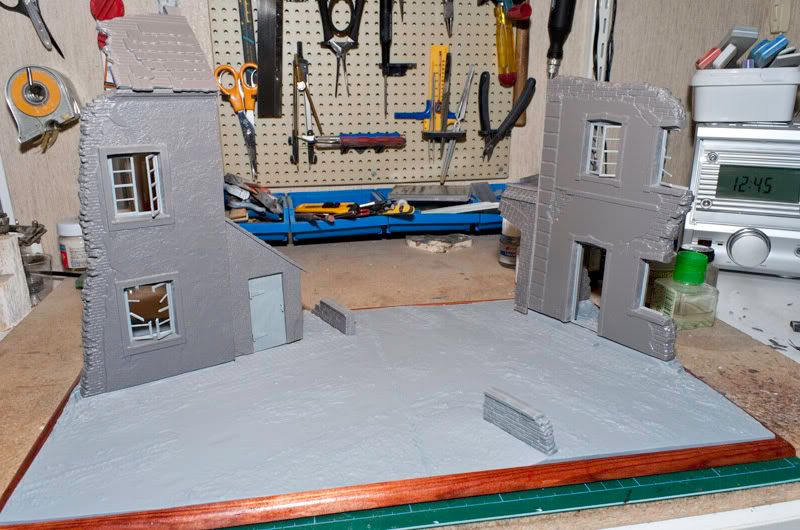
http://promodeller.websitetoolbox.com/post?id=4832230
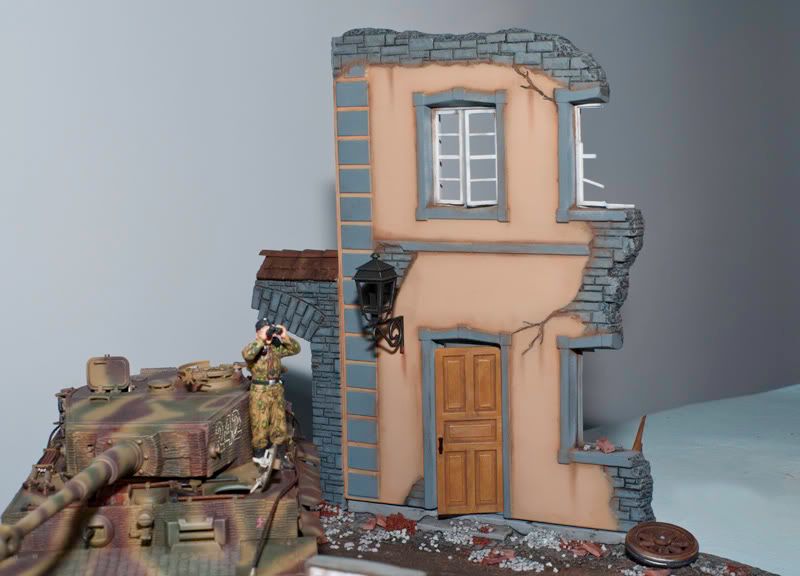
After the stone area was painted grey so have I masked it with Tamiya tape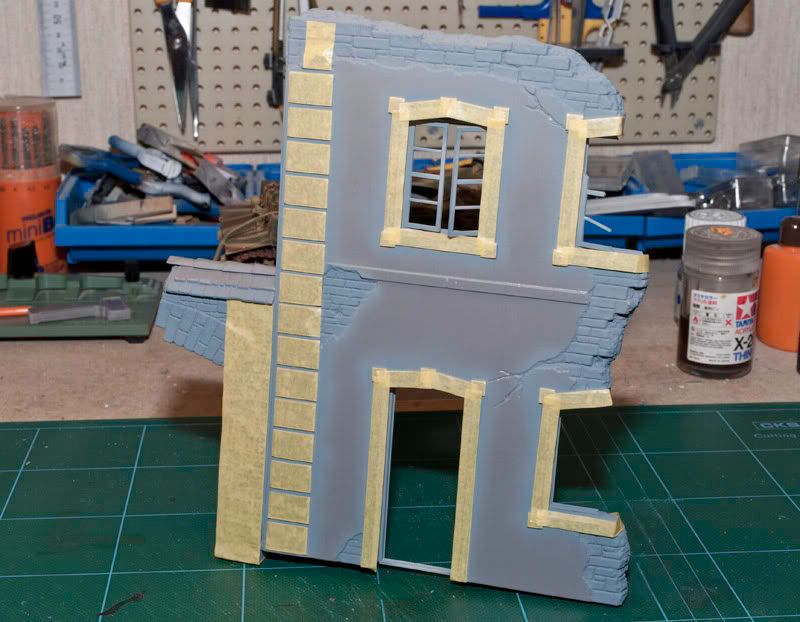
and painted the yellow with Xtracrylix XA1808 Afrika Korps Yellow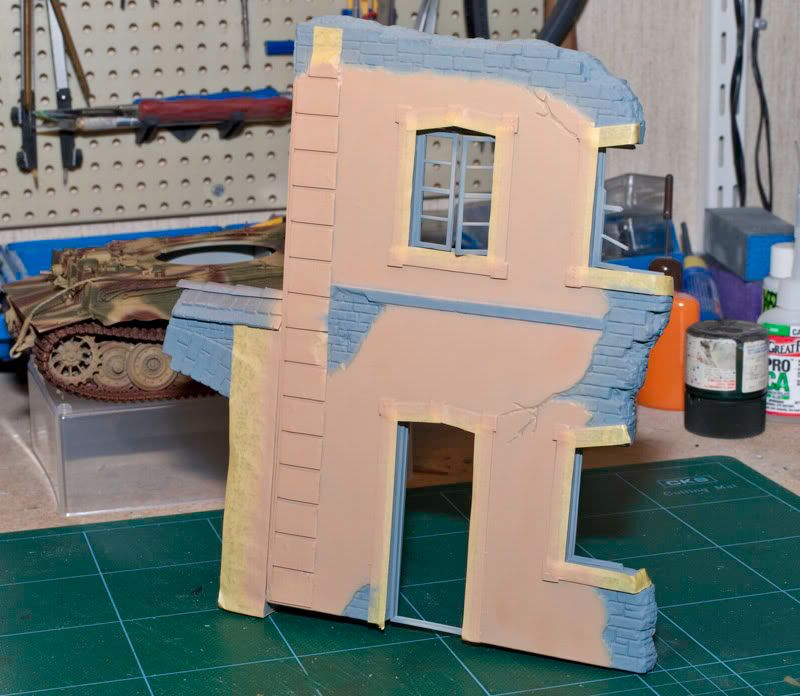
and with the masking removed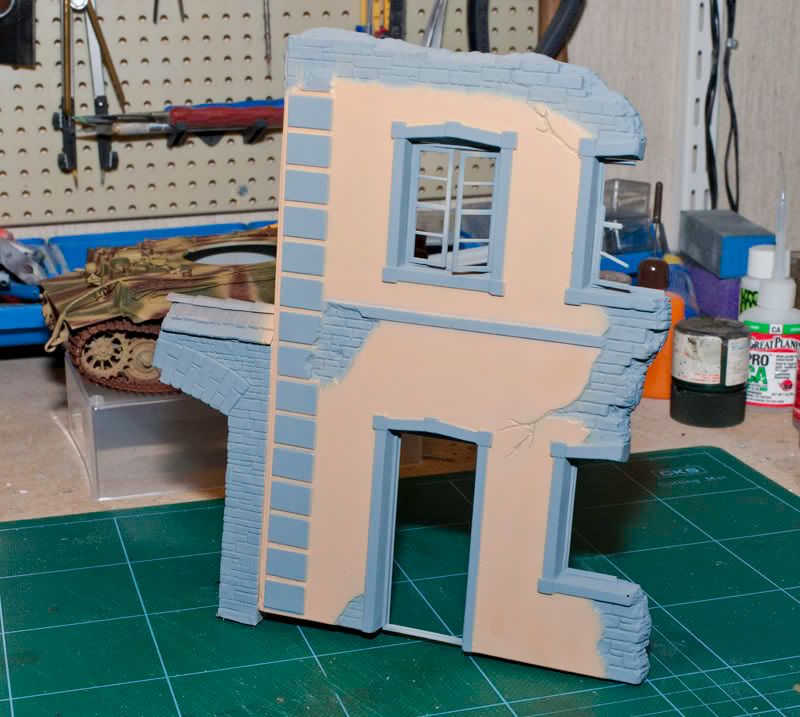
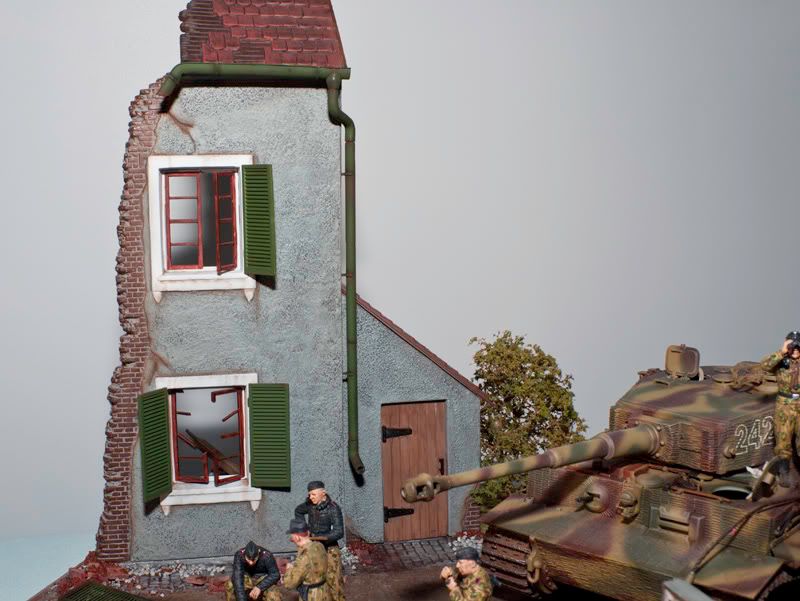
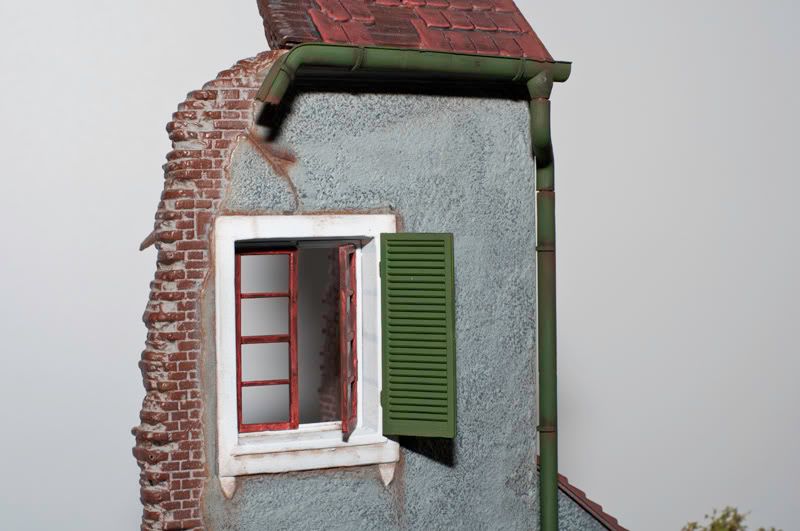
The other house have also got some paint on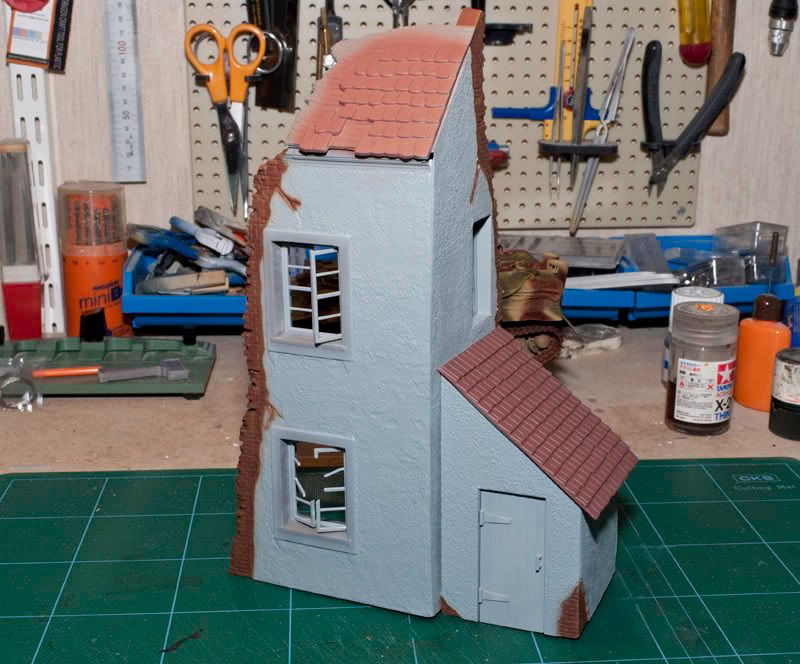
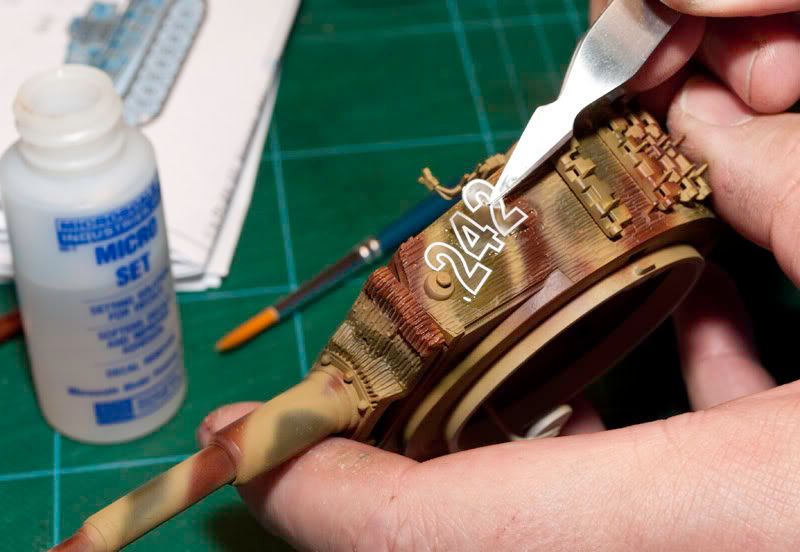
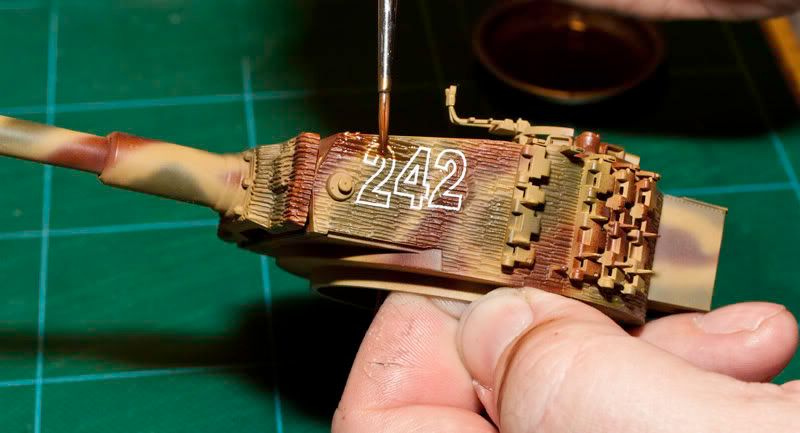
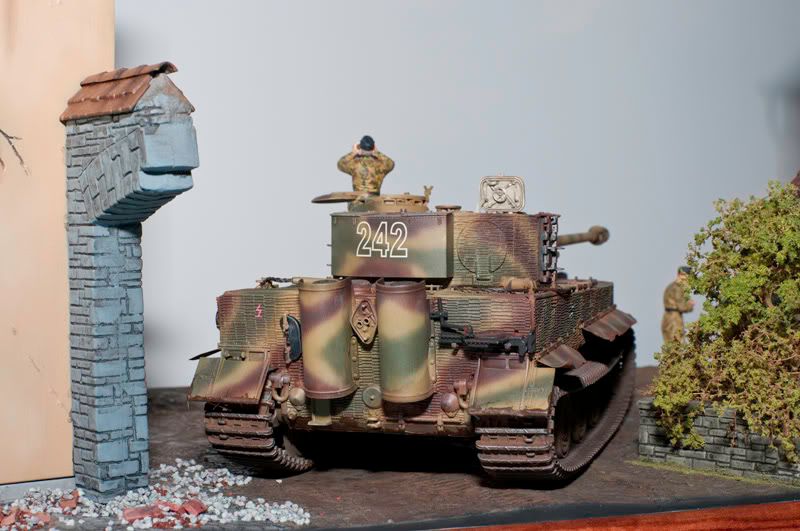
Have also put on the decals for the numbers on the turret and the two cross on each side of the tank.
To get the decals to conform to the zimmerit surface so have I use Micro Set and Micro Sol.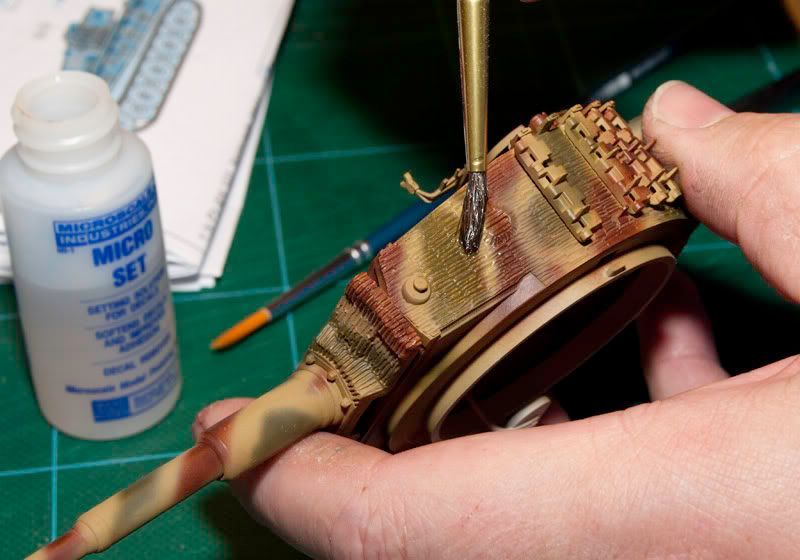
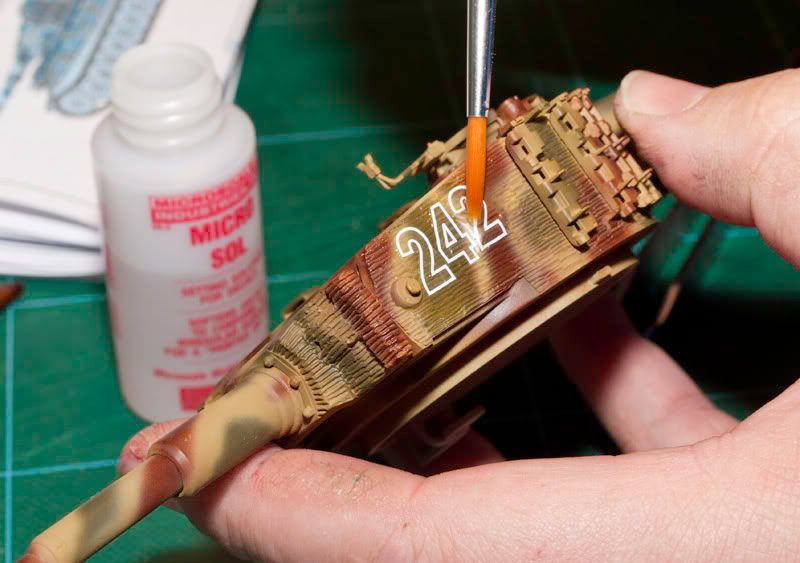
The cross on the side of the tank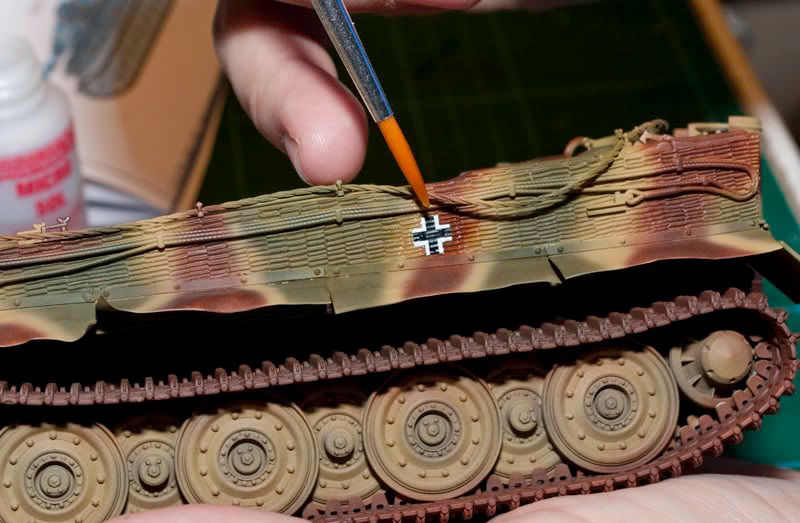
The decals lay down very well on the uneven surface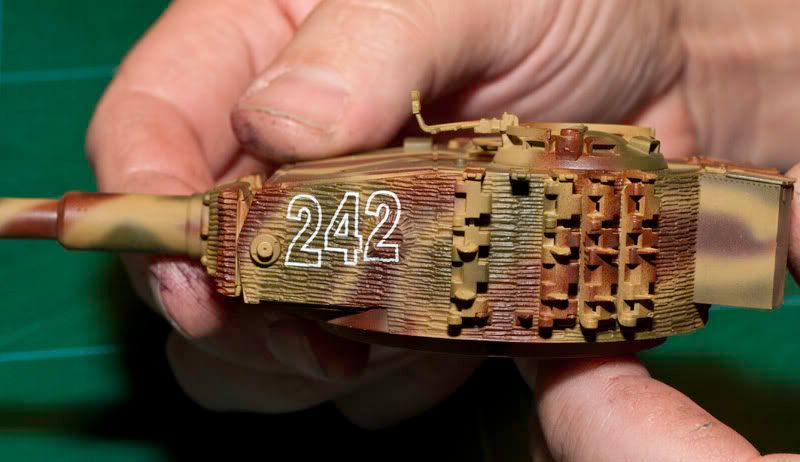
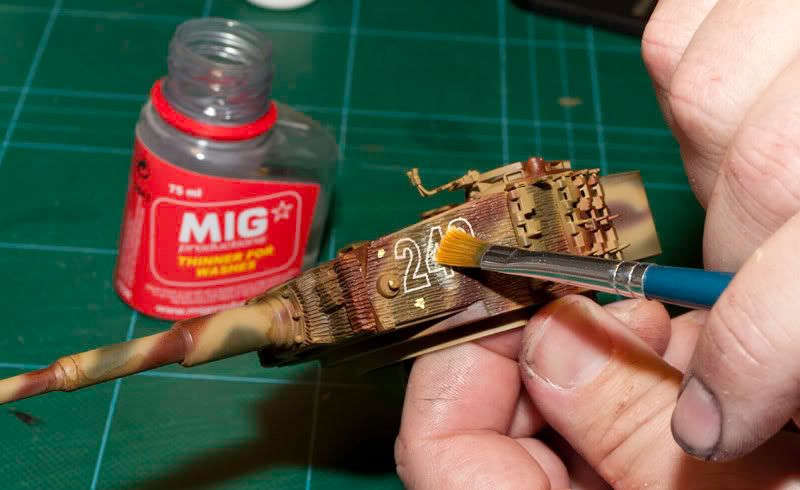
Next step was to do the wash, I have use Burnt Umber oil paint and MIG Production Thinner for this.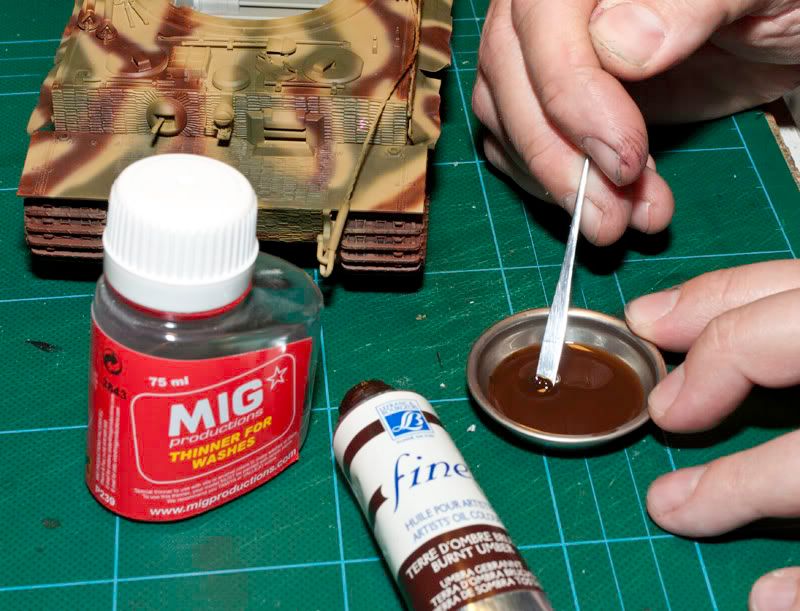
Put it on with a pointed brush and let i flow in all recesses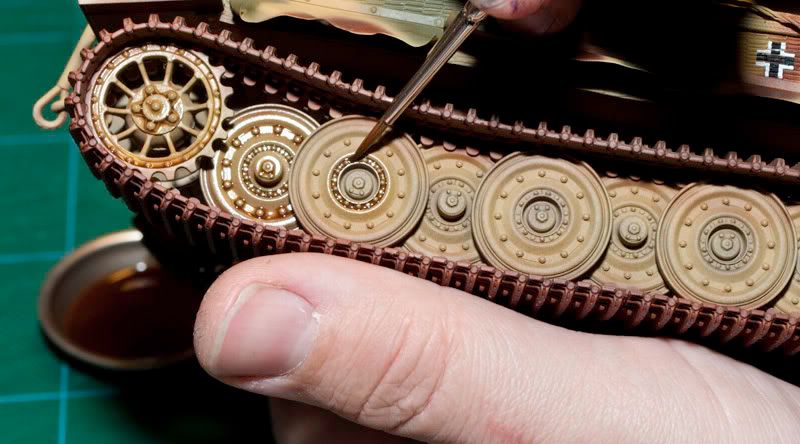
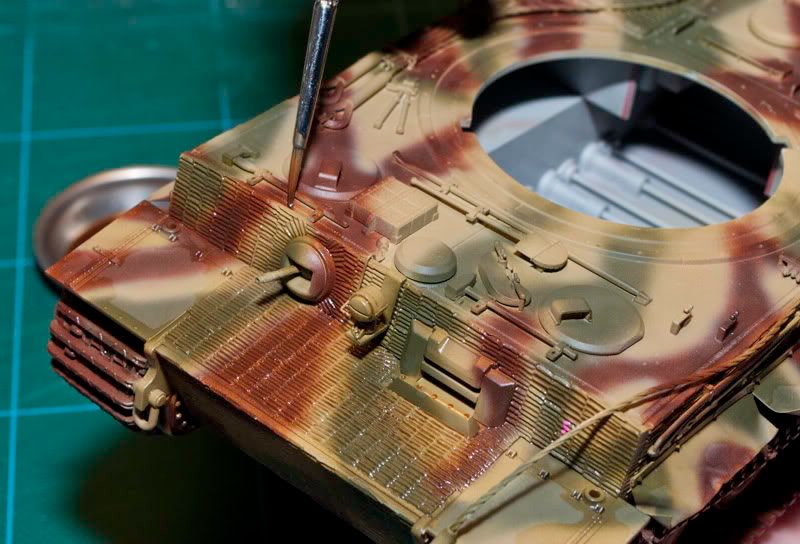
The result after the was has dried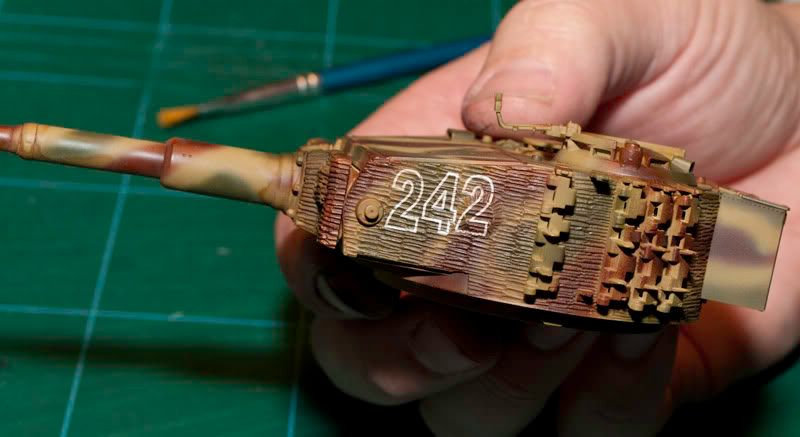
After the wash have I put on a filter of MIG Abteilung 502 oil paint, Abt155 German Three-Tone Camo Fading. Put it on in small dots.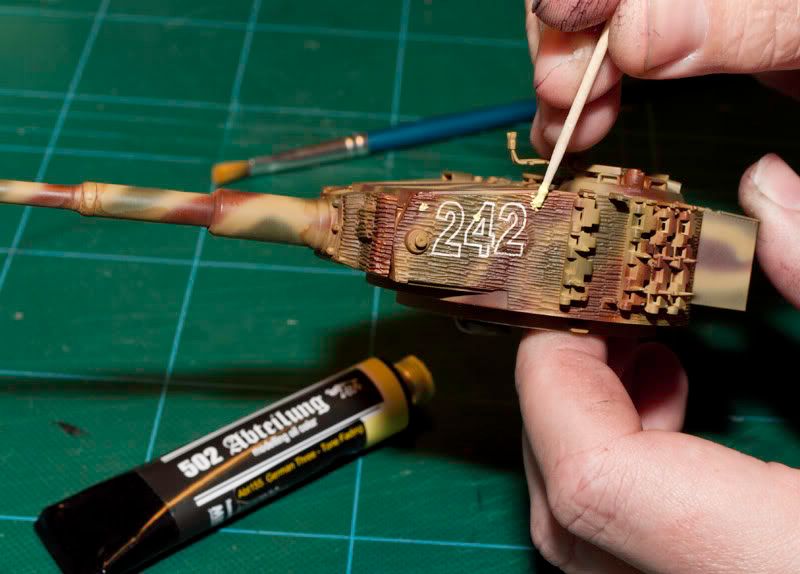
Then, with a in MIG Thinner dampened flat brush start to blend it in with the camo paint
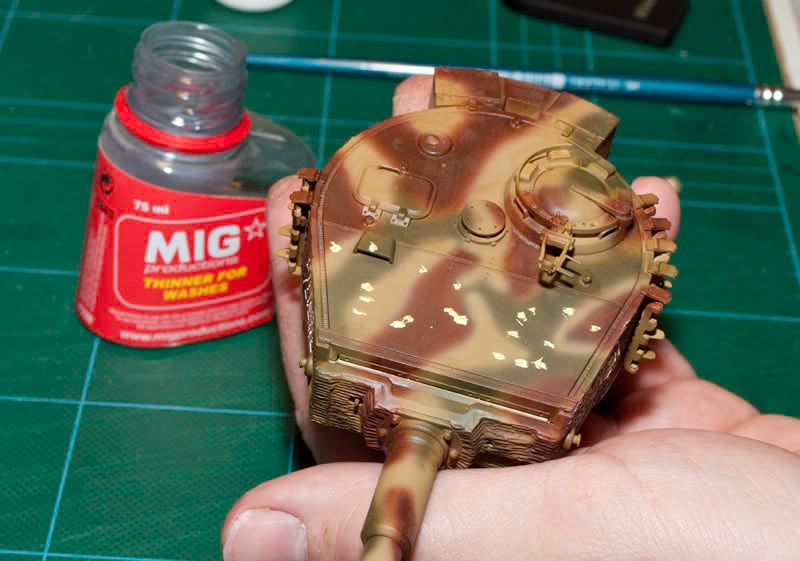
The difference before and after can be seen here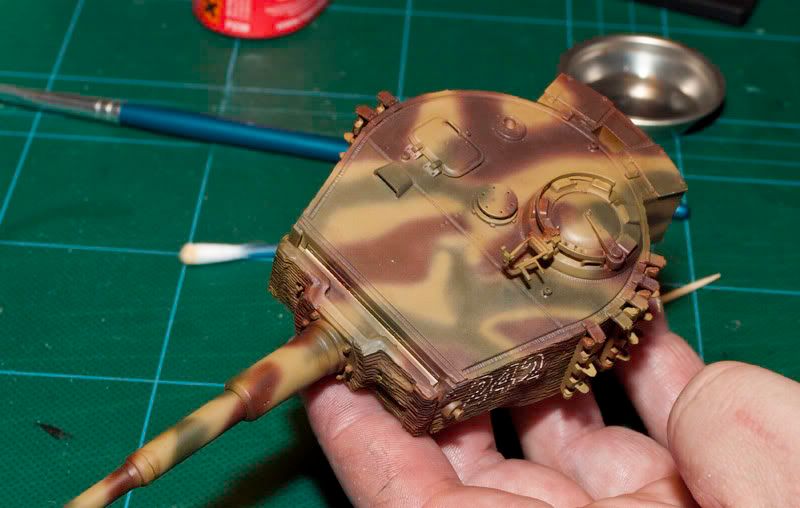
and even more here, the turret is done but not the tank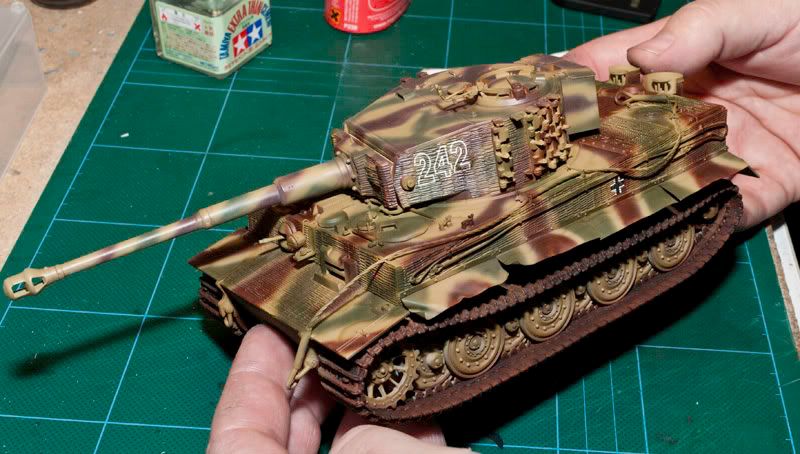
Have also dry-brush the tracks with Humbrol 53 Gun Metal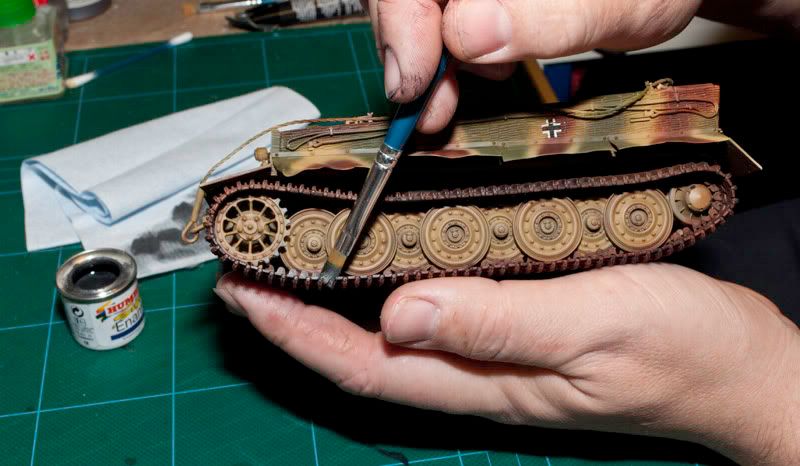
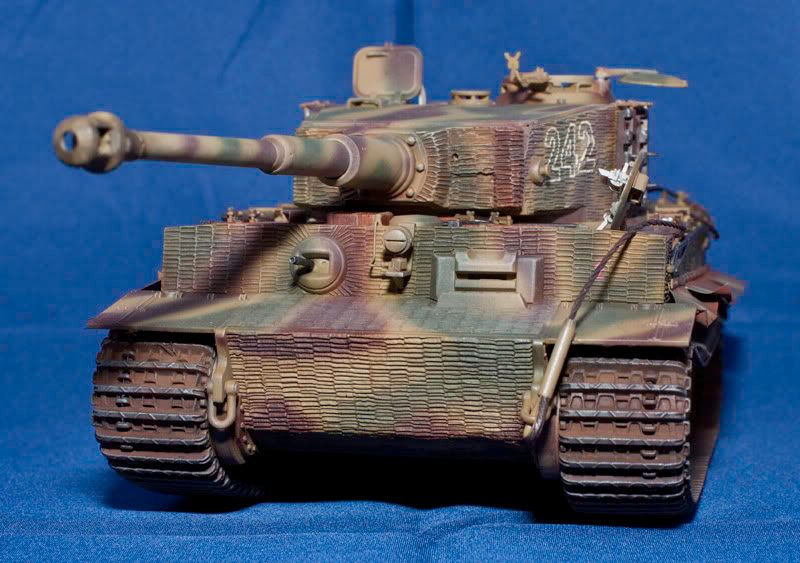
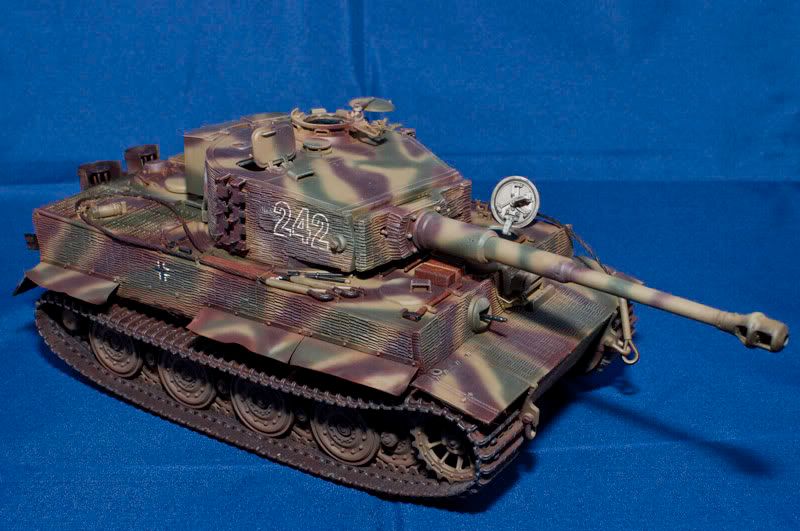
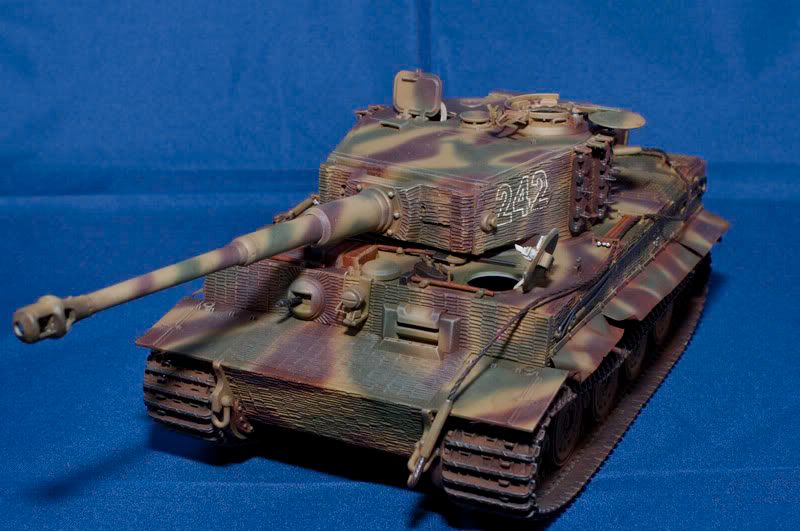
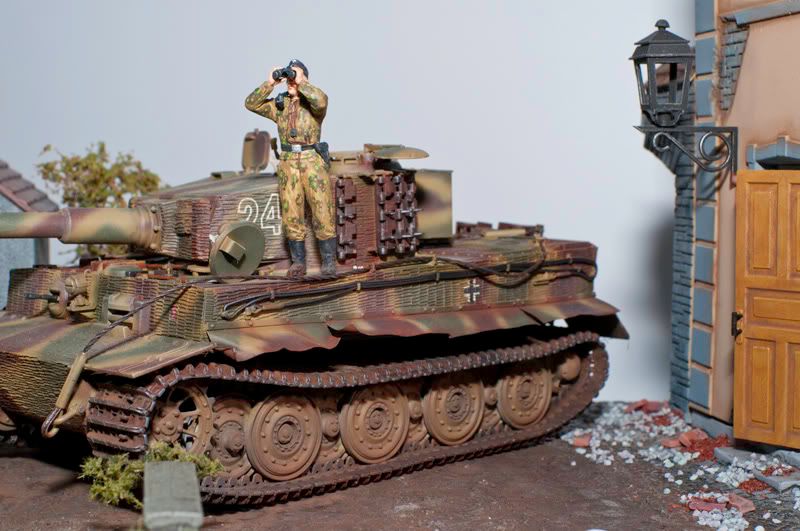
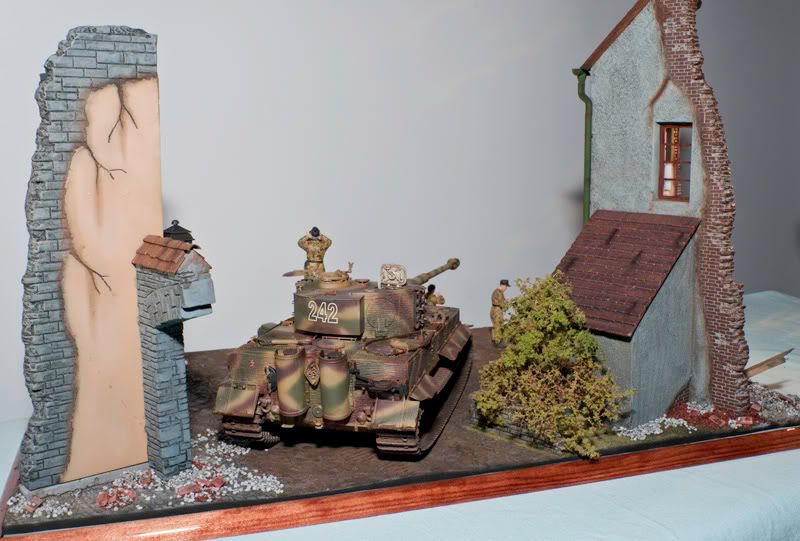
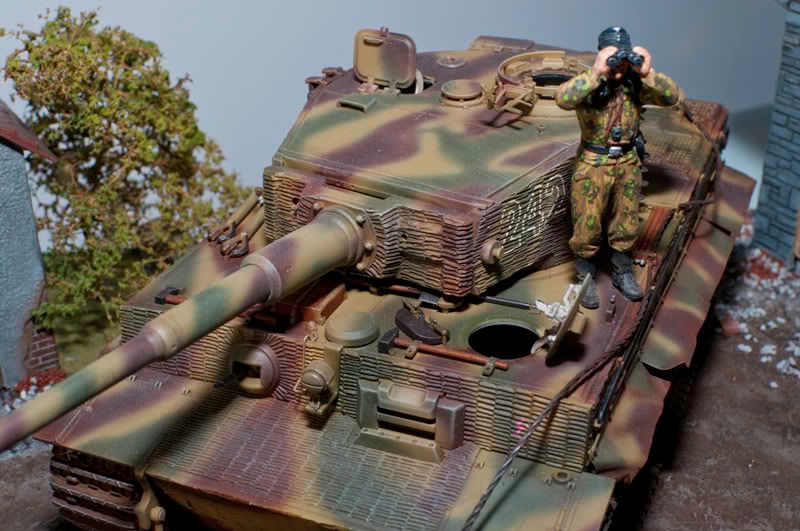
Have completed the build
of the Tiger so I just wanted to show you a few pics.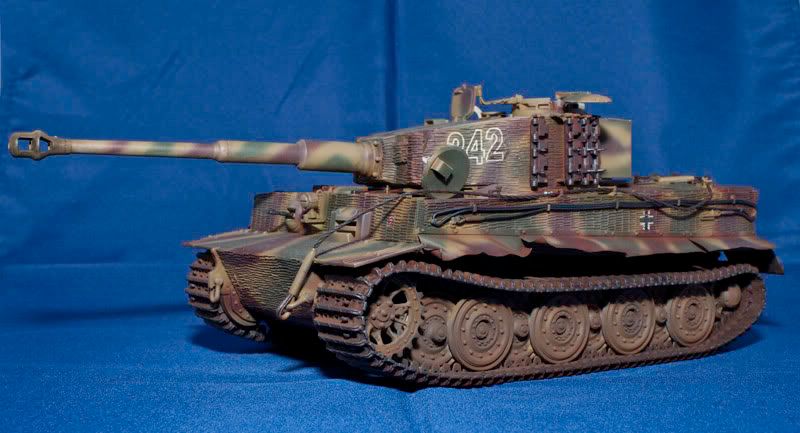

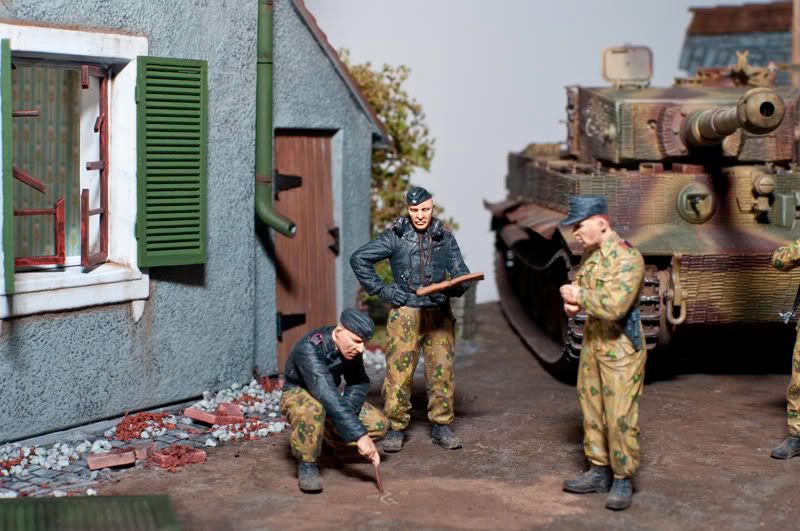
This time the turn has come to show you the panzer crew
that I have done. I'm painfully aware that my skill to paint figures is very limited, but this is how they look 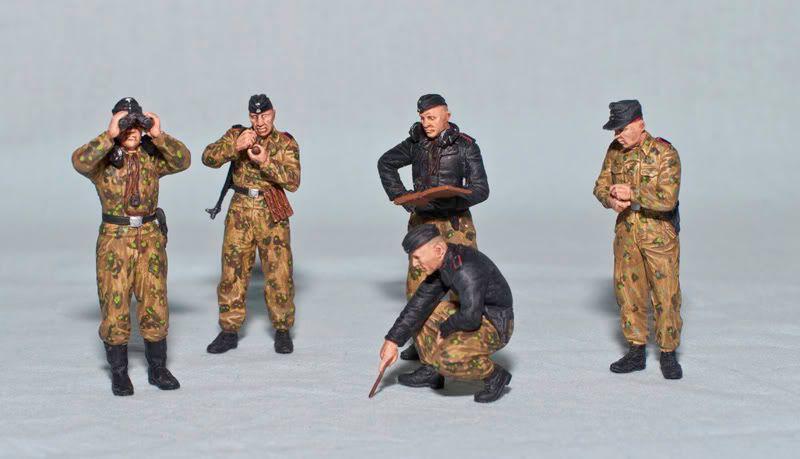
Now shall I put this guys on the base and take the photos for the final reveal.
So on with the pics, that turns out to be a bunch, hope you don't mind 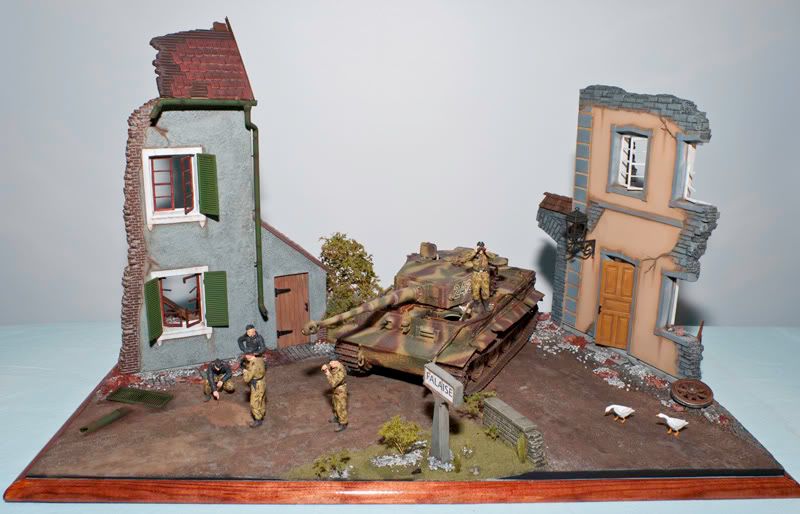


That's all and thanks to you all for the very kind comments during this build, much appreciated. Thanks
