


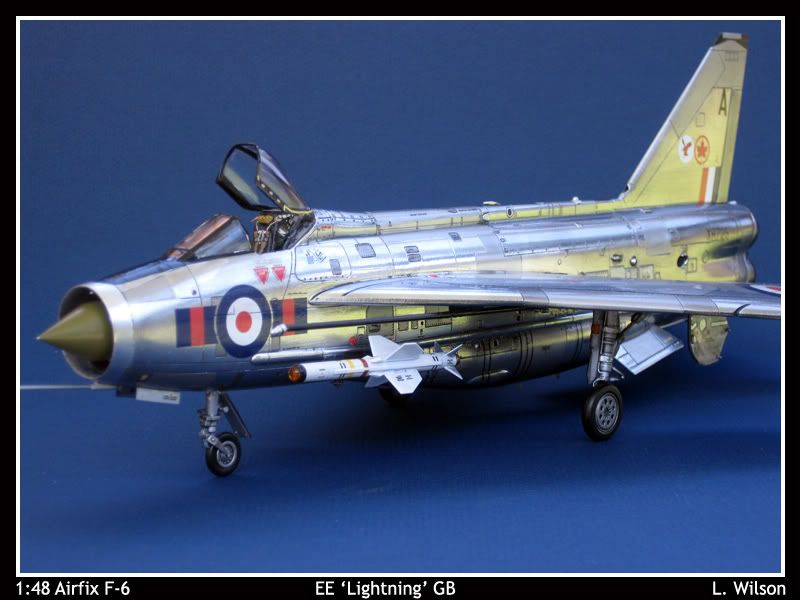
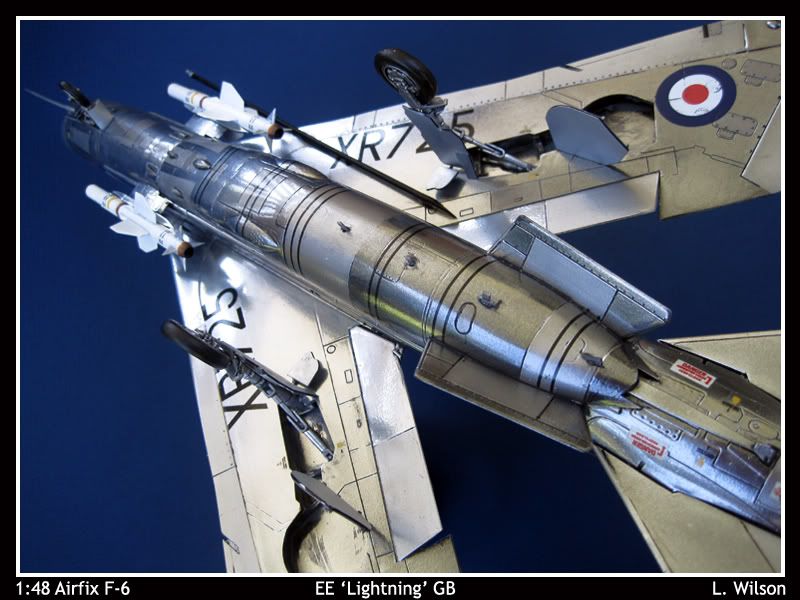
Larry Wilson - 1:48 AIRFIX F-6 Lightning
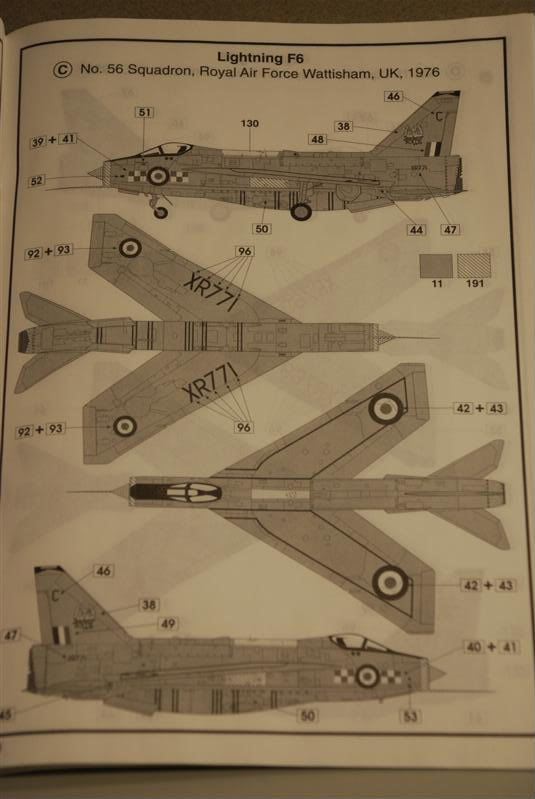
This is my entry for the GB. I will be doing this OOB and will be building the No.56 squadron F-6 version.
This will be my first NMF build and I hope to enter it in a local show here in LA.
Kit : 1:48 Airfix E.E Lightning
Paints : Alcald II - Polished Aluminum, Airframe Aluminum, Dark Aluminum,
Chrome, Black.
Tamiya & Citadel for Cockpit & Details.
Tamiya Clears
Wash : PM Black
Additions : Aries Cockpit Set
Falcon Vacuform Canopy
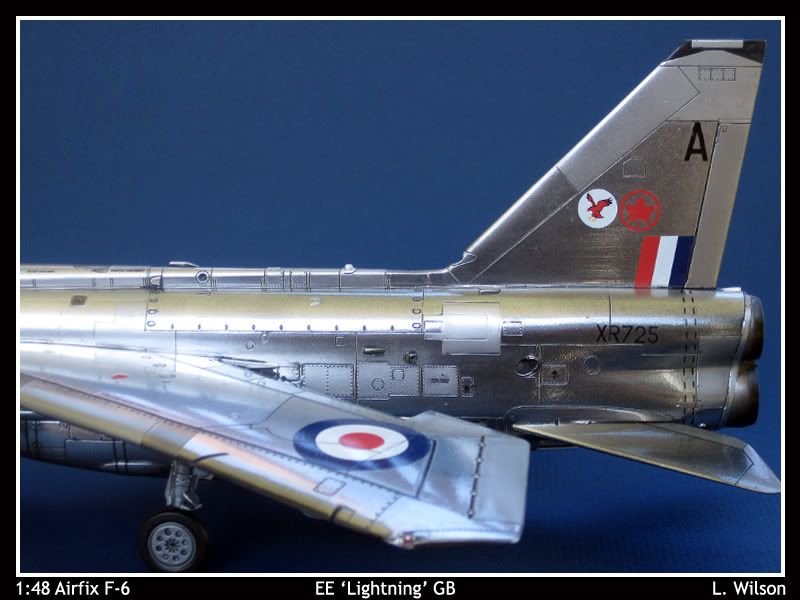
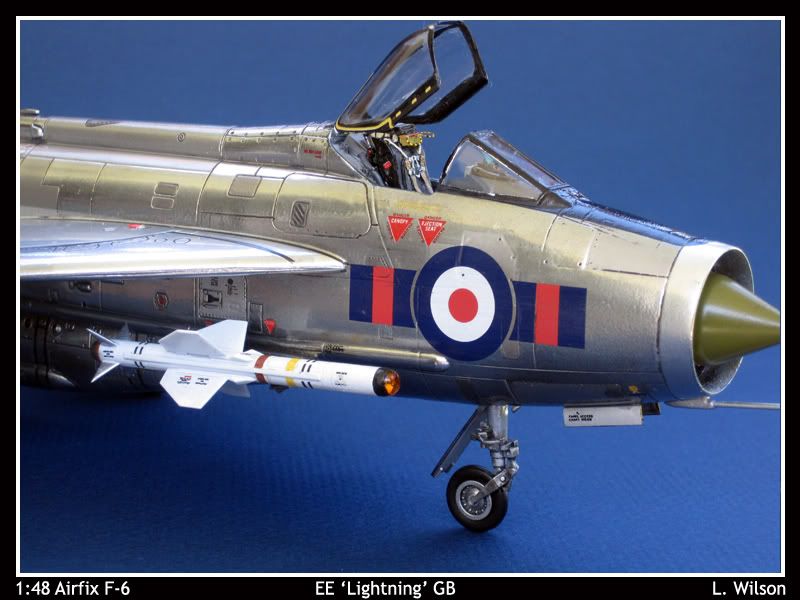
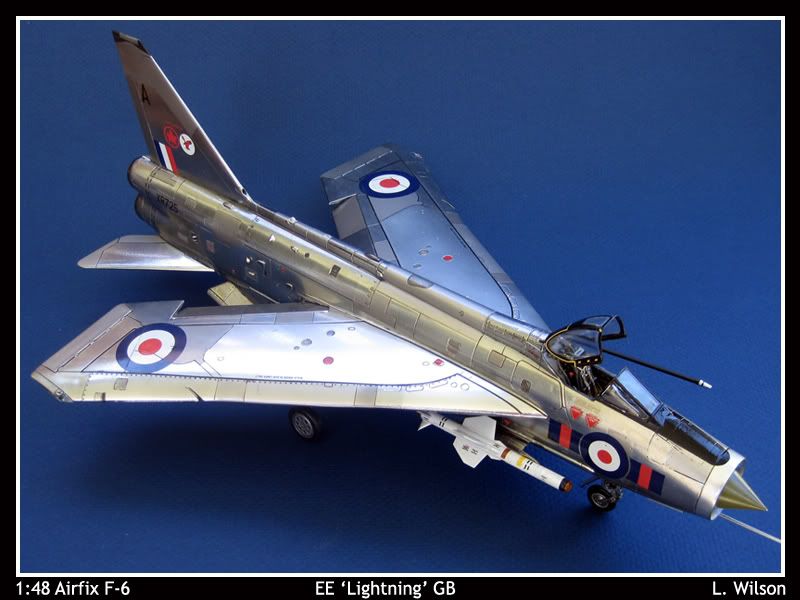
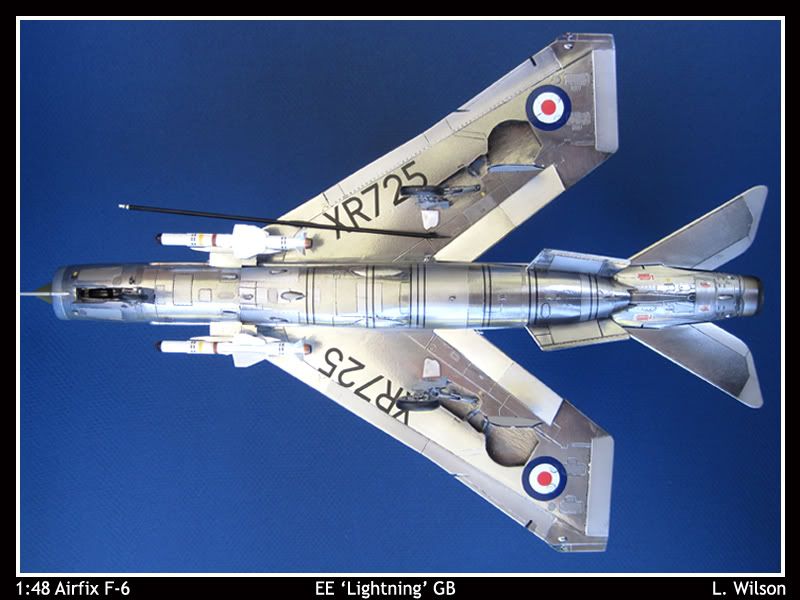
Decals - MA F.6 Sno XR725A of 23 Sqn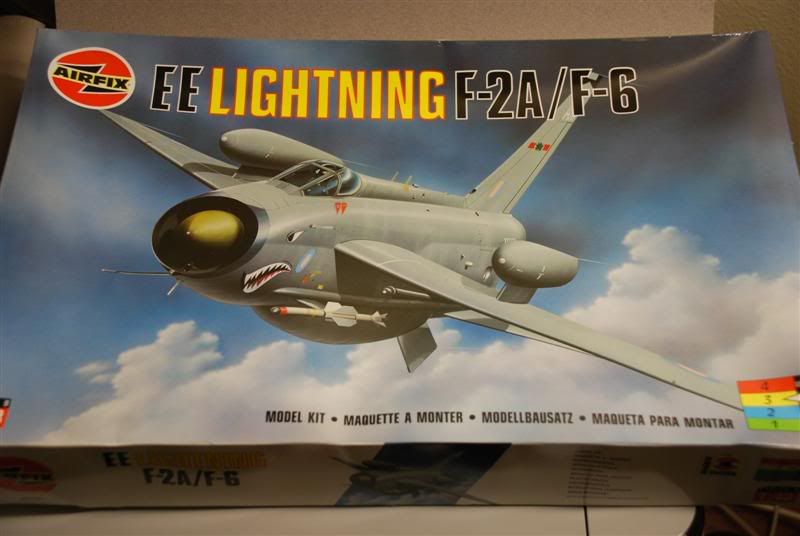
First thoughts...
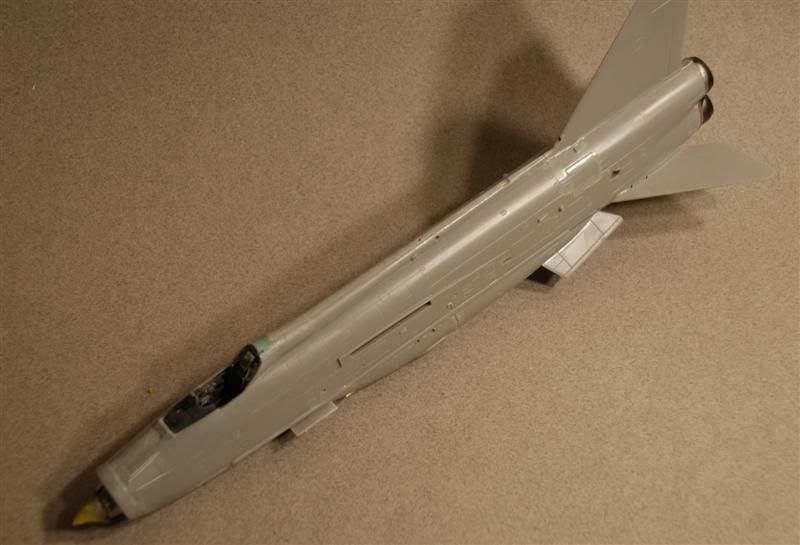
What a frikken large kit! This is my first 1:48 jet and I was not prepared for the damn size of the thing. I normally work in 1:72 and I thought my F-4 was large...
After reading some of the builds here I tested out the kit decals.
Not at all happy with the quality, Hans was kind enough to supply me with some fresh sets.
As of now I am still not sure which scheme I am going for.(There are so many great builds here so I am going to move through mine very quickly)
I started off with pit & pilot with the intention of doing a closed cockpit in flight model. Was not at all happy with the pit detail or the fit of the pilot. The kit basically sat there for two weeks until I decided to fix everything with an Aries Cockpit 
This was my first foray into resin and although a little intimidating at first, the fantastic amount of info on this forum helped everything along without an issue.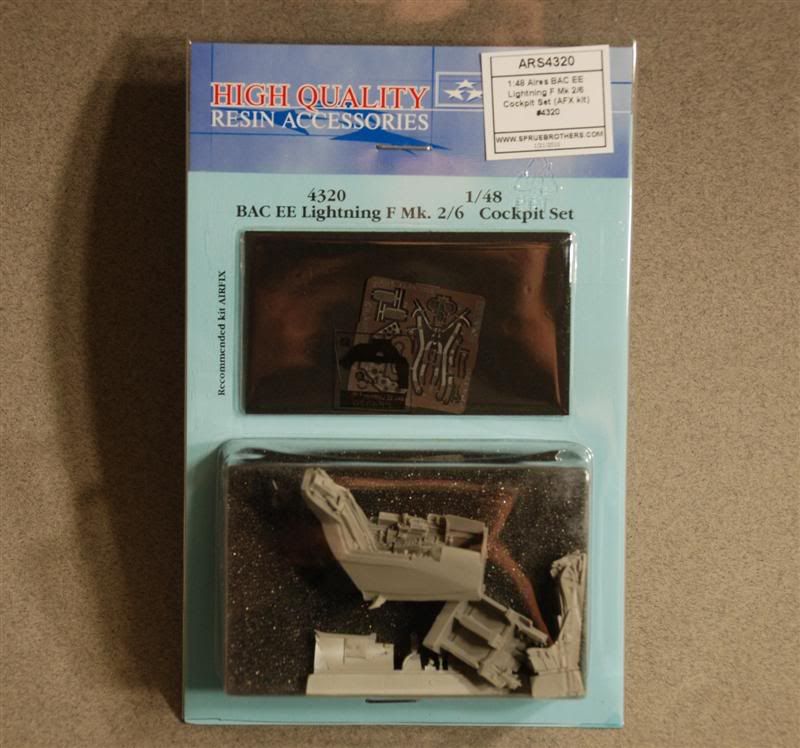
removed the resin blocks and after some sanding did a quick dry fit. A few lil gaps but everything seemed quite snug. no real problems.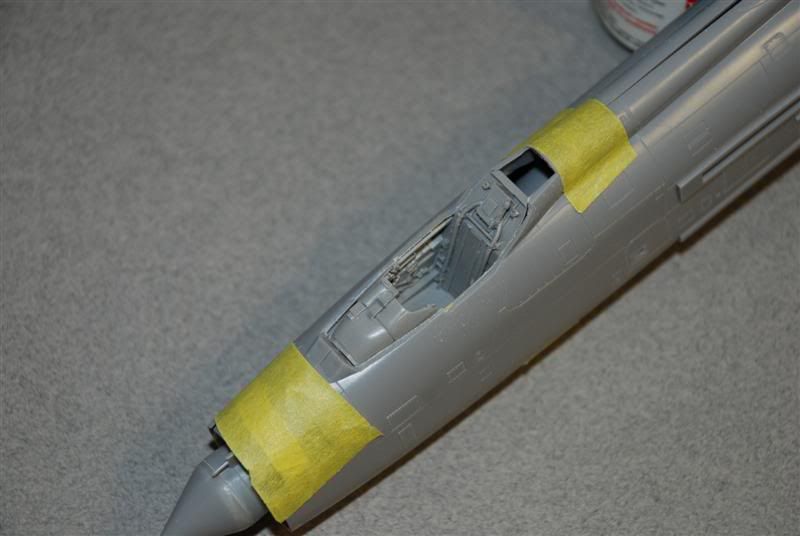
Painted up the pit and installed the PE.Great amount of detail.& very happy with my purchase.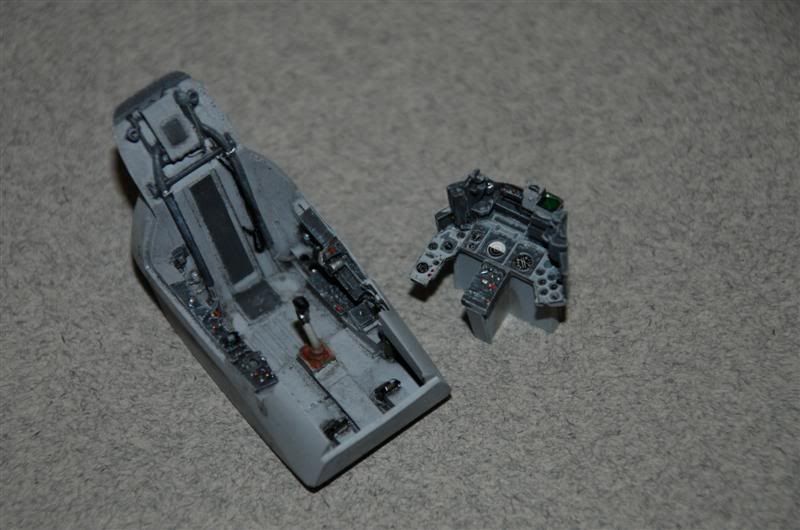
I used Alice's ref pic for painting up the resin seat. A little messy the PE belts.. which drove me crazy but a good learning experience.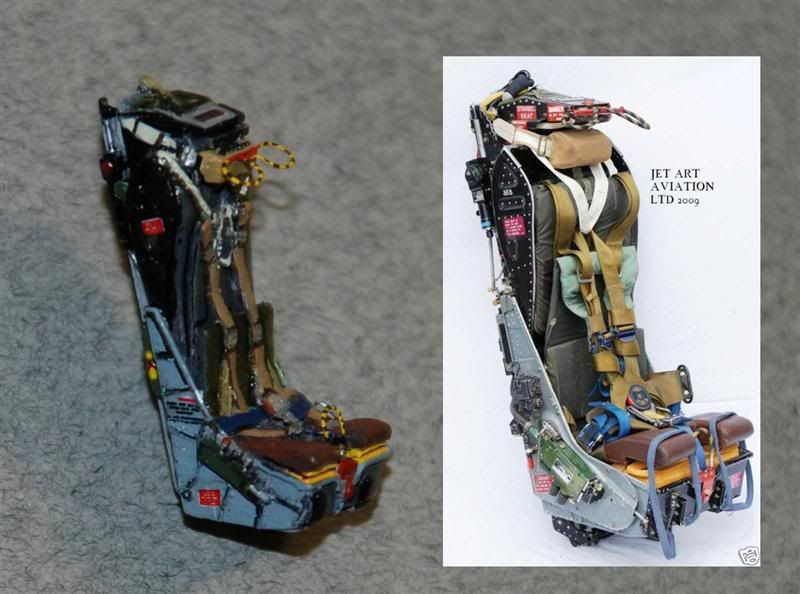
The pit near completion, without the side walls
Some fishing leads and glue in the nose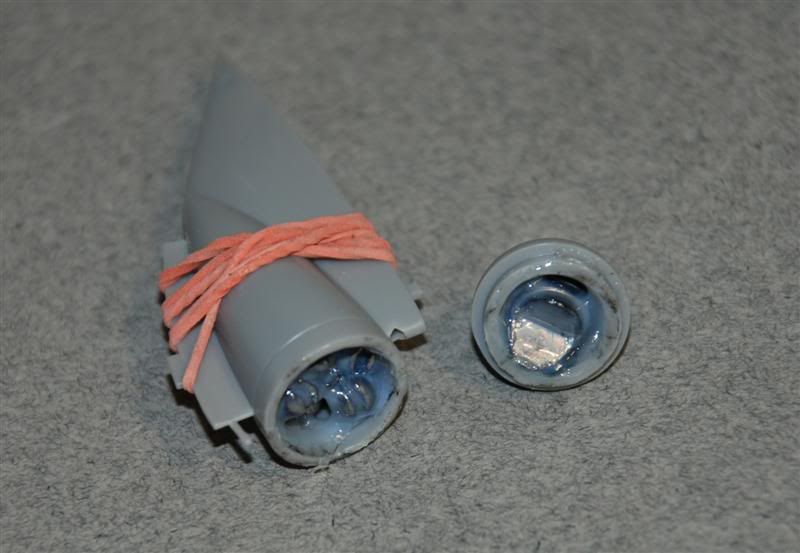
Sprayed the green/OD, masked off and sprayed some aluminum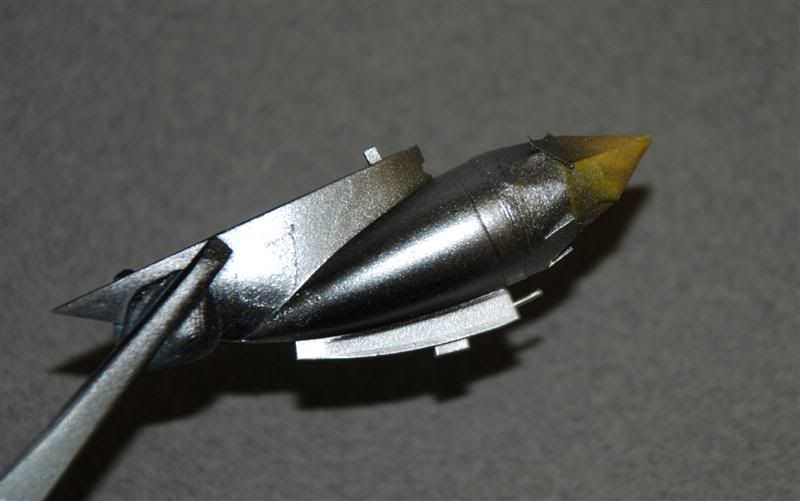
Used Han's method to add some gun barrels to the belly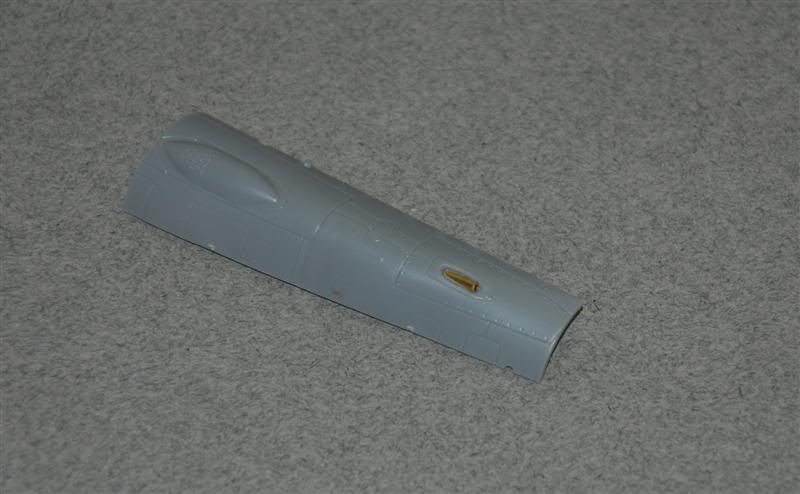
Started putting everything together. Glued up fuse halves. good fit all round with a few minor gaps to fill.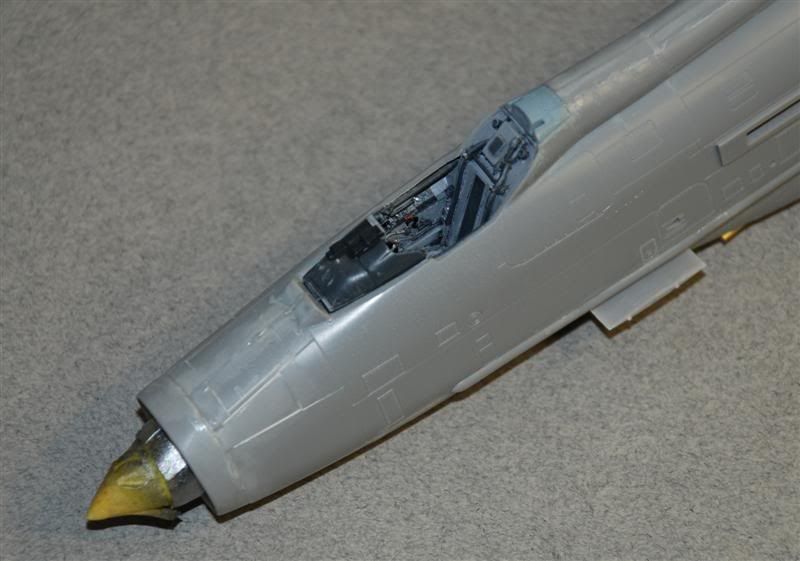
Man has this been one of 'those" builds...
I'm reminded of the saying "Man makes plans while God laughs"
This was intended to be a quick simple OOB build to try out a Natural Metal Finish. It has moved a little beyond that
Not to mention that I work in advertising and my mind is always a month ahead... I thought the deadline was this weekend!
Anyway she is almost all done now and I have a grace period to tidy some things up.
So I've replaced the decals & the cockpit and I got the fuse halves together, ready to get the wings on when I noticed that the glue had melted right through this fuse 
So on the right side, right below the cockpit I had to remove about a 1cm square of the gooey plastic.
Took a few rounds of filler/Mr.Surfacer/Sanding to fix it and then I added scribed in some panel detail.
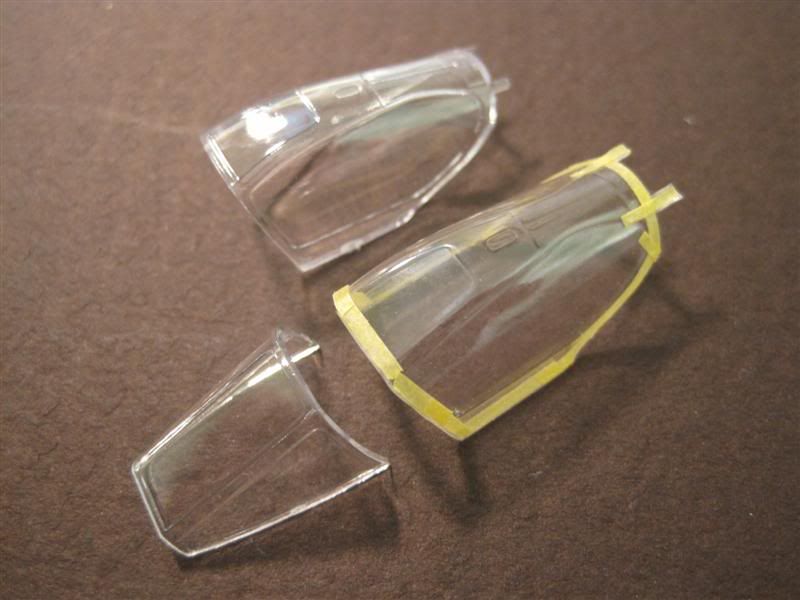
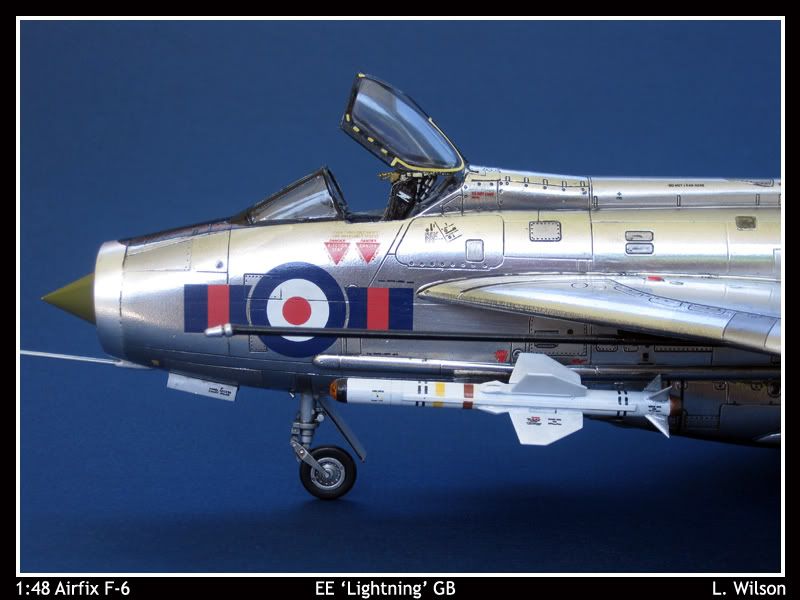
And then when it came time to work on the canopy I realized the kit part was damaged. I did manage to get hold of a Vacuum Form canopy from Falcon http://www.falconmodels.co.nz/clearvax/set40.html (thanks Arnie)
Deformed section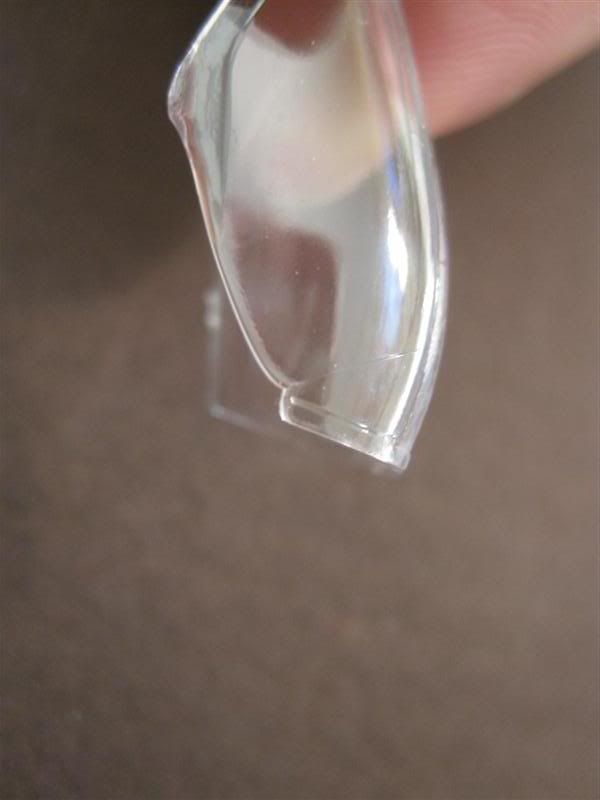
The collection of canopies in the box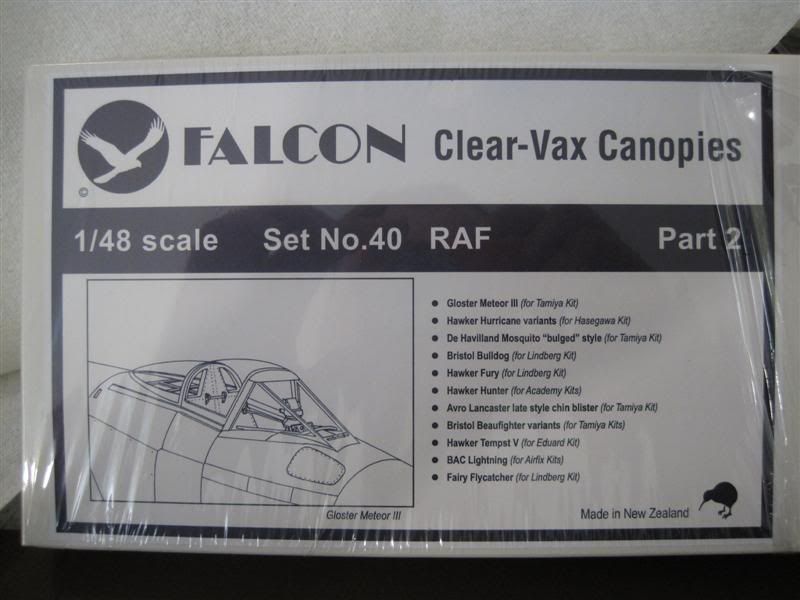
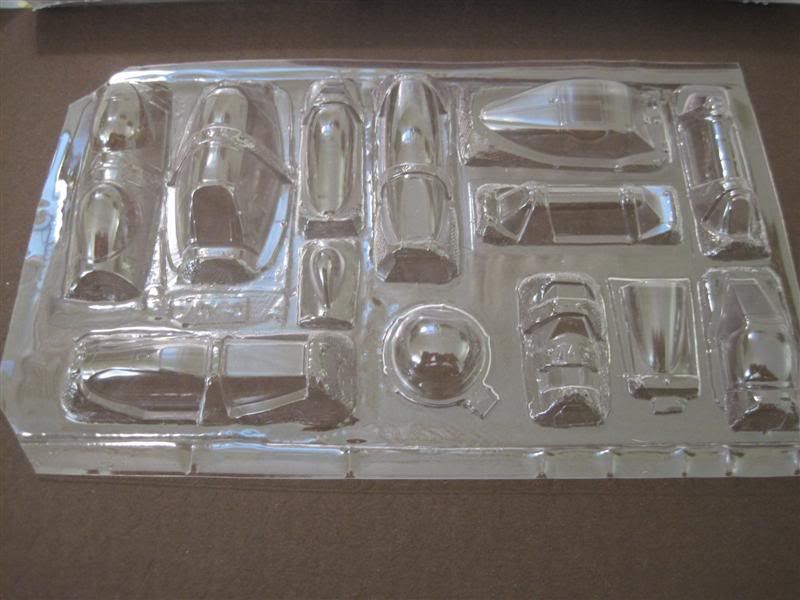
Removing the canopy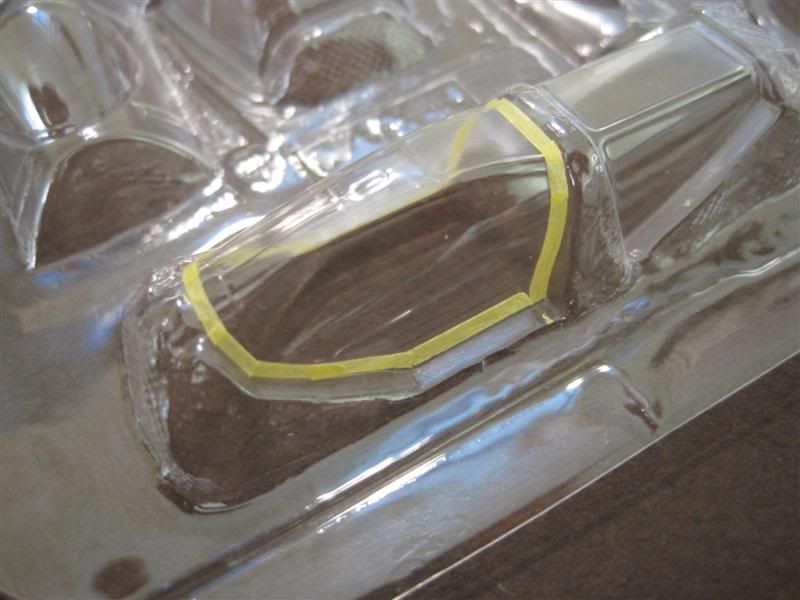
First time working with Vacuum canopies and takes a little practice. Need a soft touch as they seem real fragile. Dipped in Future and left to dry.
This canopy is only intended to be posed "open" so I am glad I went ahead with the Aries Cockpit
Finally ready for priming. Wings on and seams/panel lines done.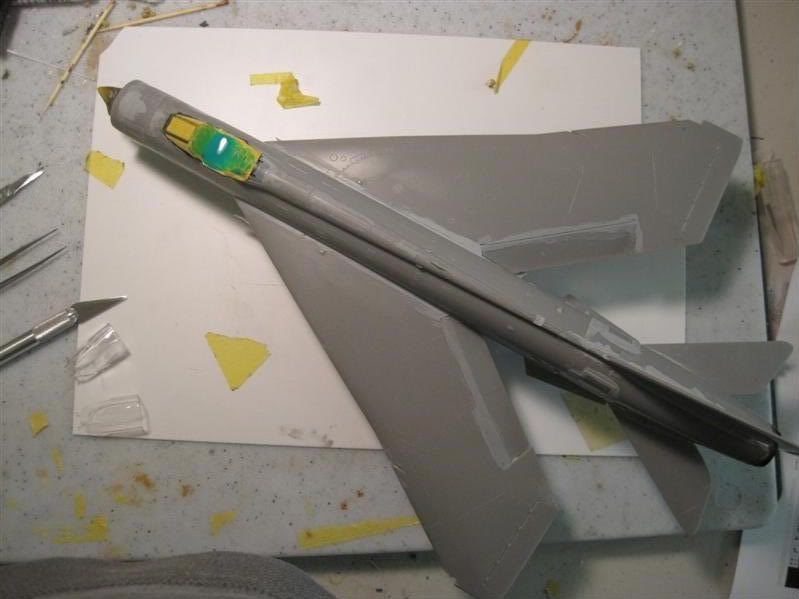
I went around with a some micro-mesh sanding blocks and polished up the surfaces as best I could. I was getting a little paranoid about the upcoming NMF job...
Cleaned of the plastic and then a last polish with a static free cloth.
From this point on I used gloves when handling the model.
(I also build a small base to rest her on so that she would be stable when painting and I could have both hands free)
Smoothed everything out with a coat of Tamiya Fine White.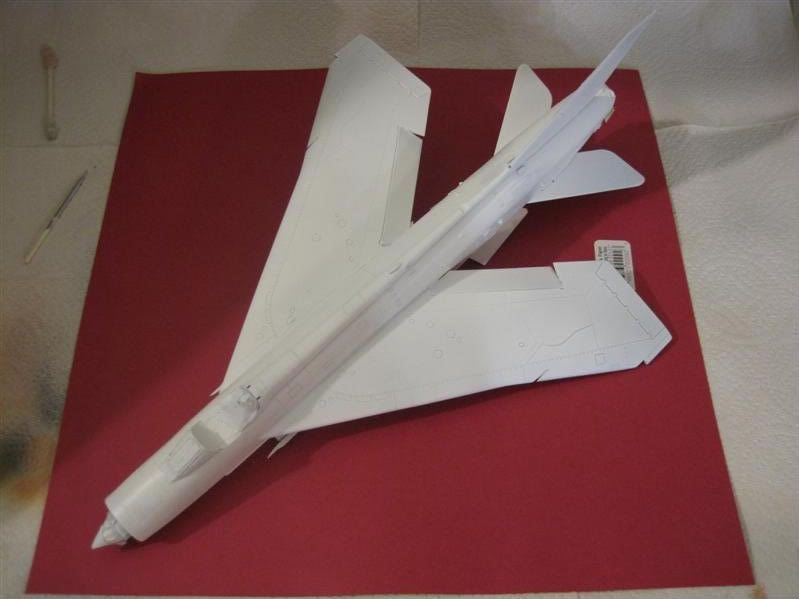
Then misted on the Alclad II Black. The only way I could do this without touching the model was to rest her on her tail end.
Covered the white and then left to dry in my cabinet for 2 days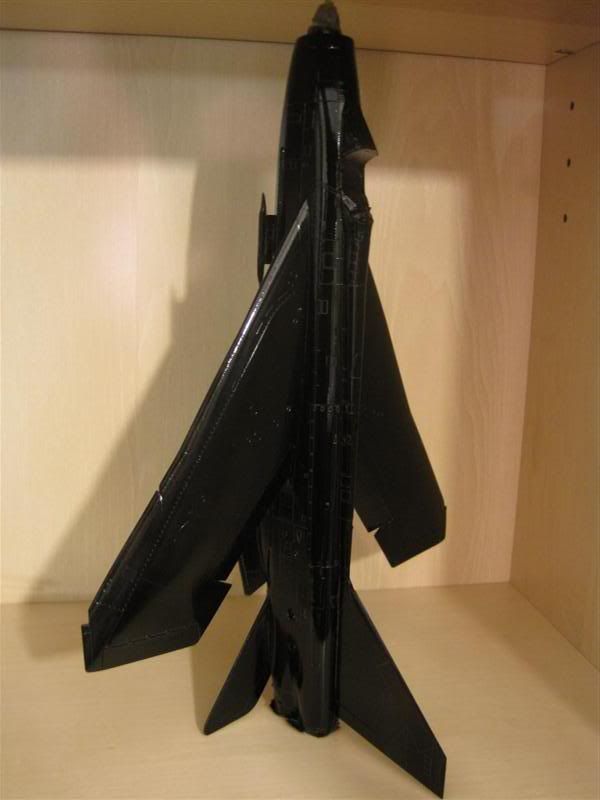
Now as this was my first NMF job I really wanted to see what the Alclads could do. I had considered going with a dull metal look but the decals and paint scheme were really simple... no additional black tail or red stripes etc...
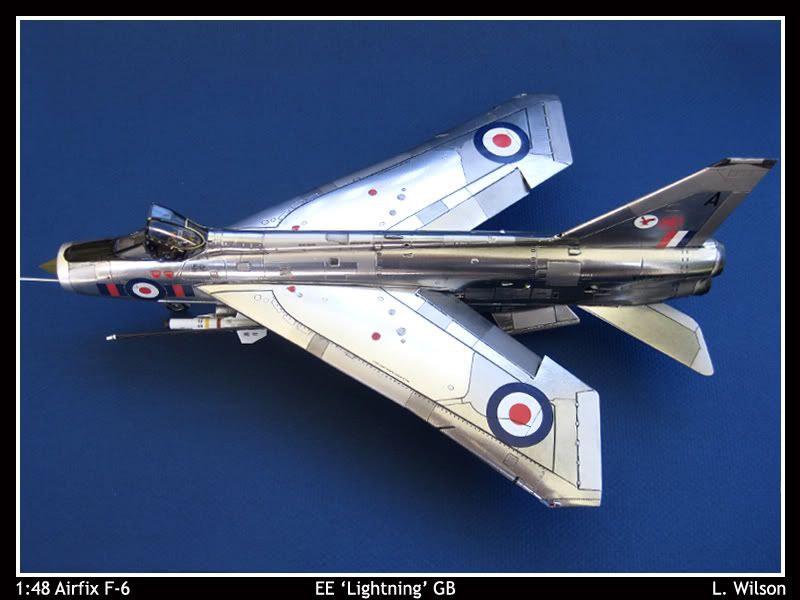
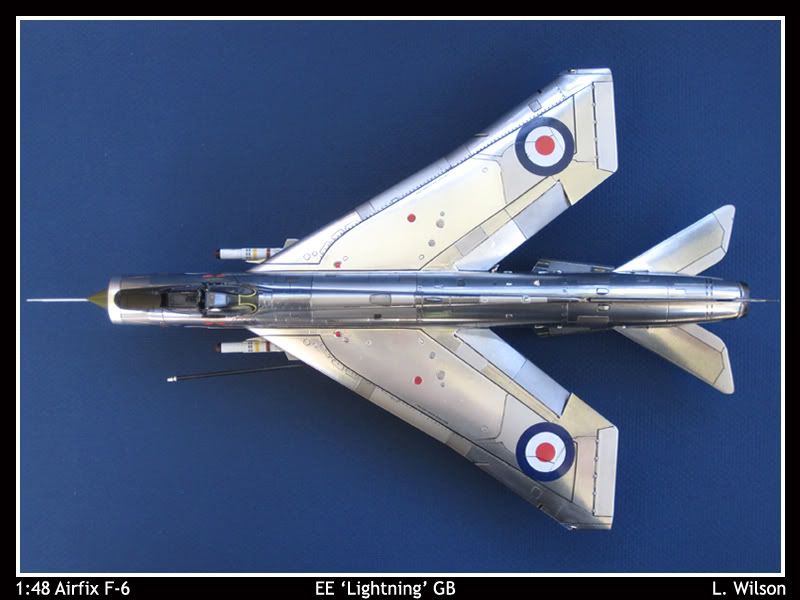
So in the end I settled on a high shine finish.
I started with Polished Aluminum and covered the black.
Was very happy with the shine but in retrospect I think I should have layered on some more paint.
Left that to dry for around 48 hours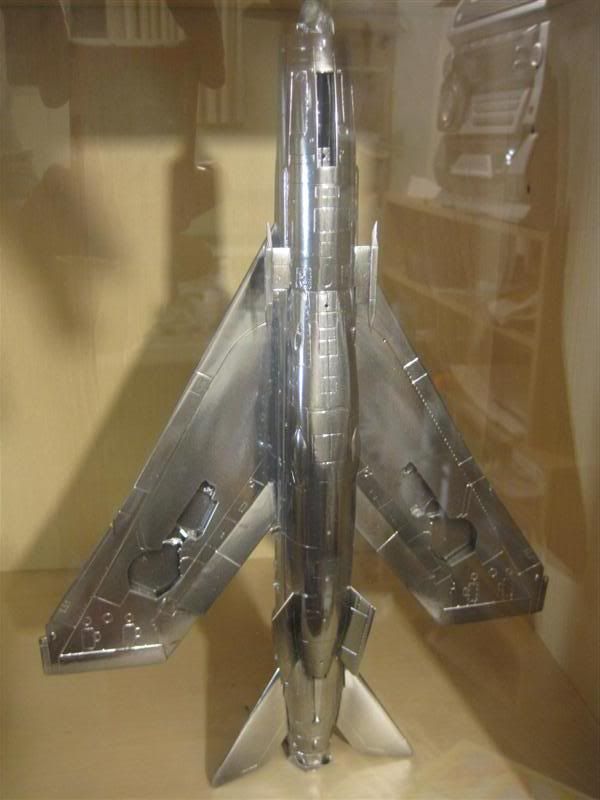
Then I started work on the various Panels. This took pretty much a full day of masking and spraying. I used Airframe& Dark Aluminum Alclad & Chainmail & Boltgun Citadels to color up the panels.

Now I am busy working on the decals... The decals supplied by Hans have gone on perfectly but that kit decals are a nightmare. They are super thick. out of register and tend to silver. I have resorted to adding substantial amounts of micro sol to the warm water and in some cases even dipping the decal in micro sol I have managed to get most of them down now but it has been a bit of a pain.
Lastly I will add a panel wash and then clear coat it.
I have to say though that for all that has gone awry with this build, I have had plenty to learn from it and now with the end in sight I must admit that I do quite fancy the old bird!
This is the last update before the finished pics.
- Got all the decals on
- Added all the small Antenna
- Painted up & detailed the undercarriage & missiles
- Fixed up some alcald areas
- Cleaned off as many of the watermarks as possible and then brushed on
Future.
She is sitting in my cabinet and drying now. Last major step is to add a PM wash and then add the undercarriage, missiles, pitot tube & refueling probe.
Will hopefully have it all done by this weekend!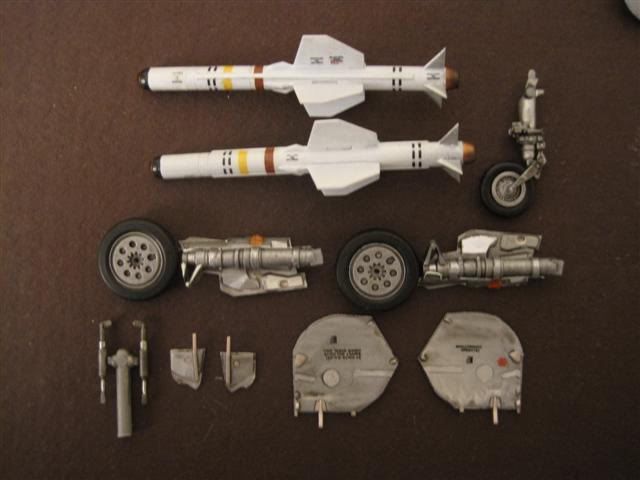
Notes: Many firsts for me from the Aries cockpit to the NMF to being my first 1:48 jet, but I have learnt a lot as I worked through the build.
I can't say was one of my favorite models but I am glad it is finally completed.
One thing that did help was taking frequent breaks from the build.
Onto the pics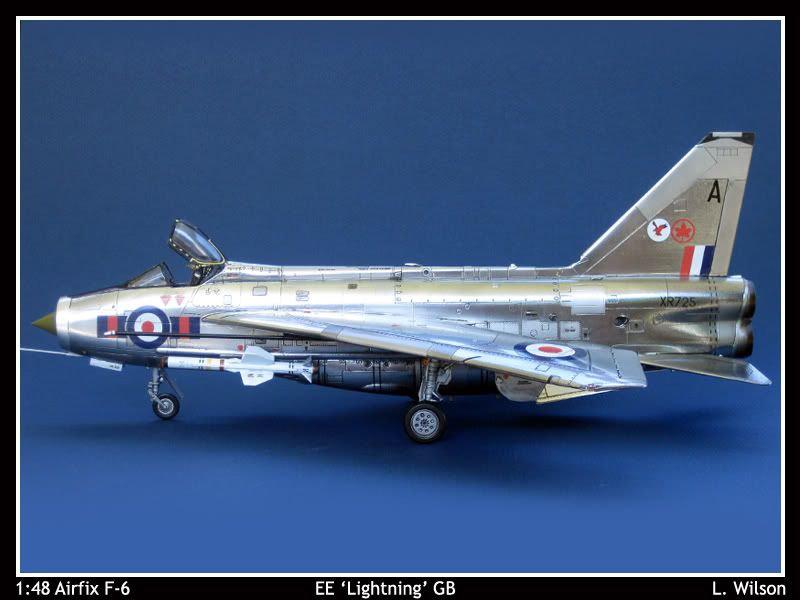
Many thanks to Hans for the decals and all the support during the build.
Larry