


1/72 MPM Bristol Blenheim
Mk.IV
By Mark Winsor
I have decided to do this one as a progress build, purely because it could go either way so thought I would share. Why? well this is a very odd kit!! Not sure if you saw my post earlier this week about MPM kits - but basically i've never done one so thought would give it a bash and this is what I found....
Pros:
Recessed panel lines
PE belts and instrument panel
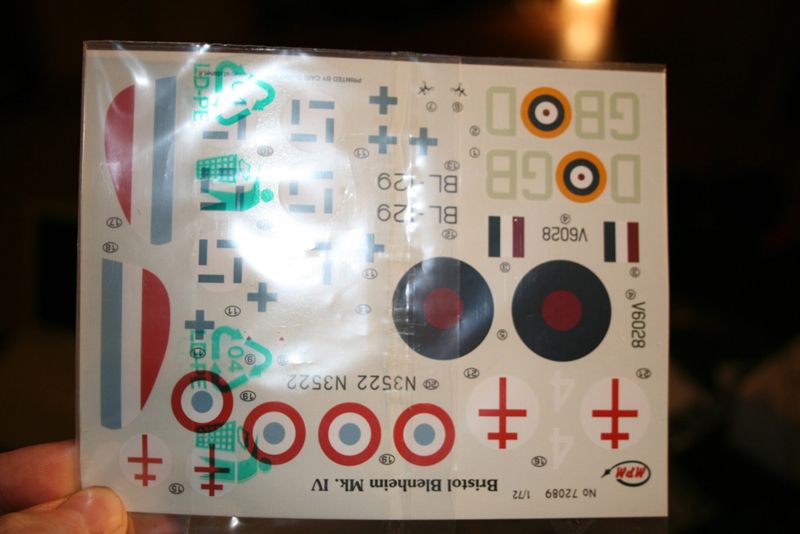
Cartograph decals
Some lovely Resin engines and other detail
Cons:
rubbish instructions and colour call outs
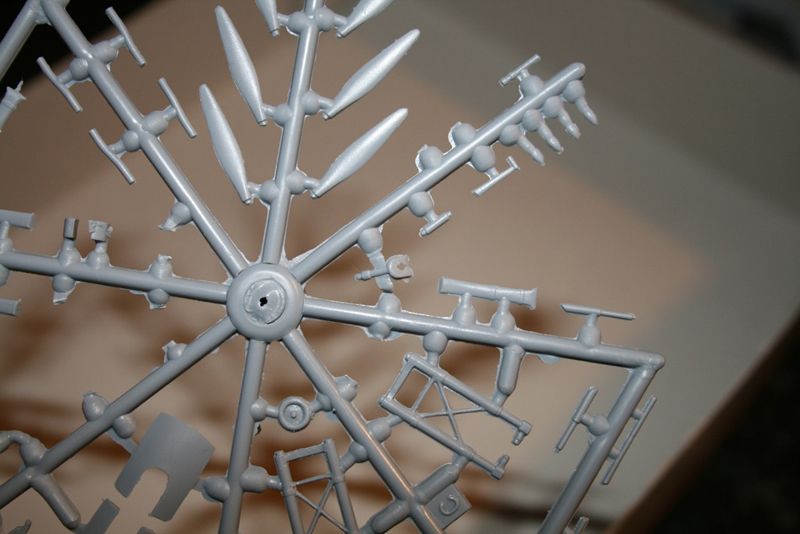
lots of flash (see pics below)
soft bendy styrene
thick sprue gates
Ill fitting parts (lots of filler needed me thinks)
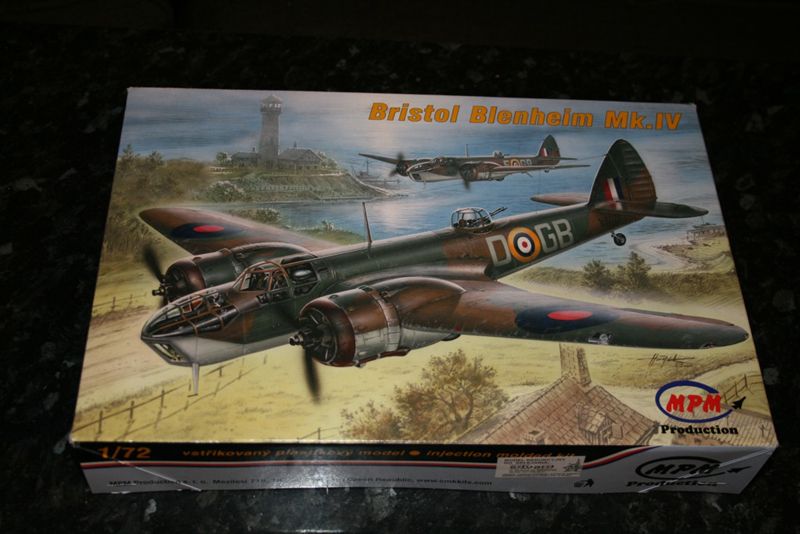
- Kit:- Bristol Blenheim Mk.IV
- Scale:- 1/72
- Decals:- Excellent kit items from Cartograph.
- Paints:- A mixture from Tamiya, Xtracrylic and Citadel.
- Extra's Used:- None but the kit comes with some nice resin parts and PE for detailing the cockpit and engines. I 'scratched' the Nav and Landing lights using some clear sprue.
So to start off with here are some shots of the box and bits. Good box art:
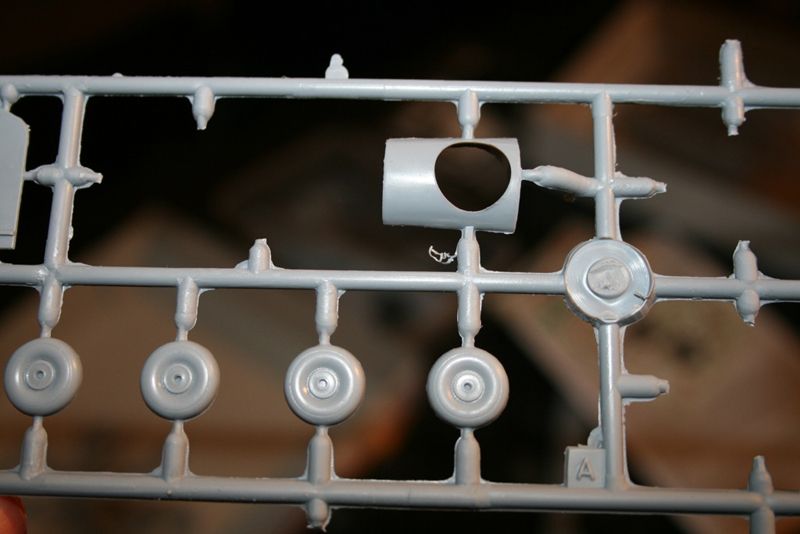
The flashy sprues.

Those annoying wheels which are moulded in two halves.

Those annoying canopies which are moulded in two halves!!

Cartograph decals look good.
Very basic instructions and poor paint references.

The little bag of resin goodies (engines, machine gun and spinners).

As predicted this kit is proving to be a challenge. EVERY piece needs sanding, there is flash everywhere and the fit is poor and the plastic is soft. Never before on a model have I had to do som much filling, sanding, filling, sanding. Quite tiring really and at times I have been close to binning it...BUT...I persisted and here is the story so far...
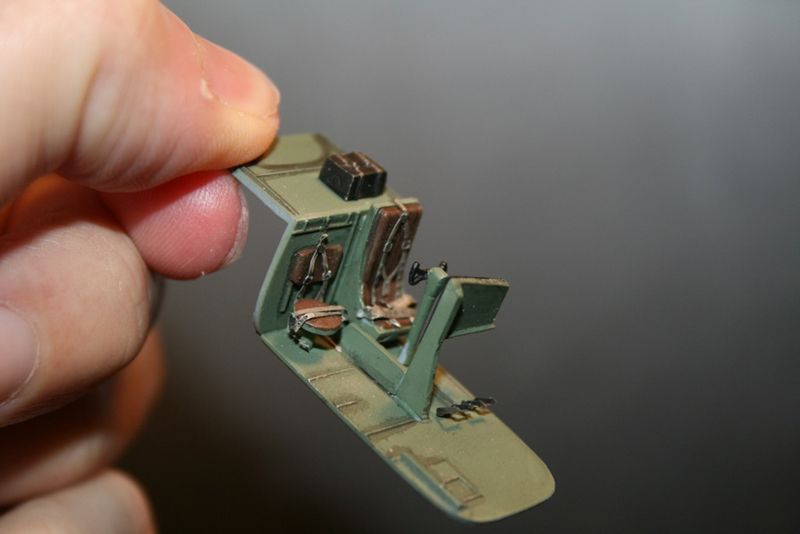
Firstly the cockpit. I have to say it went together very well - the addition of PE seat belts, rudder pedals and instrument panel has really bought it to life...otherwise it would've been severely lacking in detail. I added a wash and then dry brushed the detail in silver/light grey in order to bring it out a bit.


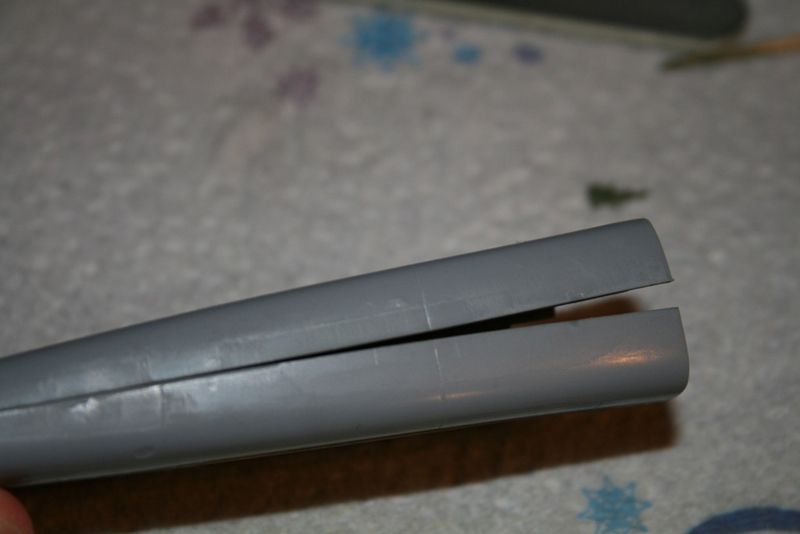

With this kit you have to put the fuselage halves together and then the cockpit inserts in the front end. So on to problem 1 - It was evident from dry fitting that the two fuselage would not sit nicely together naturally and would need some brute force to sandwich them together. There are no locating pins either on this kit meaning that the bond would have to be pretty good...just to add to the excitement.
so out with the clamps....


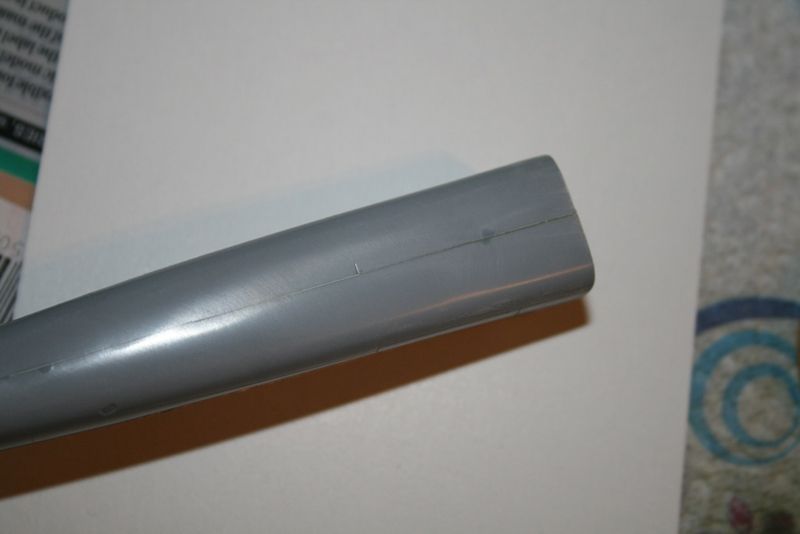


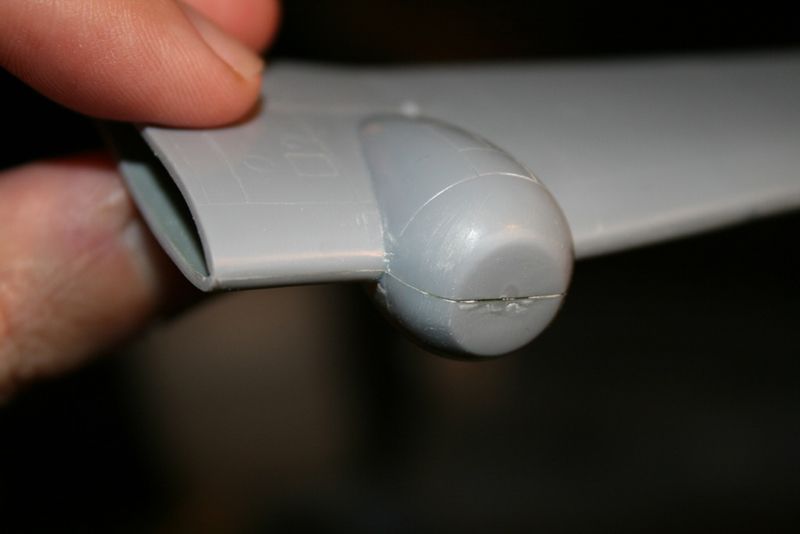
As if I wasn't glutton enough for punishment I decided to add some detail by creating some Nav lights to the wing tips and also a landing light on the starboard wing. To make the former, I cut the wing ends carefully using a knife and sanded.


It required so much force I was worried I would break the plastic or the glue would not be strong enough. I used CA glue with some kicker to ensure an instant bond. After that I ran some Extra Thin over just for good measure and I was chuffed to see it worked well and held together nicely, albeit I had to be careful when handling from now on.
Here it is with the cockpit in place. I noticed that the wash was a little heavy so I have re-sprayed interior green and touched up the areas in the cockpit to tidy it up a little bit!
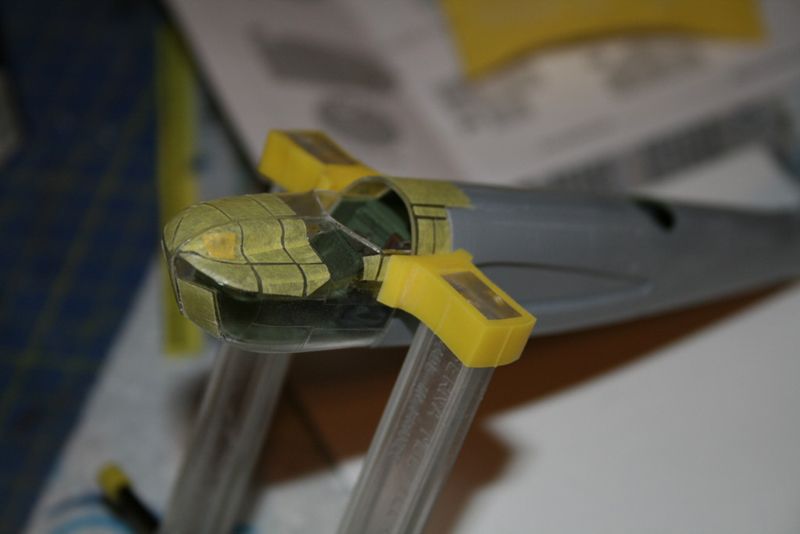
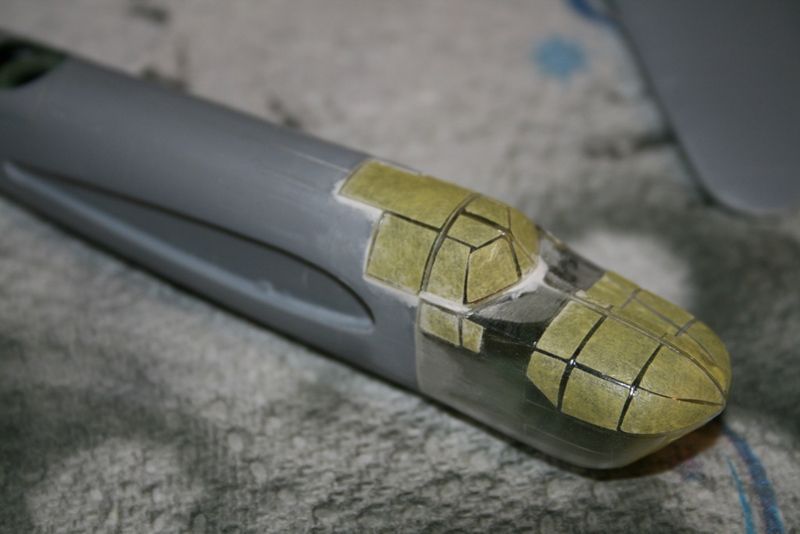
Next up was constructing and masking the 'greenhouse' style extended canopy the Mark IV possessed. The main canopy part was in two halves wich I carefully sanded then cemented together using extra thin. Then it was time for my saviour once again...good old Eduard Masks - wasn't sure if this was going to work as said it was for a different kit...but I gambled and it worked very well - so this was obviously a re-boxing of an old kit under a different name.
In all there are 3 clear parts which make up the canopy - the fit was appalling and required more sanding to ensure a snug fit against the fuselage. Again clamps were used to hold it in place.
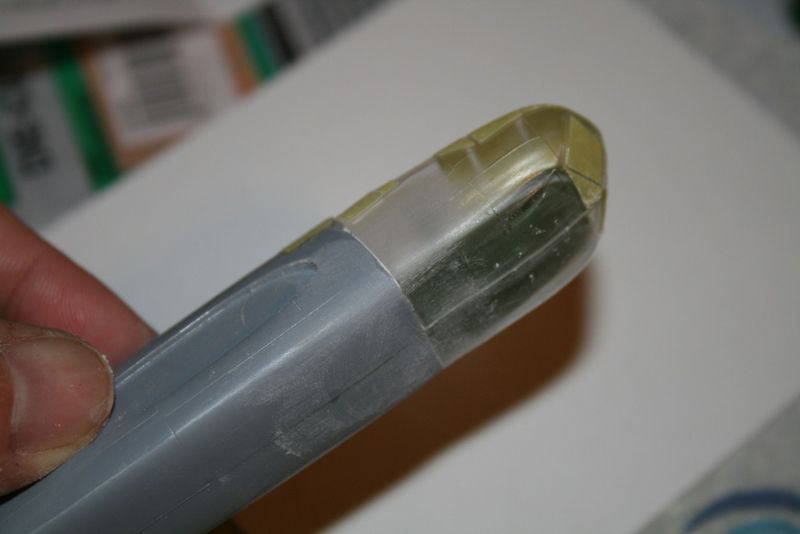
The third and final clear part was added again after much saving...but having done the best I could, still needed to get the filler out to deal with the tiny gaps remaining.


Then I moved onto the wings - the fit again was crap, not helped by the complete lack of locater pins. Pegs were attached to hold place then Extra Thin ran around the joins.
The other odd thing with this kit is that there are no support tabs or slots at the wing join.
CA was used to bond then out with the filler around the joins...more elbow grease required for lots more sanding.


Same issue for the tail planes and even more filler required at the joins. Tamiya tape was used to ensure the filler only went where required. I find that whilst still 'wet', a cotton bud dipped in X20A can be run over the join to smooth down the filler so minimum sanding is required. This works really well.
Then onto the engines. The kit comes with 2 fantastic resin parts which were painted Gunze engine black then dry brushed with citadel metallics to pick out the detail.
These are then fitted inside the 2 halves of the cowlings on the nacelles. Again the fit was poor so a bit of sanding needed to ensure a good tight fit. Mr Surfacer then came out to check the joins - not just on the engines but the whole model then sanded back once again to ensure they were all good.
Now the whole model is ready for priming...(leaving the canopy)


I use Alcald grey primer and micro filler - it gives such an amazingly smooth finish. It does stink, but I love the stuff. I am aware that I will need to re-scribe some of the panel lines that got lost in all the sanding but the the primer coat ha nicely showed up all the areas needing attention. I always like this bit when you prime as you can see just how well you have done with filling and sanding. I have to say the grafting pad of and I was well pleased with the result so far.
Lastly the canopy was painted flat black.


Owing to all the flaming sanding required I ended up having to do some serious re-scribing. The thought alone scares me but I gave it a proper bash for the first time - mixed results really but practice I am sure will make perfect. Trying to stop the damn thing from slipping was the key. Needless to say the odd line is a little wavy in places - I need to get some Dymo tape!
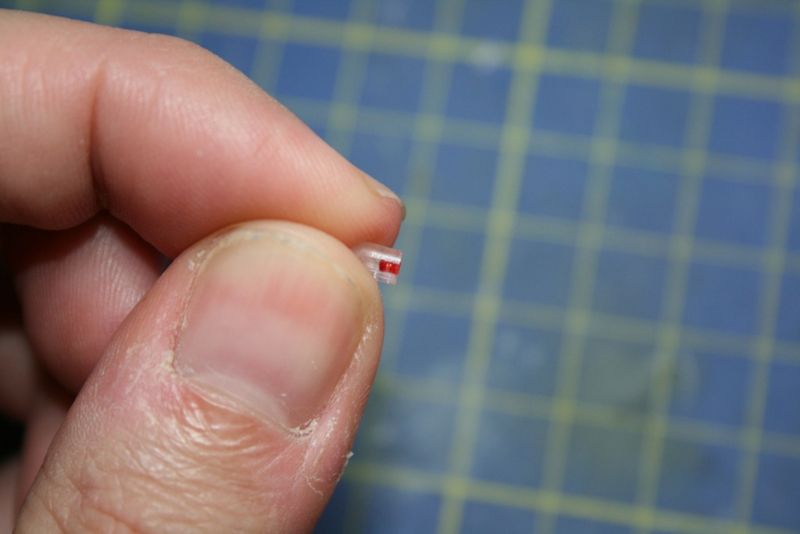
Then using the sprue the clear parts were attached too, I cut some small chunks and using a pin vice drilled into one end and filled the hole with Tamiya Clear Red and Green respectively.
Then using generous amounts of CA glued them in place. When the bond had set I used layers of CA (as per Phil's tips in his vids) to act as a filler. Finally I sanded and sanded to file down to create the right contour and using finer sanders and finally the polishing stick to buff...


A better example of how crude it looks at first - wasn't sure how well it would turn out at this stage!


Now the pre-shading round the main panel lines using tamiya flat black.

And on with the brown camo. I decided to use Gunze RAF Dark Earth but couldn't help feeling it was too light so I reverted to the Xtracrylics version of the same colour which IMO is far more accurate. For the Green I used Tamiya RAF Dark Green.


And with the Xtracrylic Brown.
Now it's time to paint the engines. I used Citadel Tinbits for the dark coppery colour surround and on the exhausts.
They were then fitted onto the model.

The underside was painted Tamiya Sky.
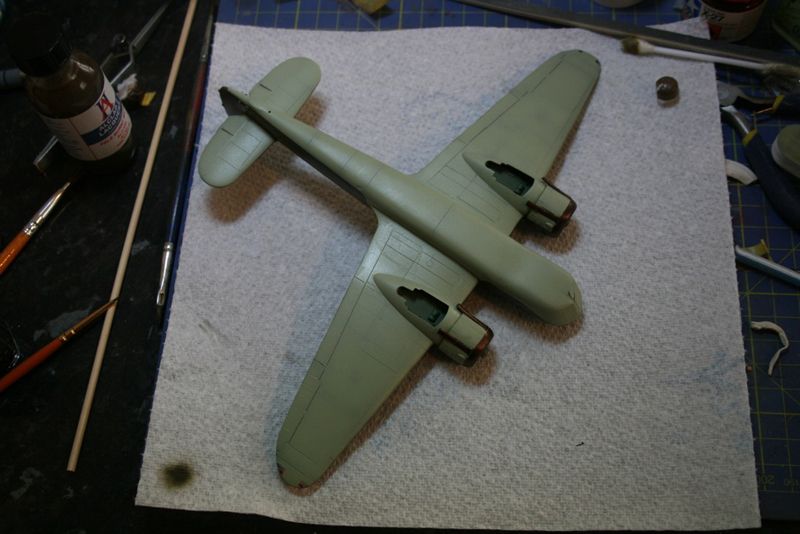
No decal was supplied for the walkway so this was painted using Tamiya Nato Black then the model was given the obligatory coats of Klear.


Decals added - I have to say they went on a dream and settled in well with a bit of Micro Sol, really impressed. Finally another Klear coat to seal them in.
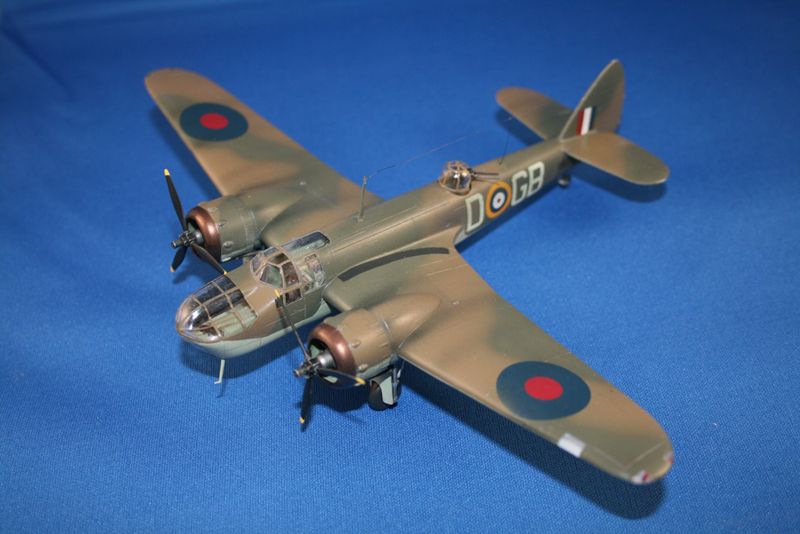
Weathering added just really by fine mists of a mix of diluted Tamiya smoke and Nato black for exhaust stains and dirt. Also used the mix to dampen down the brightness of the decals. Finally a flat coat applied all over and the props attached. The prop blades had to be painted separately and then attached to a nicely detailed resin spinner.
And that's it...all that was left to add the fiddly bits - ariels , antenna wire (using fine fishing line), pitots etc and of course remove the paint masks and she's all done!


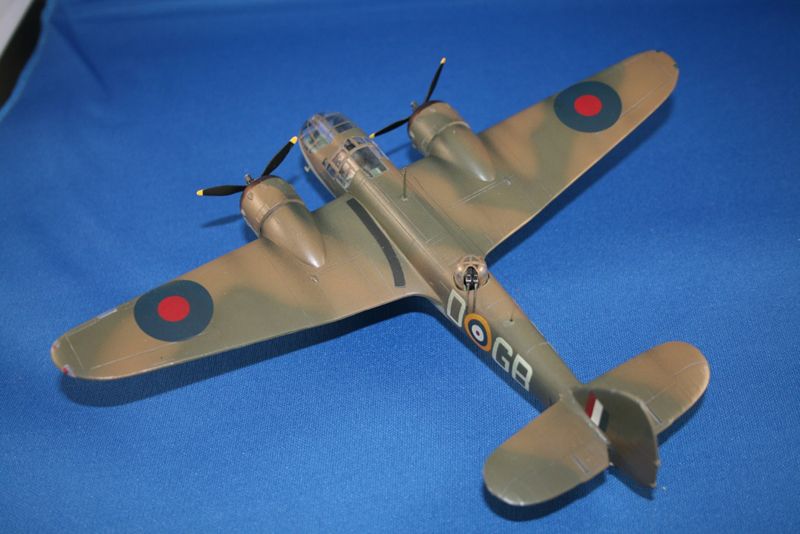


Thanks, Mark
Well she is finally done...a complete b*tch of a kit if Im honest but I am fairly pleased with the overall build considering. It tested a lot of patience and is by no means perfect. My patience really ran out towards the end and I just wanted to get it done. The undercarriage is appalling mainly because of the flimsy plastic which makes sanding the flash mould lines very difficult and detail is lacking. The turret is also poor in detail and the clear parts for this are poor in quality . Otherwise it does build up into a respectable Blenheim though doubtless missing some key details...but it is 1/72! If all MPM kits are like this I won't be bothering with them again.
Thanks, Mark