


Well the first of the year.
It's the 1/48 Hasegawa F-4S Phantom with the the Aires cockpit set and Airwaves wing fold set all courtesy of Graham at Relish models. Speedy service as always and can be found on the links page.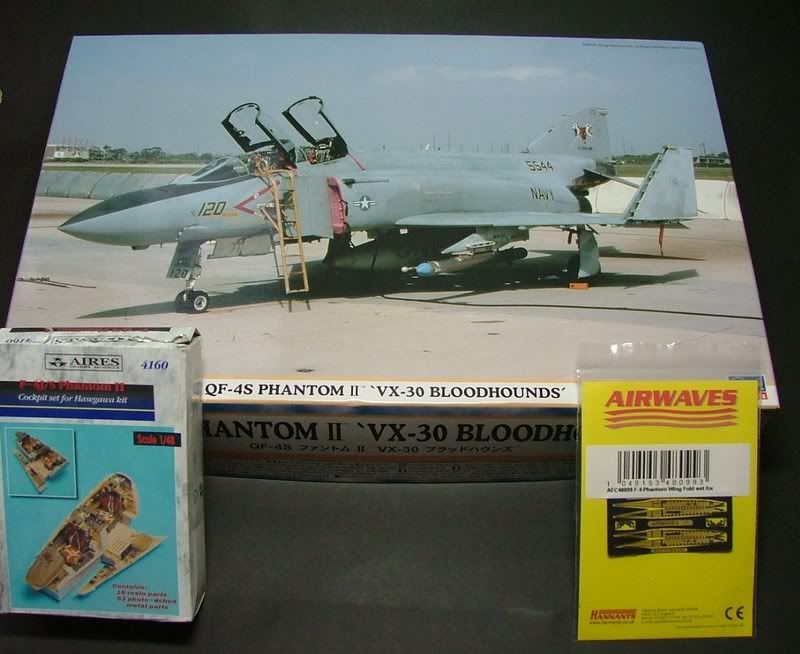
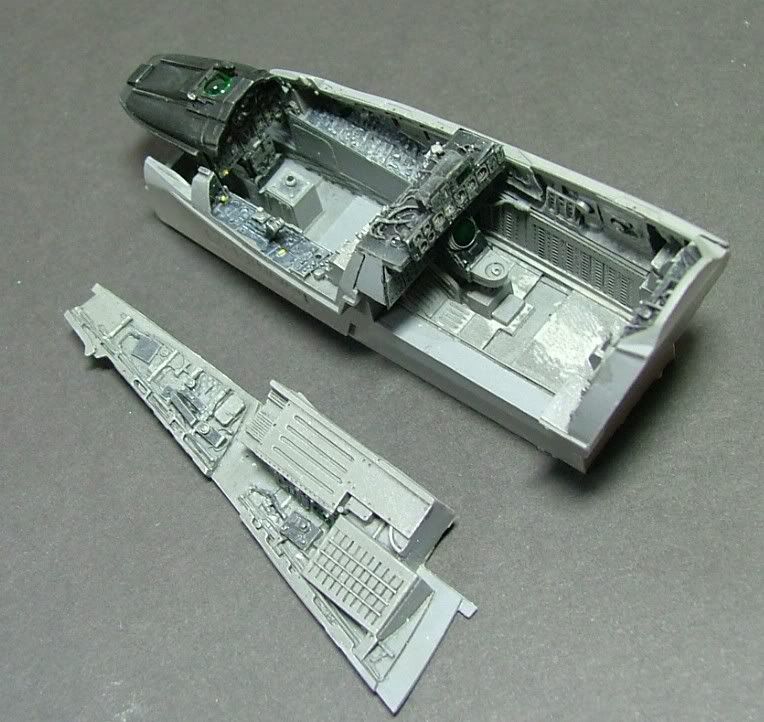
First up the Cockpit
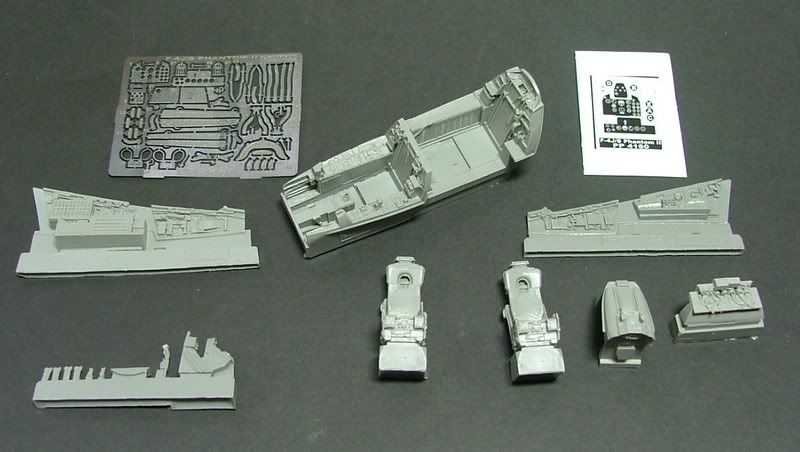
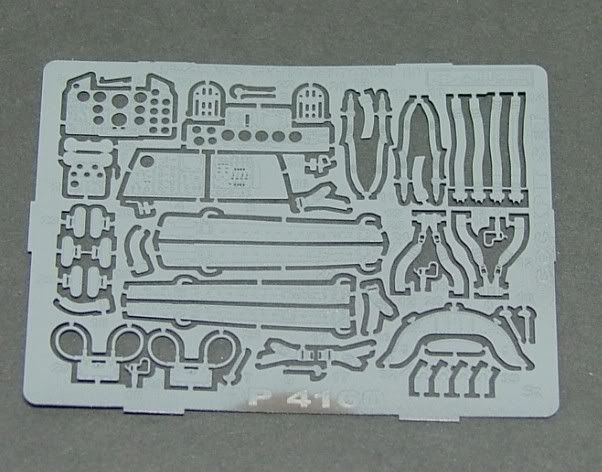
This is what you'll find in your Aires set, very detailed, very good quality resin with hardly any bubble marks.

To Remove the parts from the plugs, I would recommend running a sharp knife along the join. The resin can be brittle and if it does break it should do so along the cut you made.
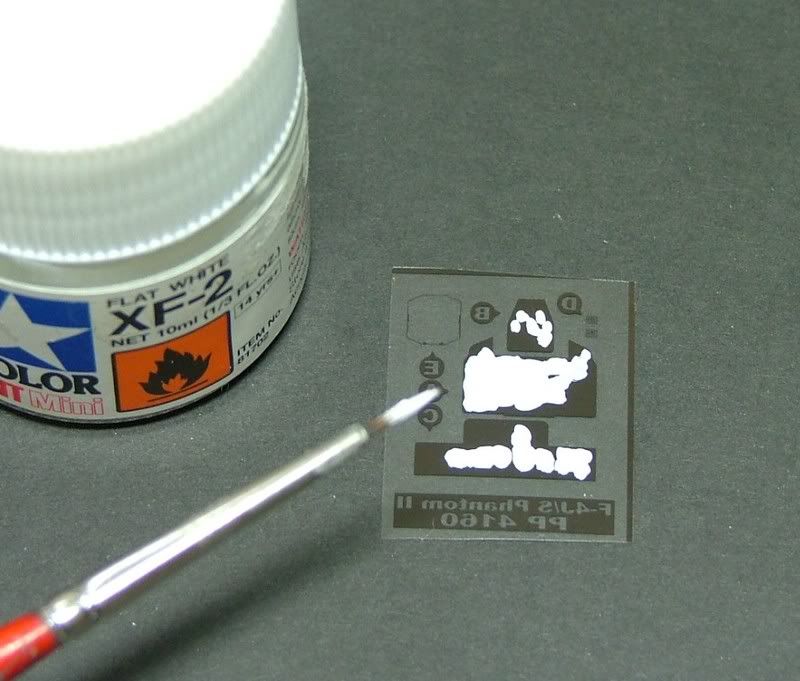
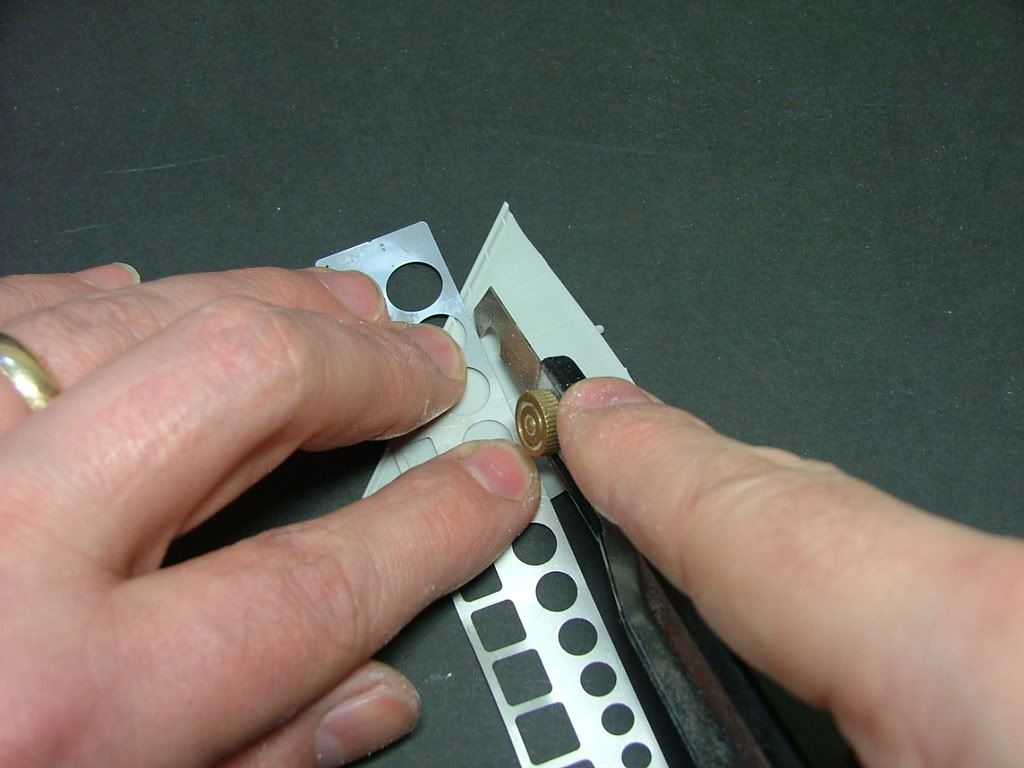
On the back of the film, paint flat white, this will make the dials really stand out.
Next I spray the etched parts, in this case with Tamiya XF-54.
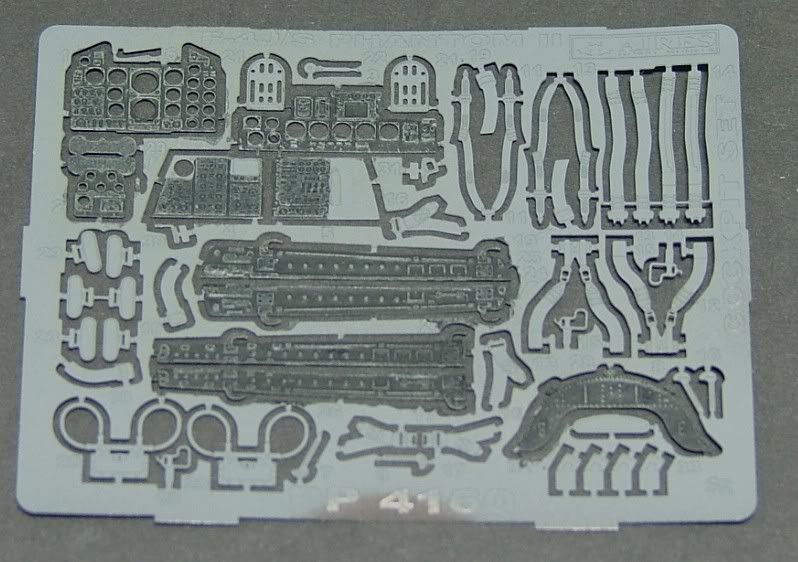
Next paint the parts that will be black and then drybrush them with the XF-54 to bring out the detail.
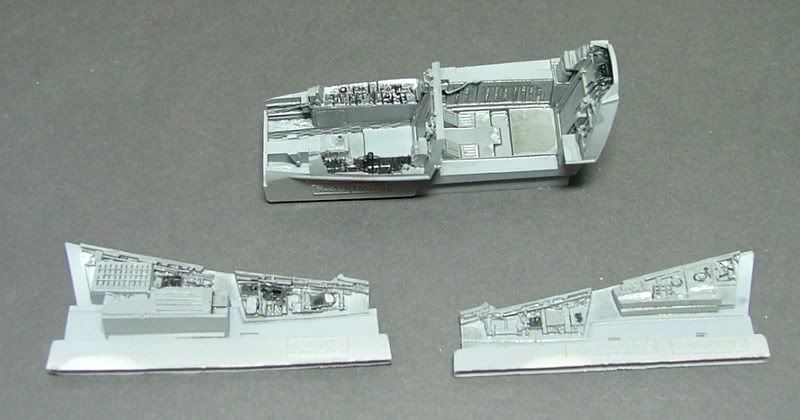
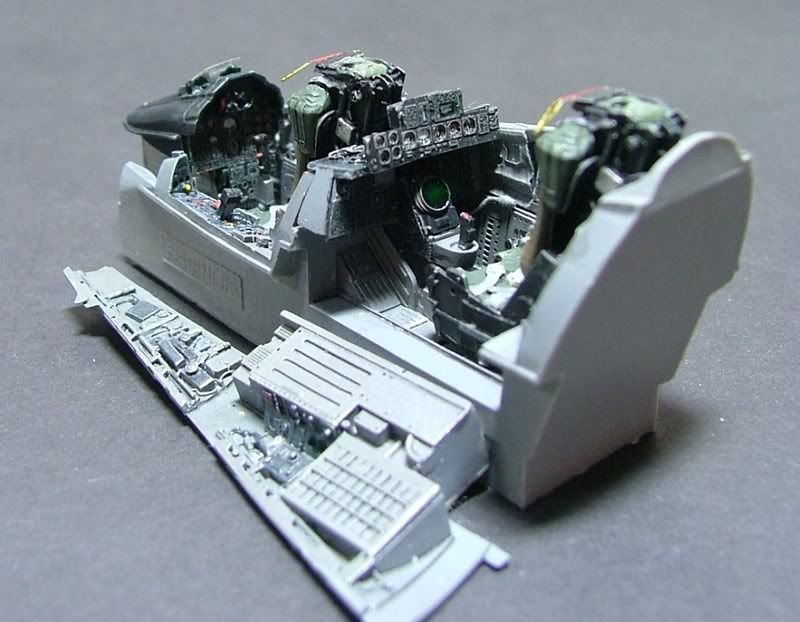
The side panels are painted flat black and then given a wash with thinned black and left to dry.
Next a wash of the light wash and left to dry. Then with a stiff dry brush go around the cockpit as if you're dry brushing to remove the excess. This gives the hole cockpit that worn dusty look the Phantoms have.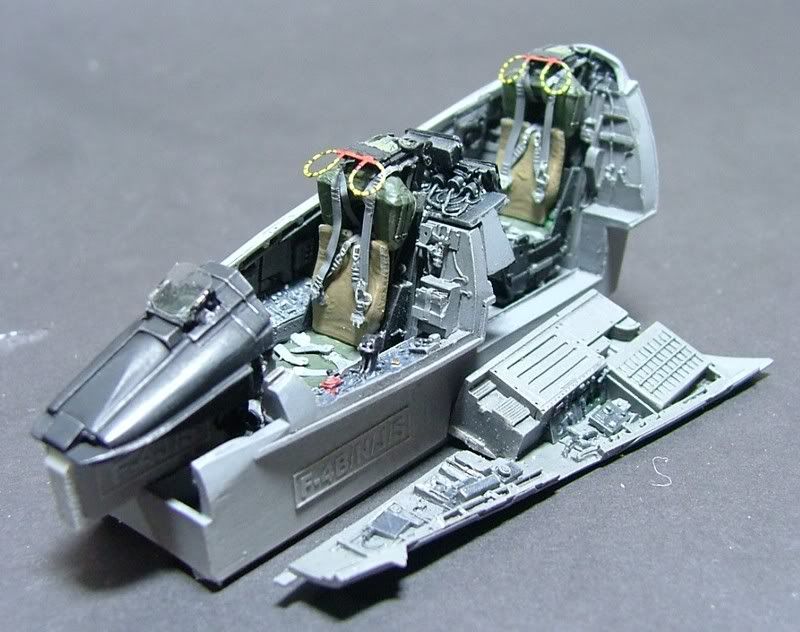
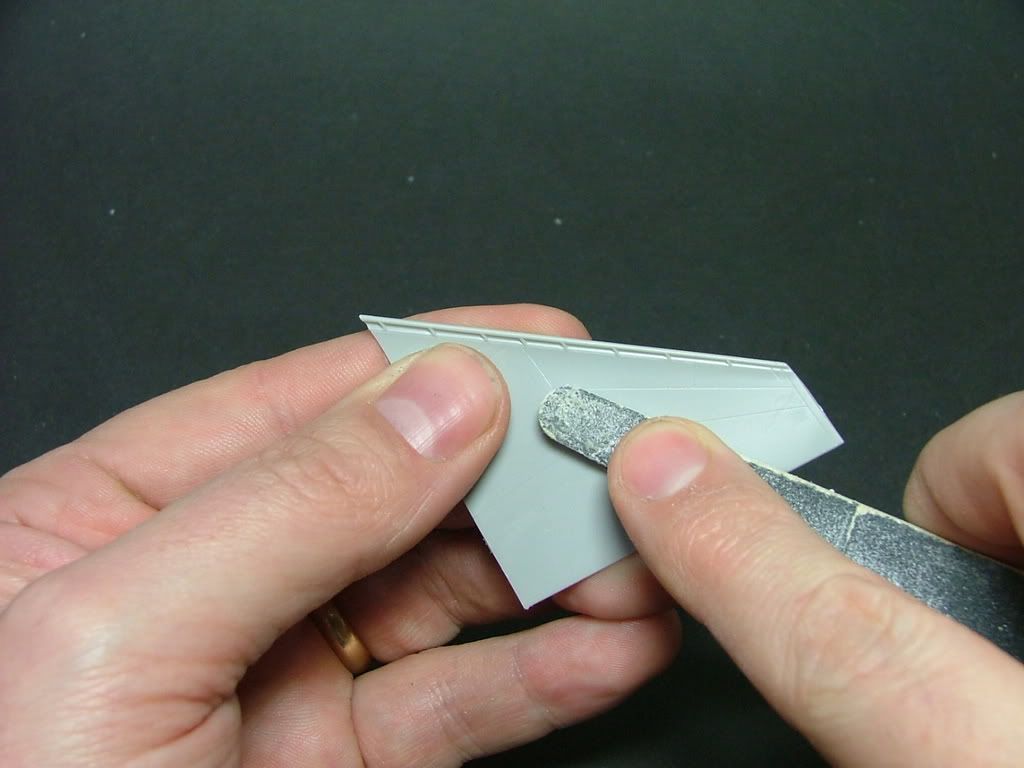
Next we need to remove all the detail on the side panel walls. 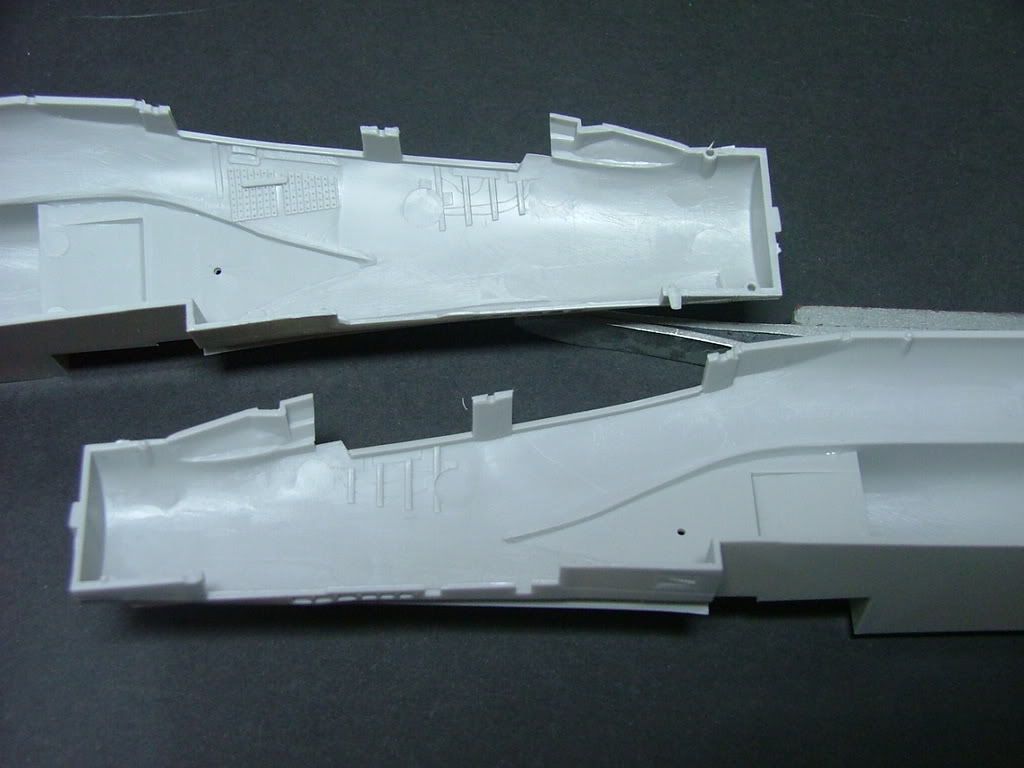
The best thing for this is a sanding stick or file, keep it flat and take off all the details leaving it flat. You will also need to thin the lip at the top, so there is just a small step.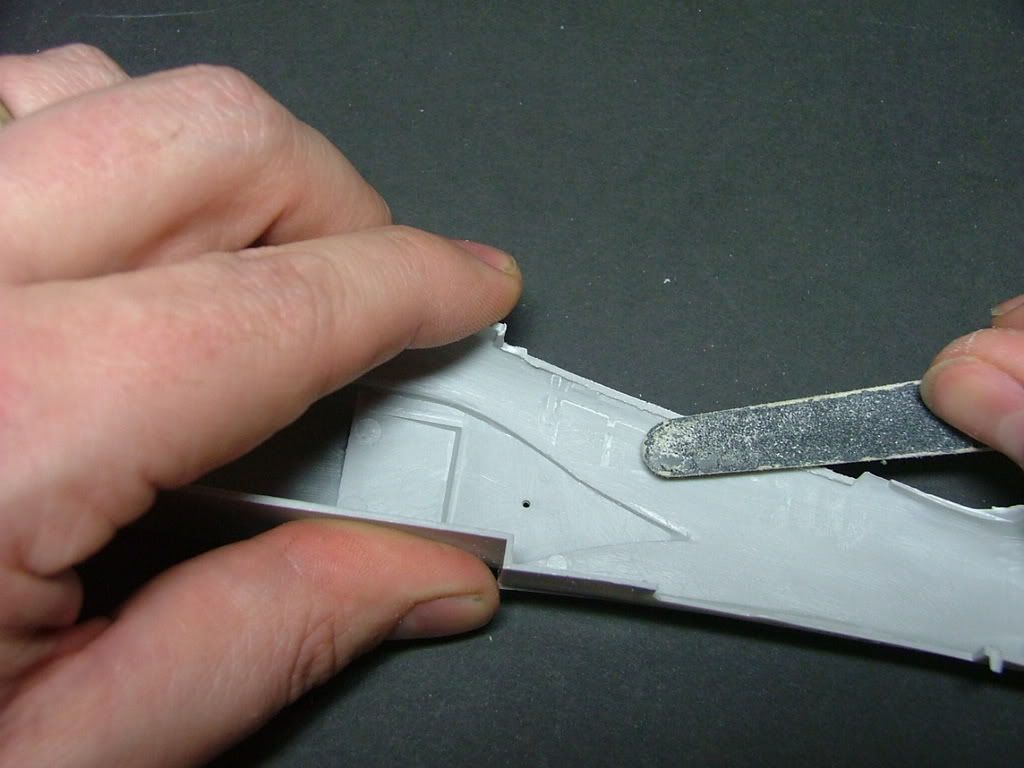
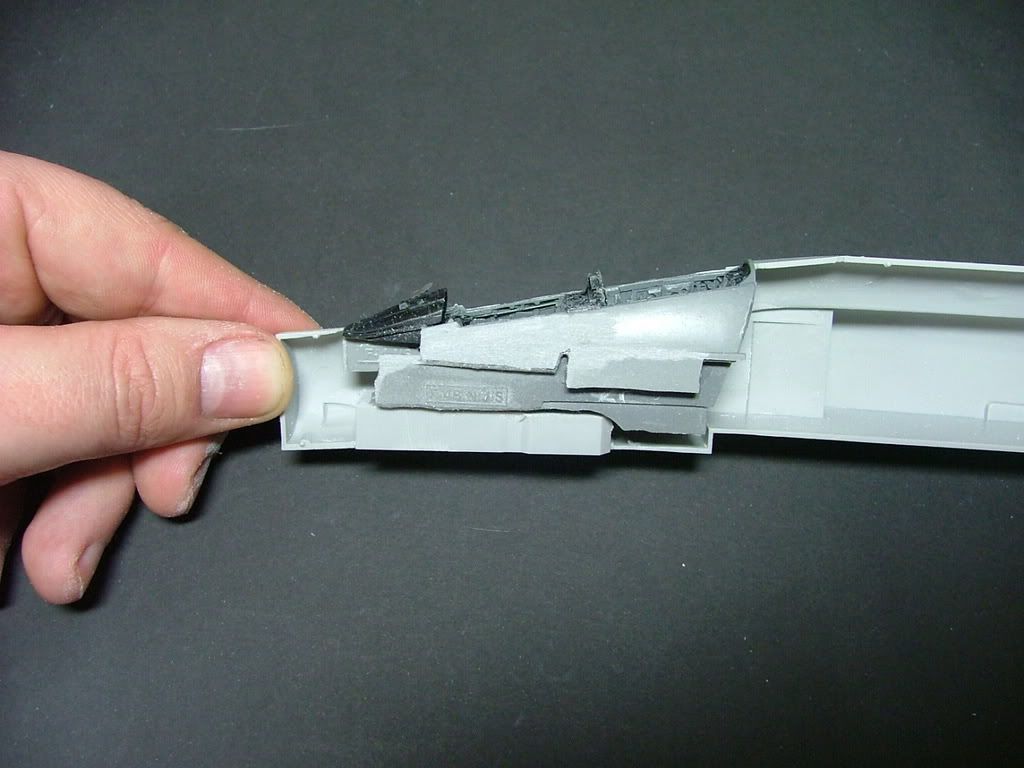
When it's all sanded it should look somthing like this.Then the same on the other side. At this point I added the Front wheel well and left to dry.

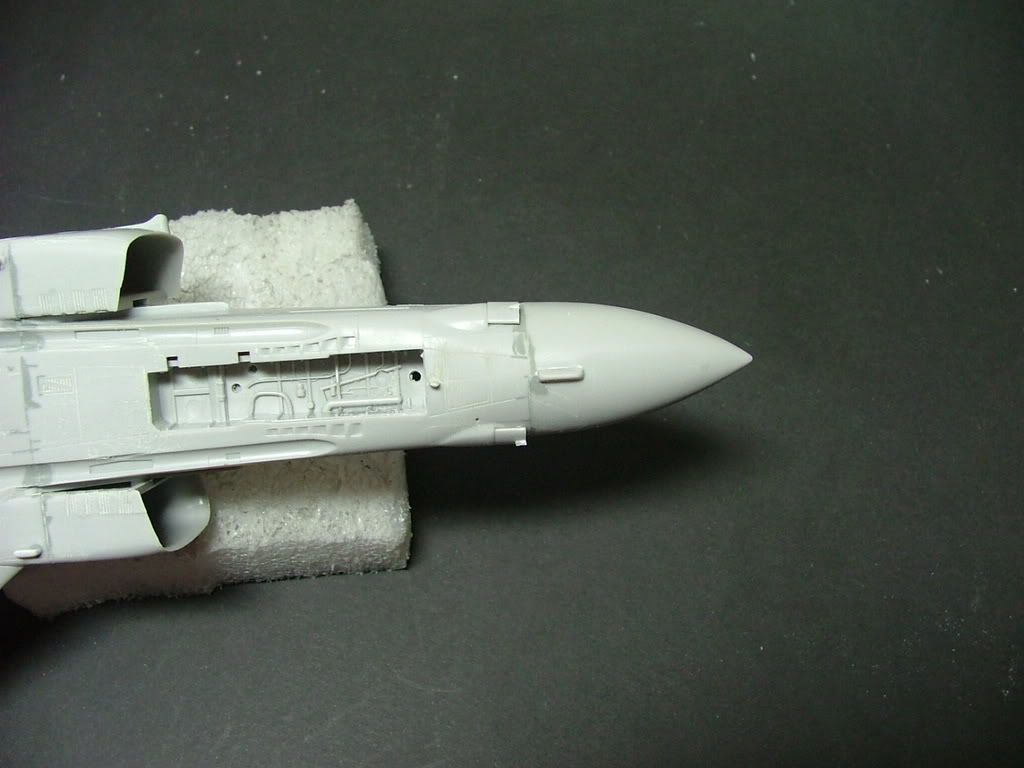
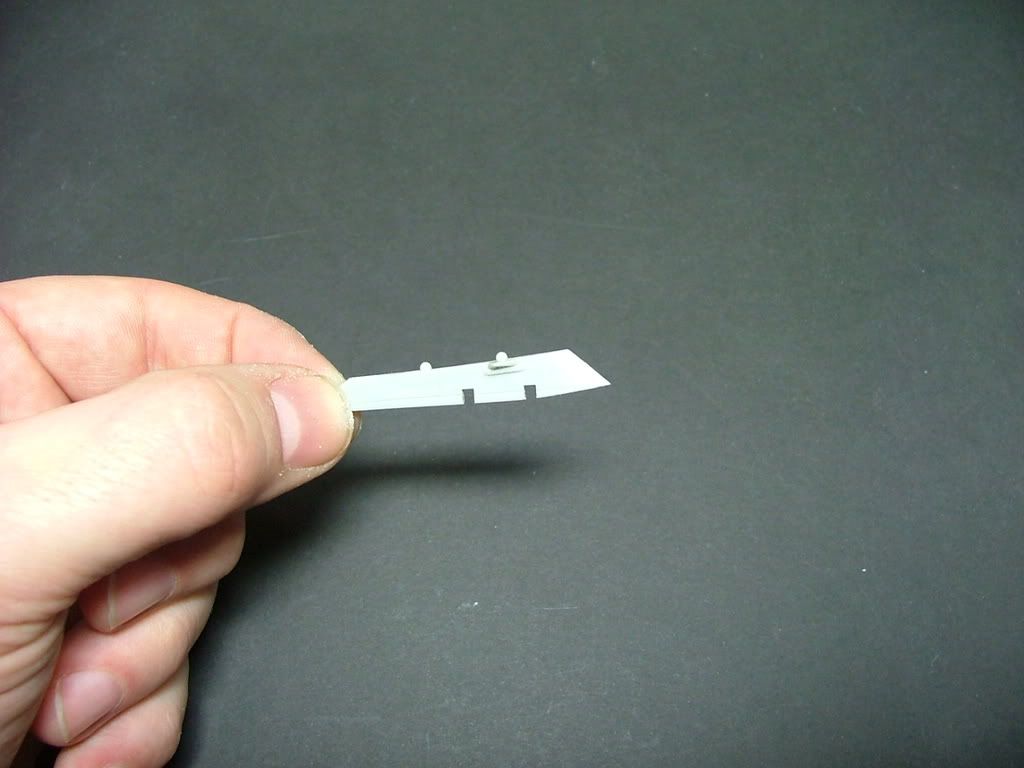
The front panel is best removed by sanding staight down from the top, this way you should take off just what's necessary for the resin one to fit to.
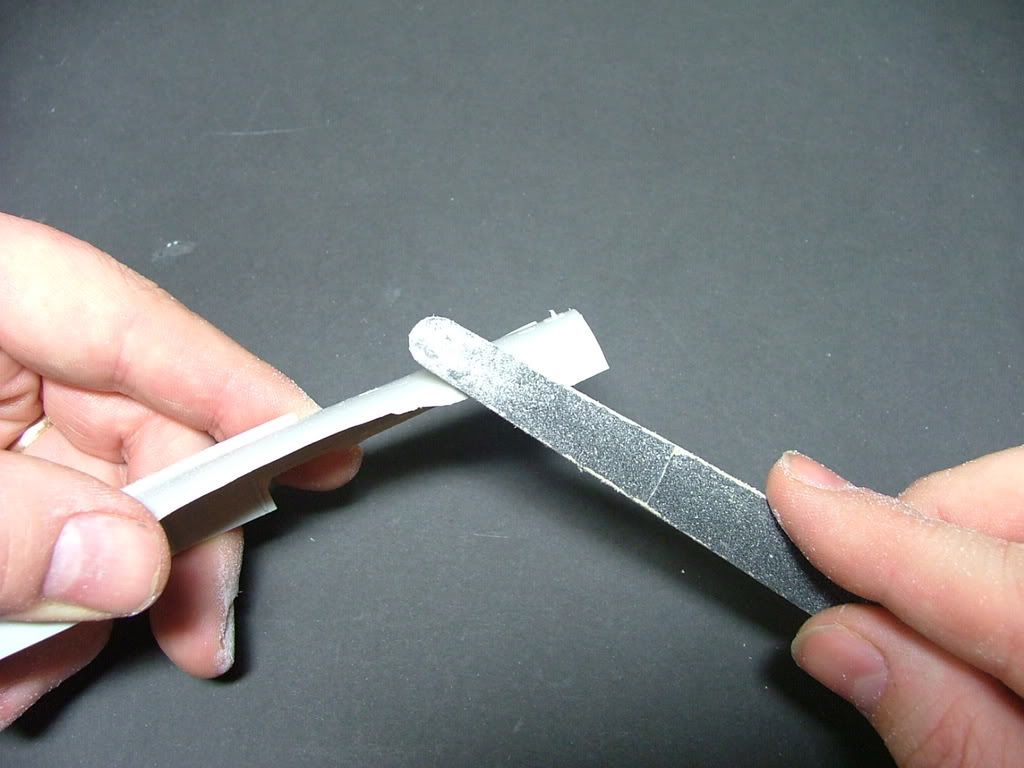
It should look like this.
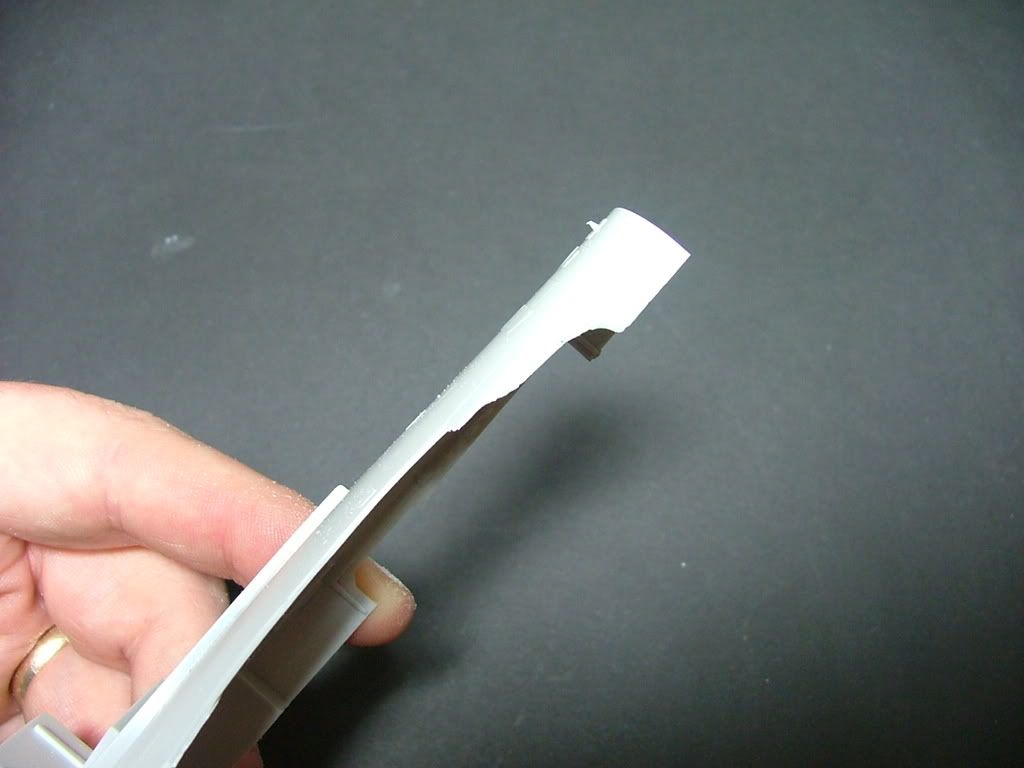
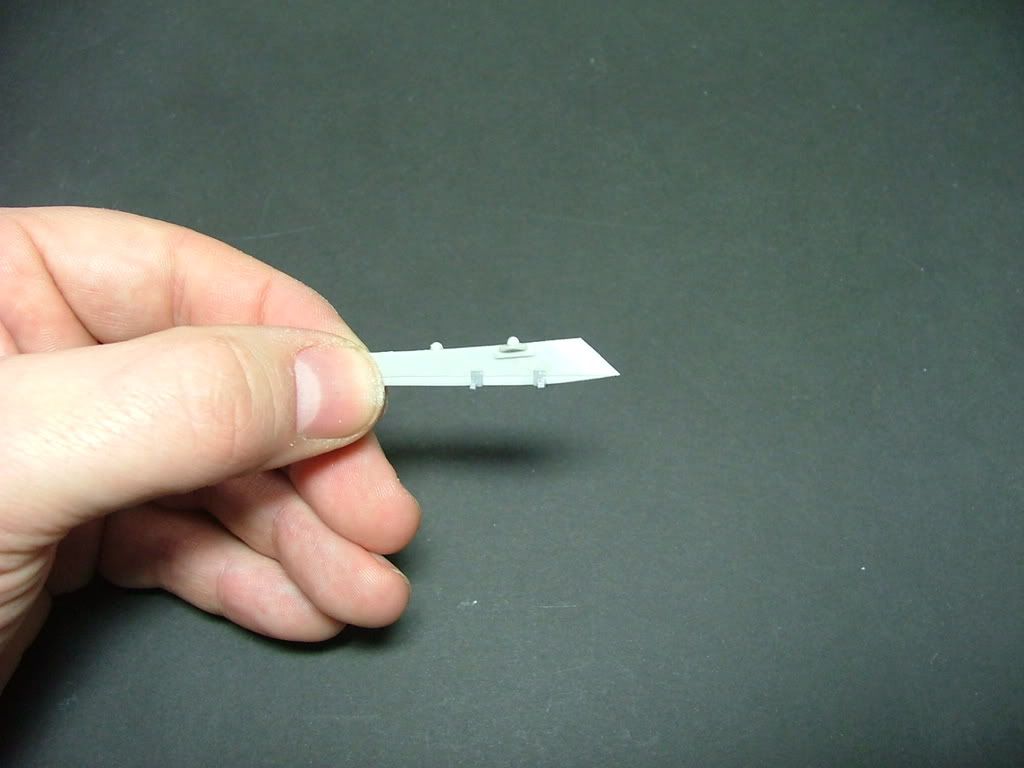
Next the fun bit, You cant see this but you need to take the rim on the side wall of the cockpit, and the main cockpit, off by sanding it. Then sand the front part of the cockpit side wall, shown four photos down. Next you will need to sand down the bottom of the resin cockpit to a hairs width to make it fit, Also sanding the top of the front wheel well will help the fit.
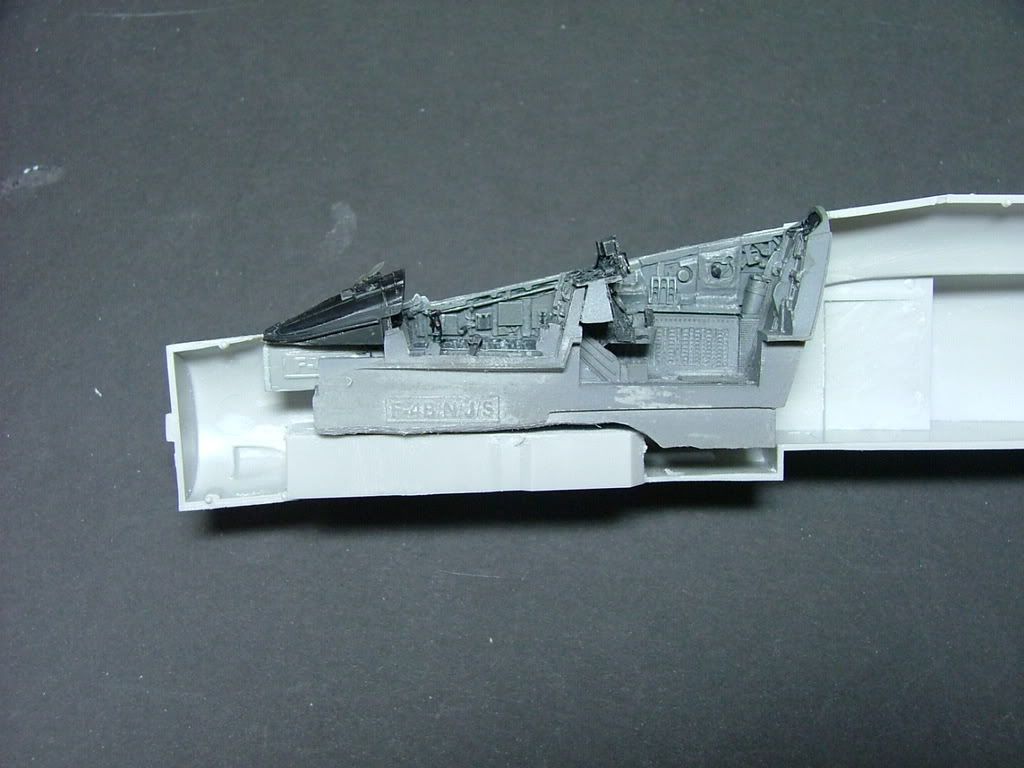
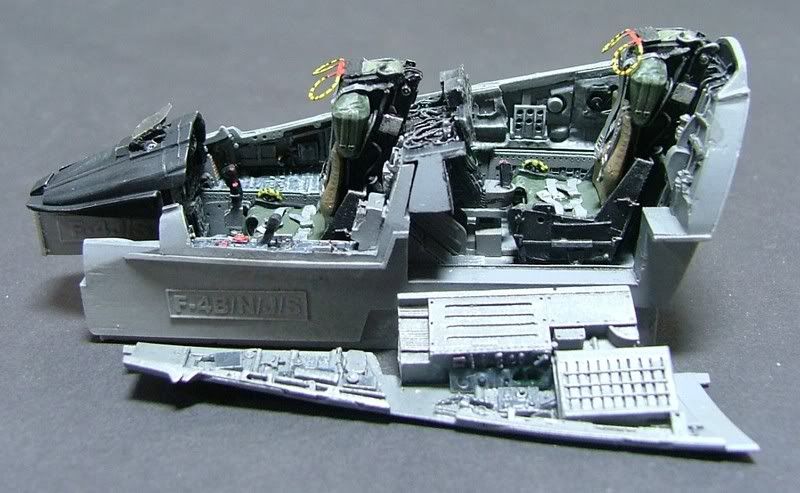
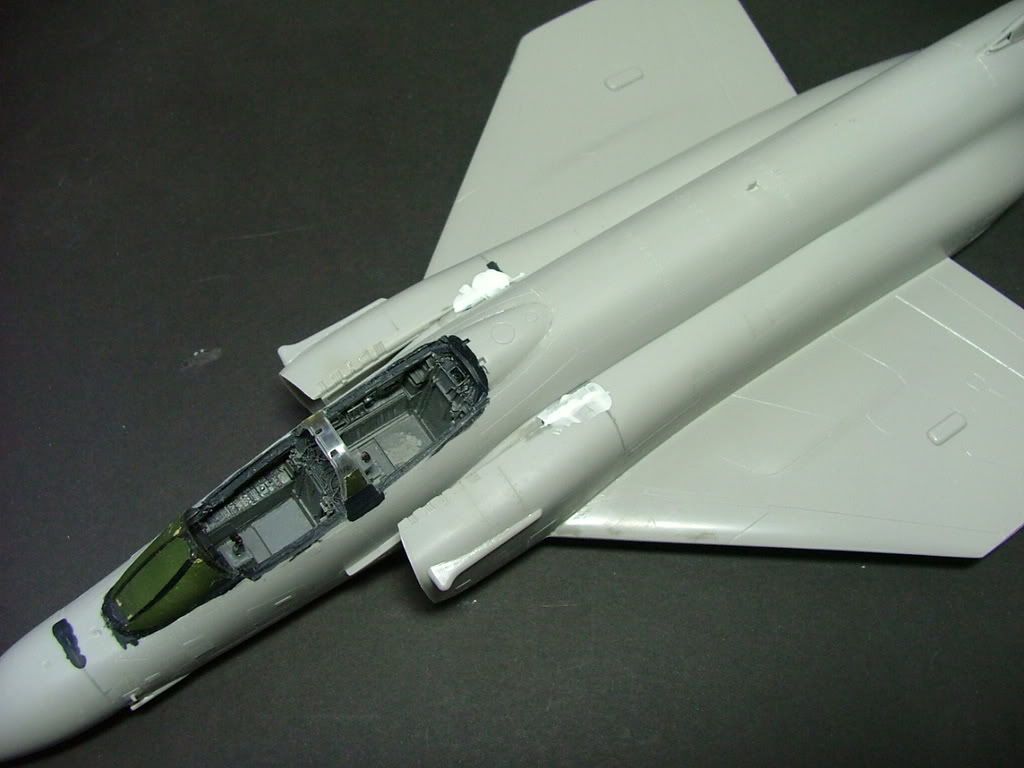
The cockpit needs to sit flush with the top of the fusalage sides like this.
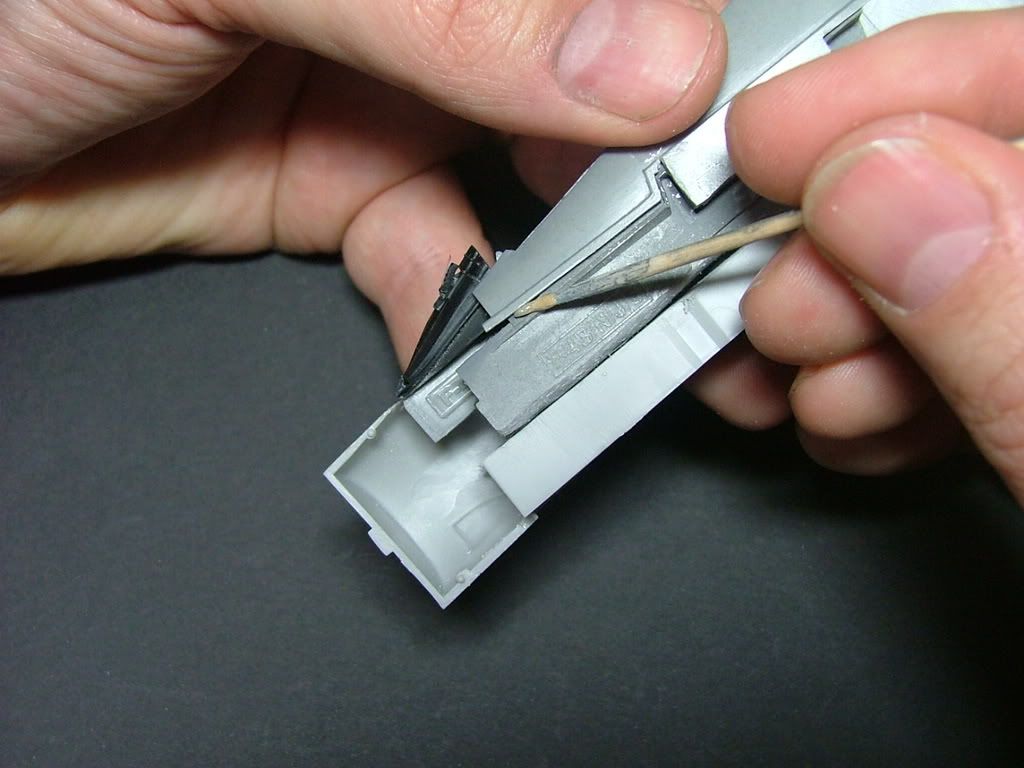
We need to fit the other side wall onto the cockpit. I do this with a cocktail stick and some CA glue.
We need to do the same thing to this side as we did to the other. Sand off the lip and sand the front part of the cockpit.
Test fit the fusalage halves together and sand the cockpit as necessary. Then glue the two halves together.
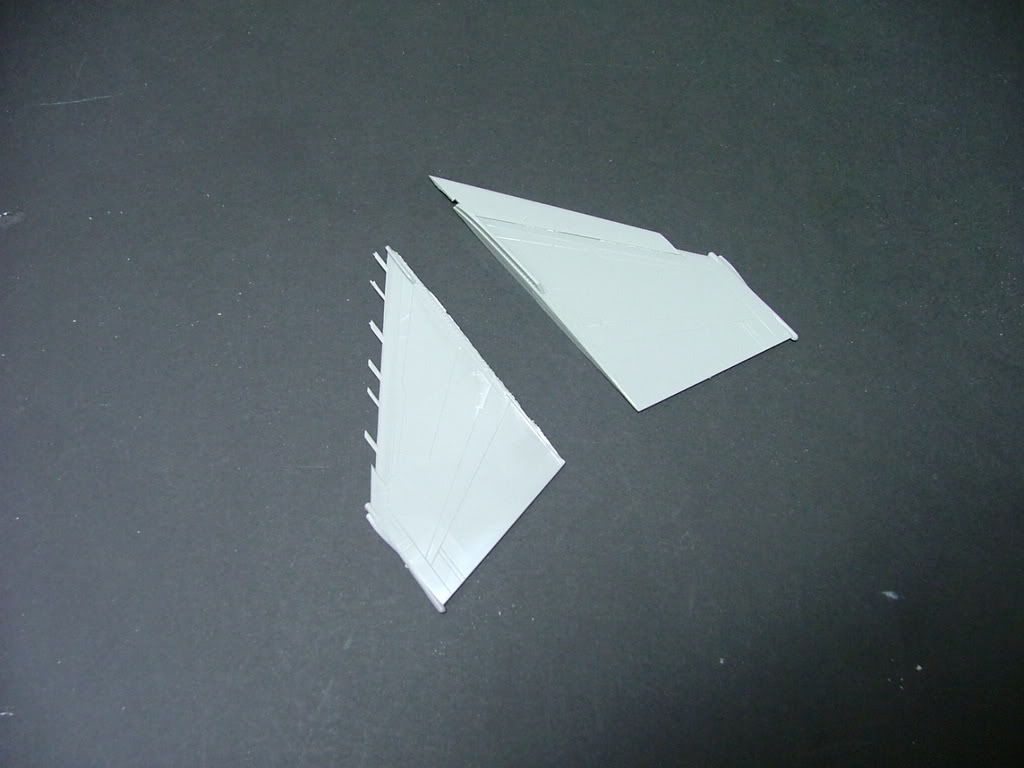
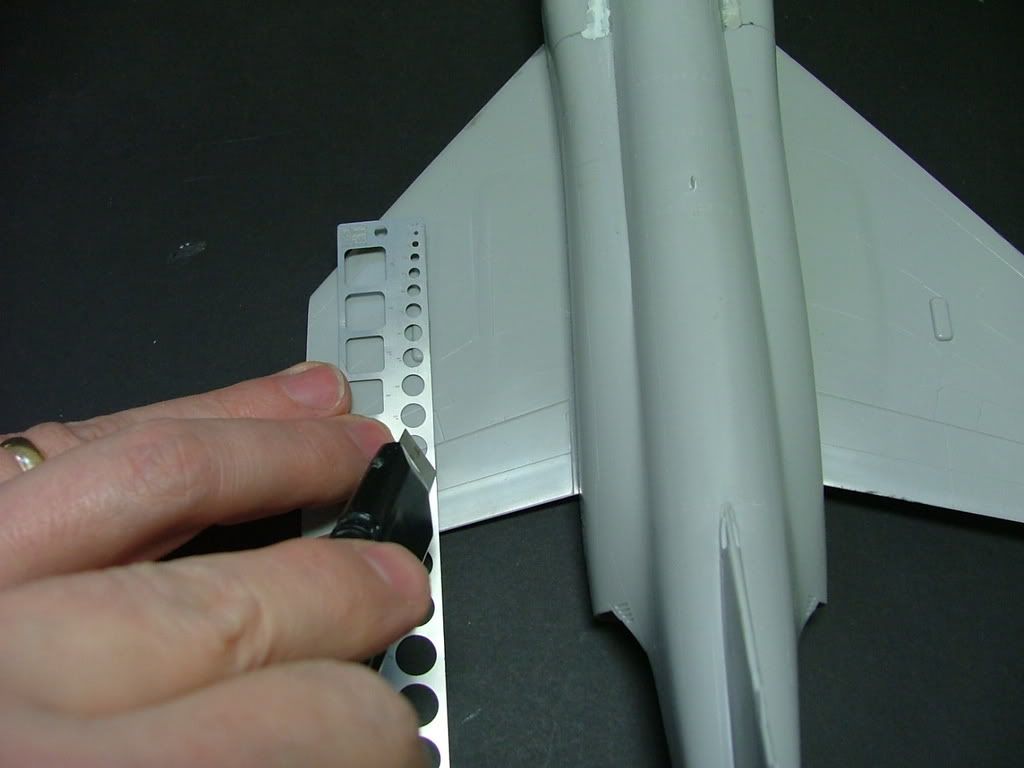
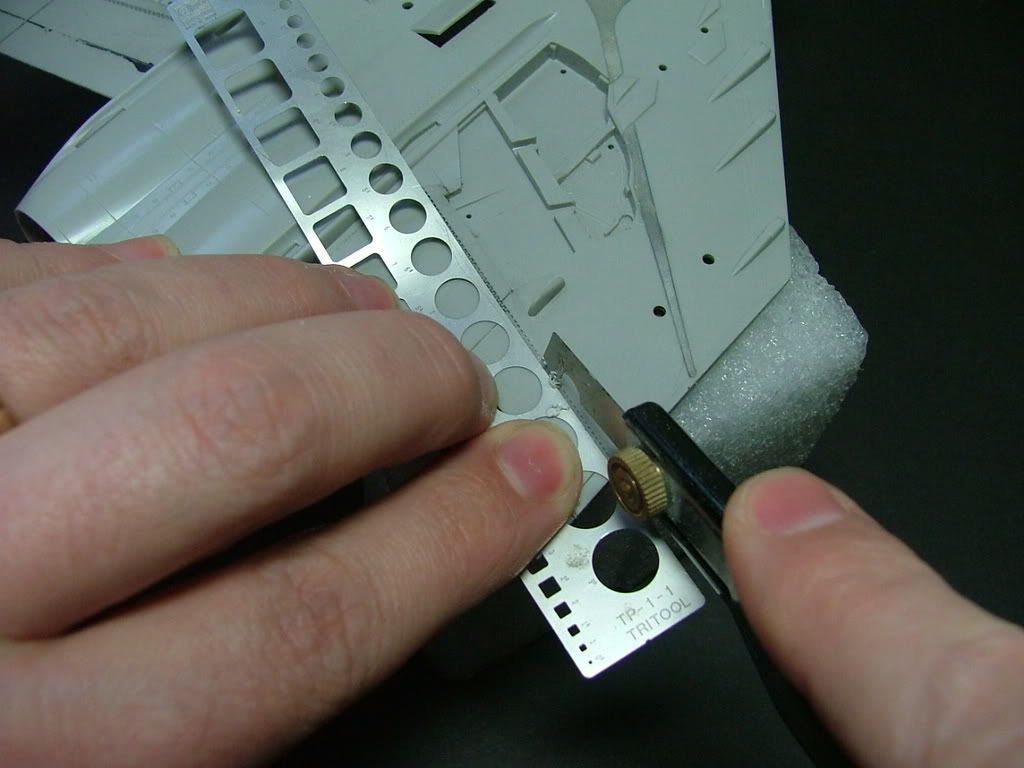
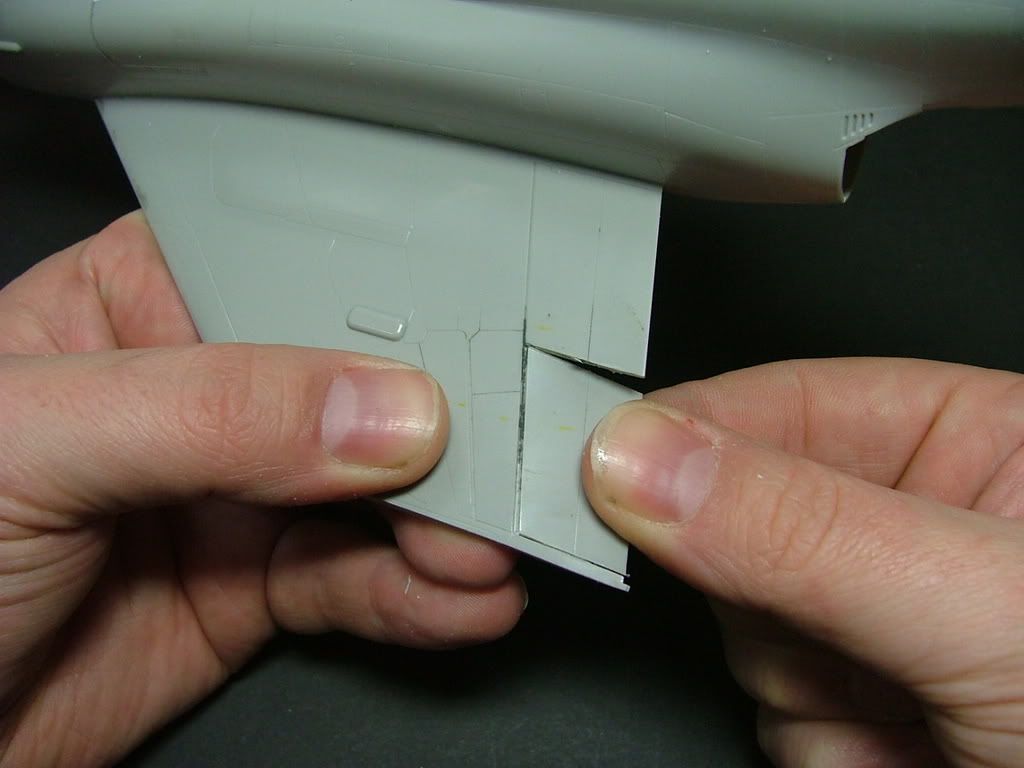
Next we need to cut the outer wings off to allow the wings to fold up with our Airwaves PE set. We will make the cut along the join.
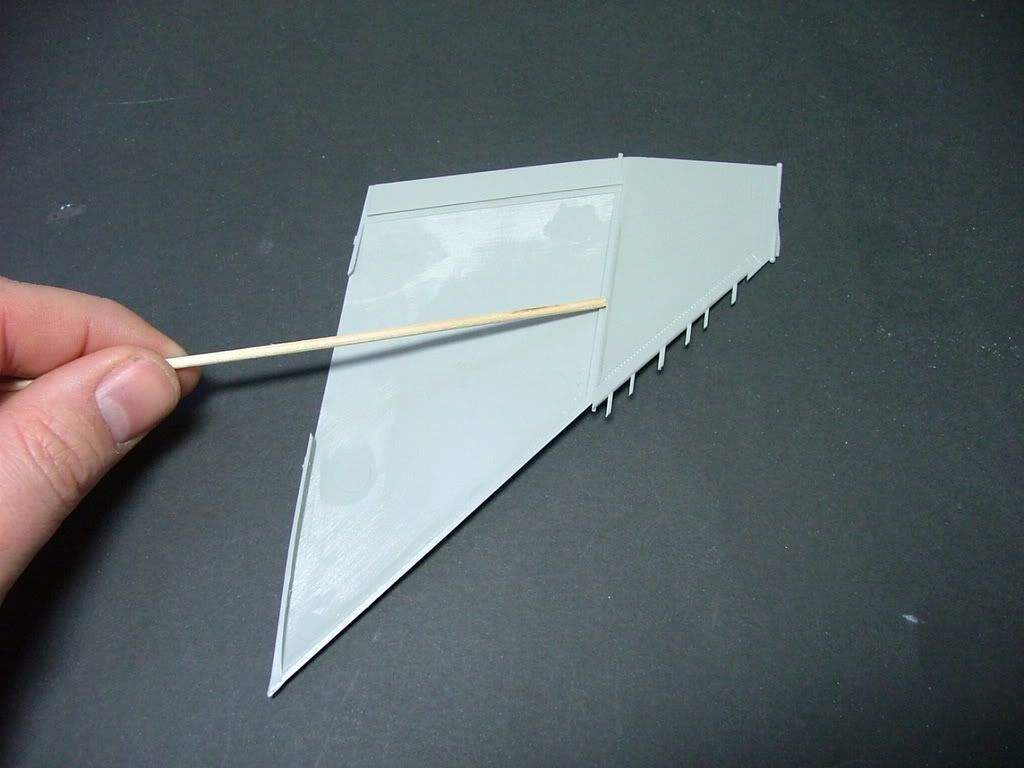
With our razor saw, cut 90 degrees to the main wing, not the outer wing (straight down).
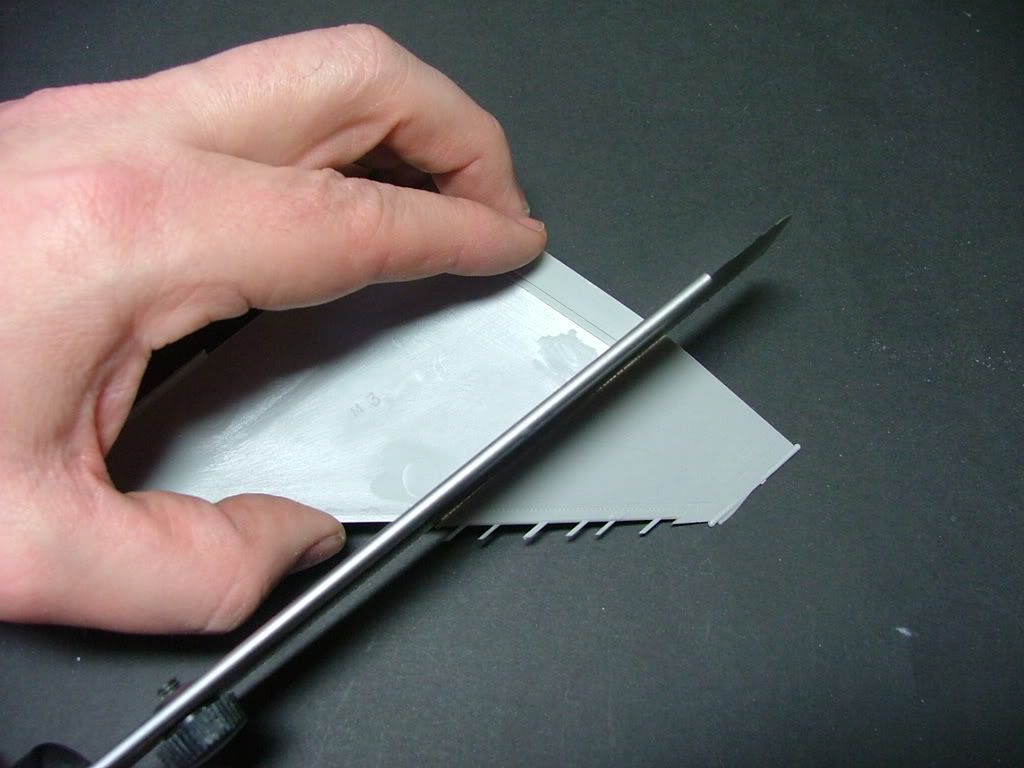
Looking like this.
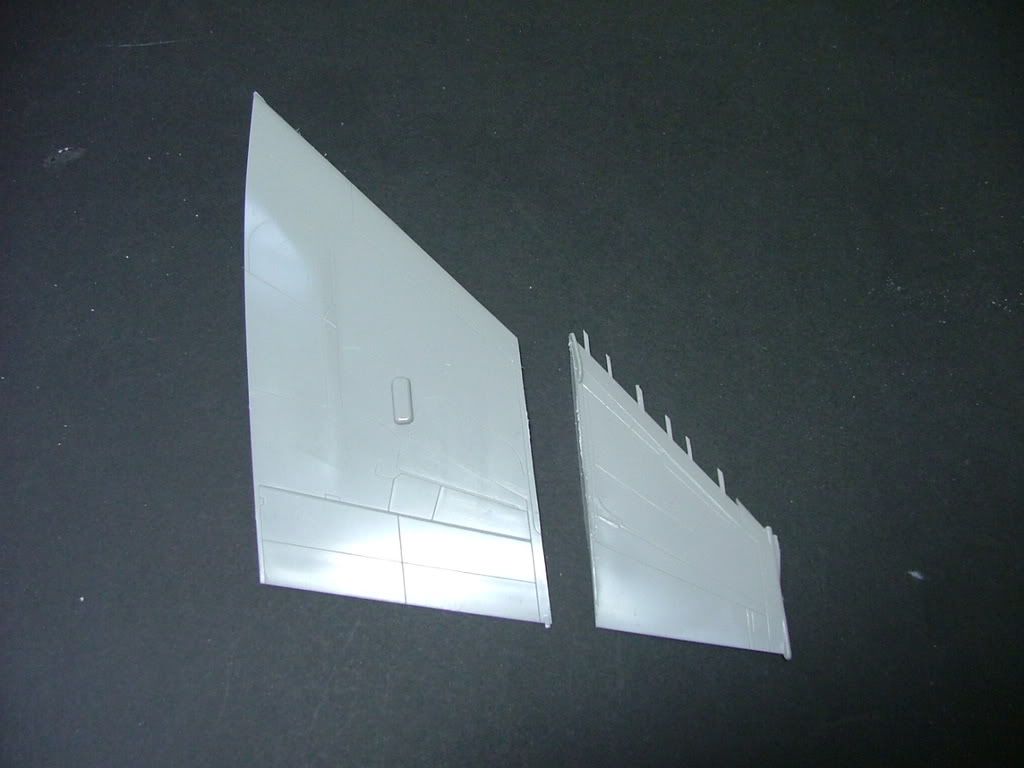
At this point, I cut off the small fence on the top of the wing and replaced it with the kit part and added the front slats as shown on the finished one on the right.
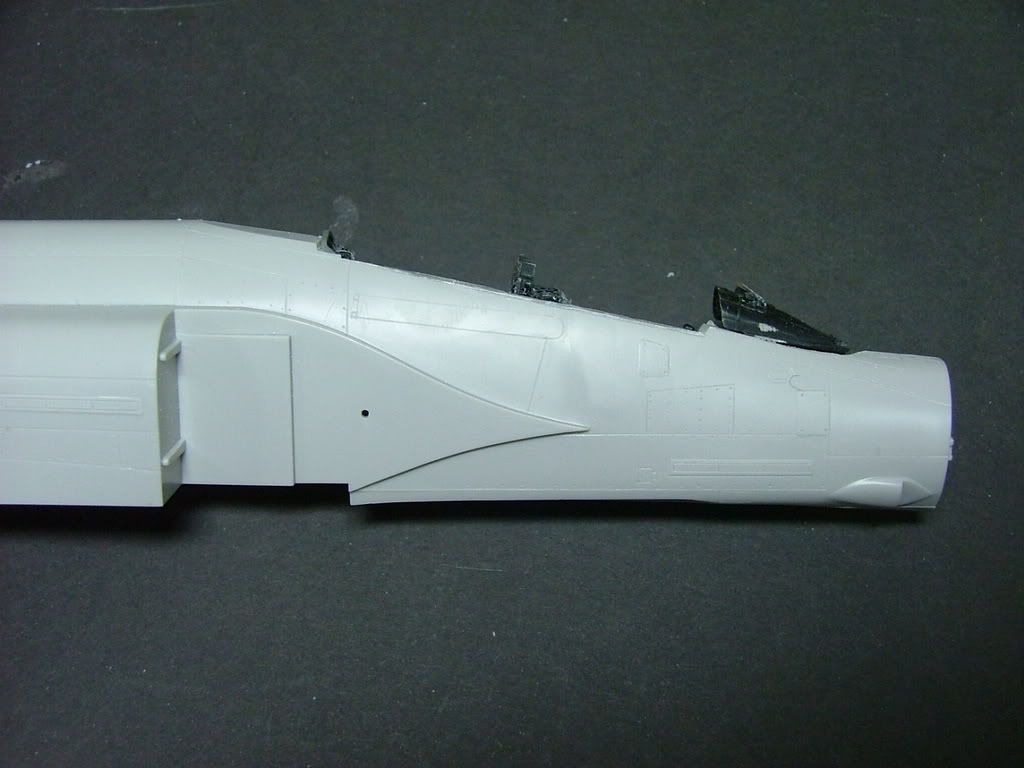
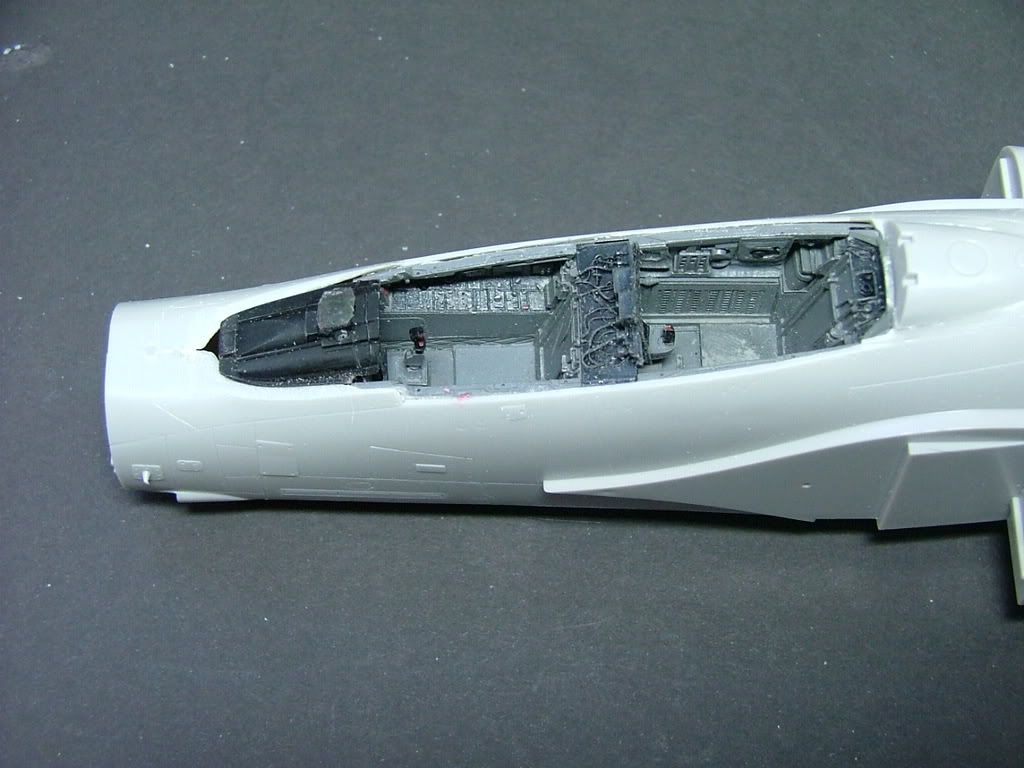
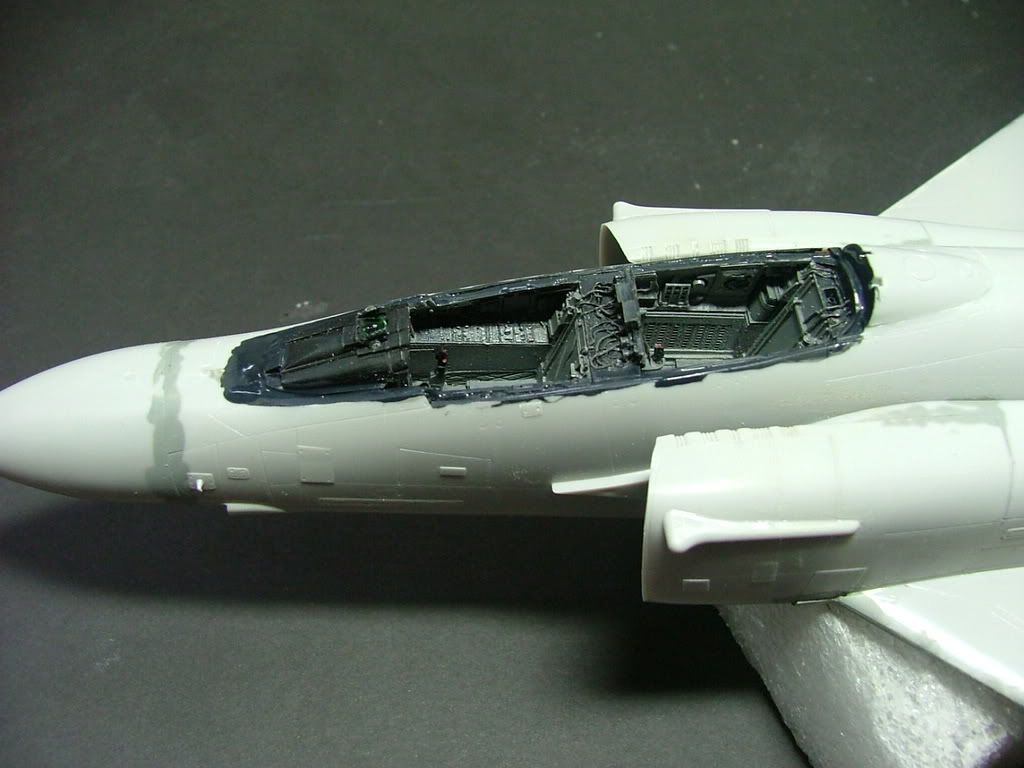
A quick look at how the cockpit went in. I've shown I sanded just a little to much off the right fusalage side, just in front of the panel. A drop of thick CA glue or filler will take care of that.
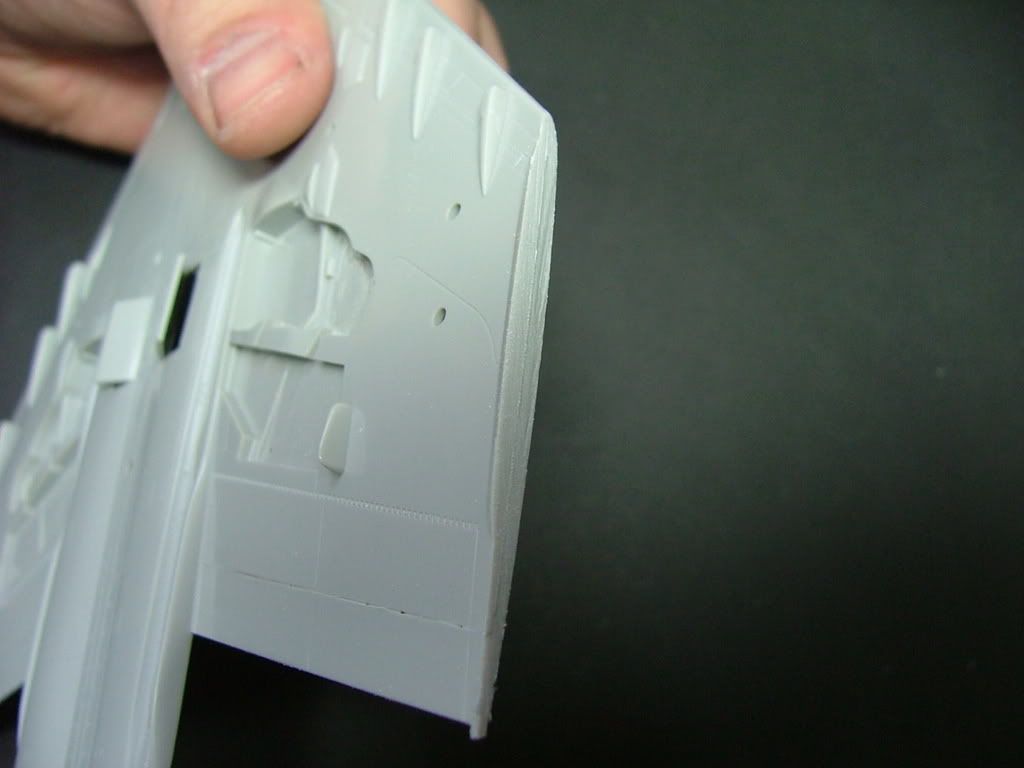
Right, the intakes are always a tricky area but some time spent test fitting will save a lot of time sanding and filling later. You will see at the top corner, a small square, that needs to be sanded back.
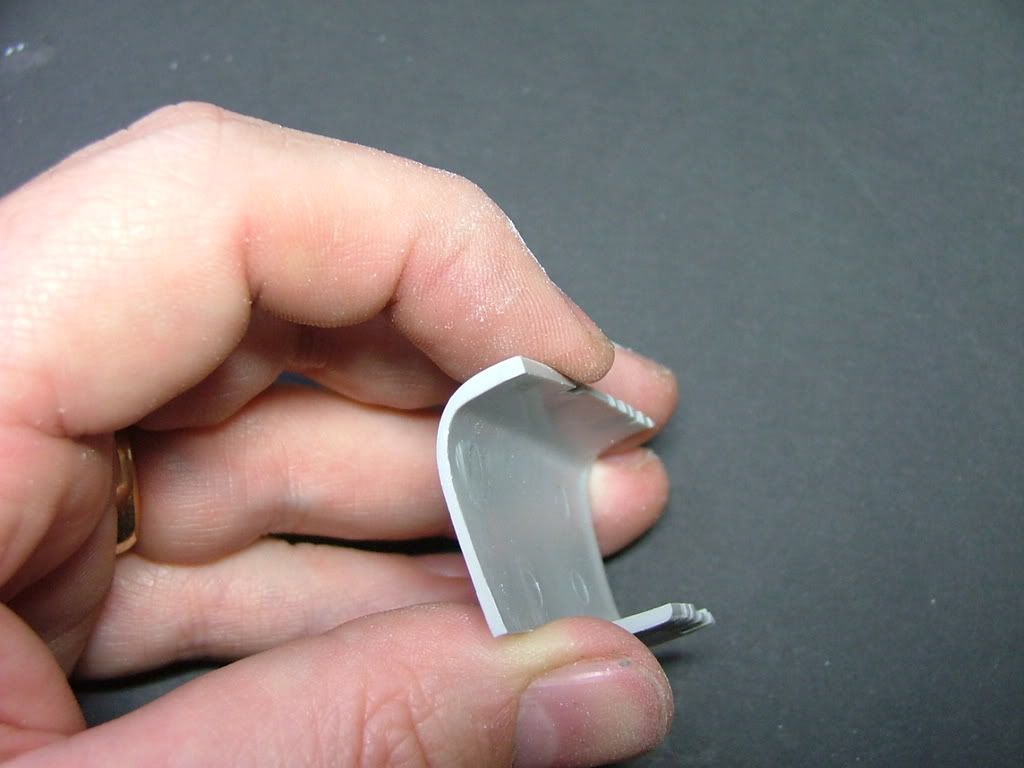
Also just above my thumb you need to sand just a little to make for a perfect fit. But every one is diferent, so take your tine and sand a little at a time until you're happy with how it looks.
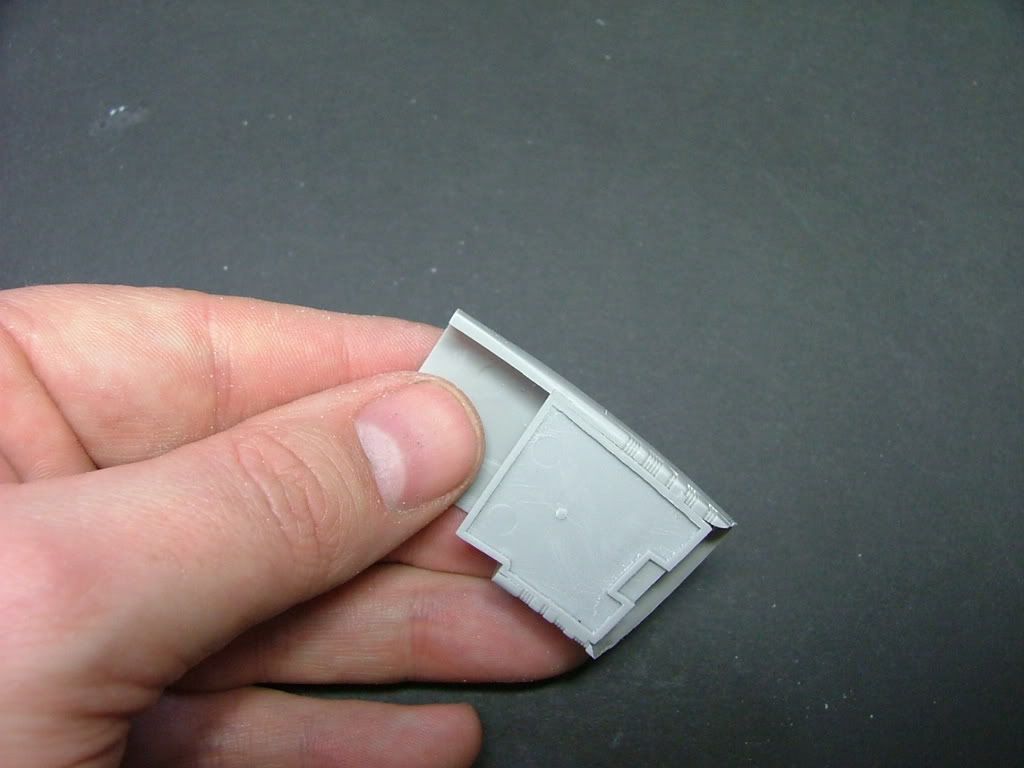
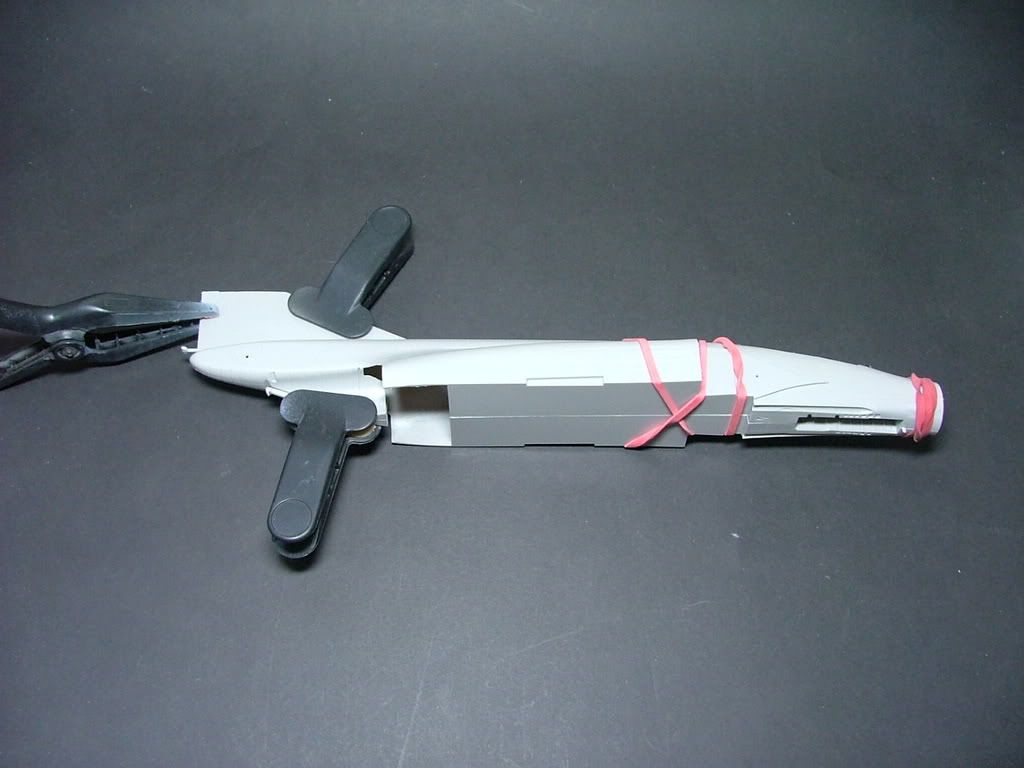
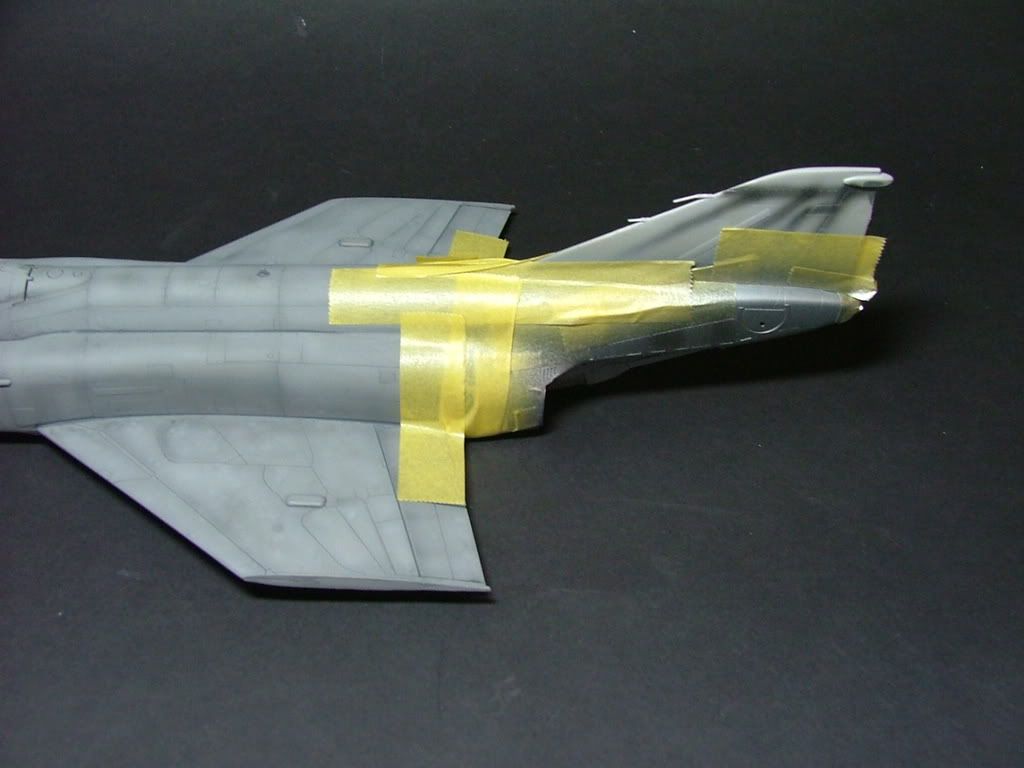
There will be a small step where we cut the outer wings off. This should be sanded flush to the wing.

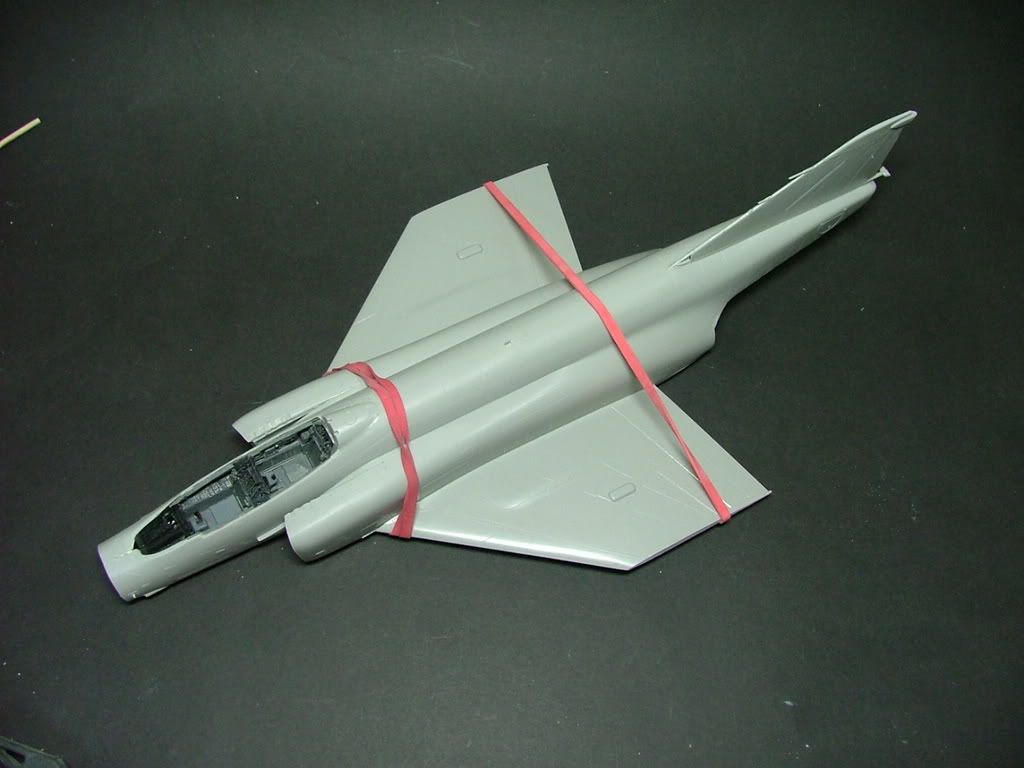
We need to glue the wing section to the fuselage next. I use rubber bands as shown to hold it all in place, then I use extra thin Tamiya cement and let it flow along all the joins.
After letting it dry I use acrylic gray paint to check the joins. It will also act as a filler for small areas.

I have added the Radar warning antennas on the side of the intakes at this point.
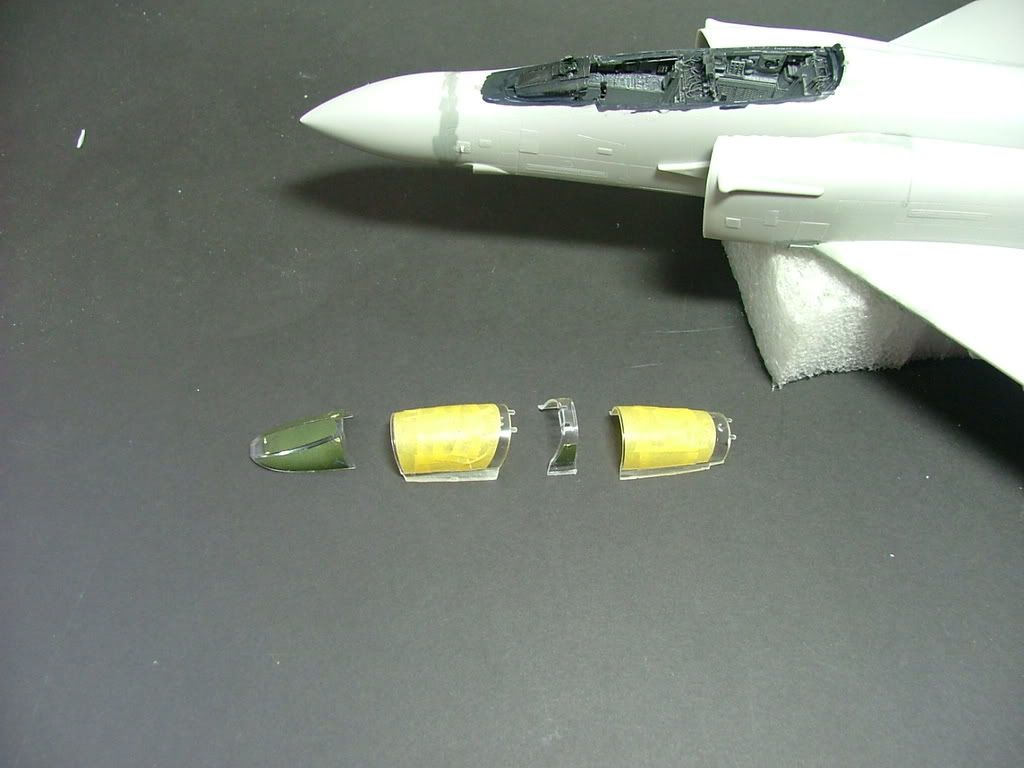
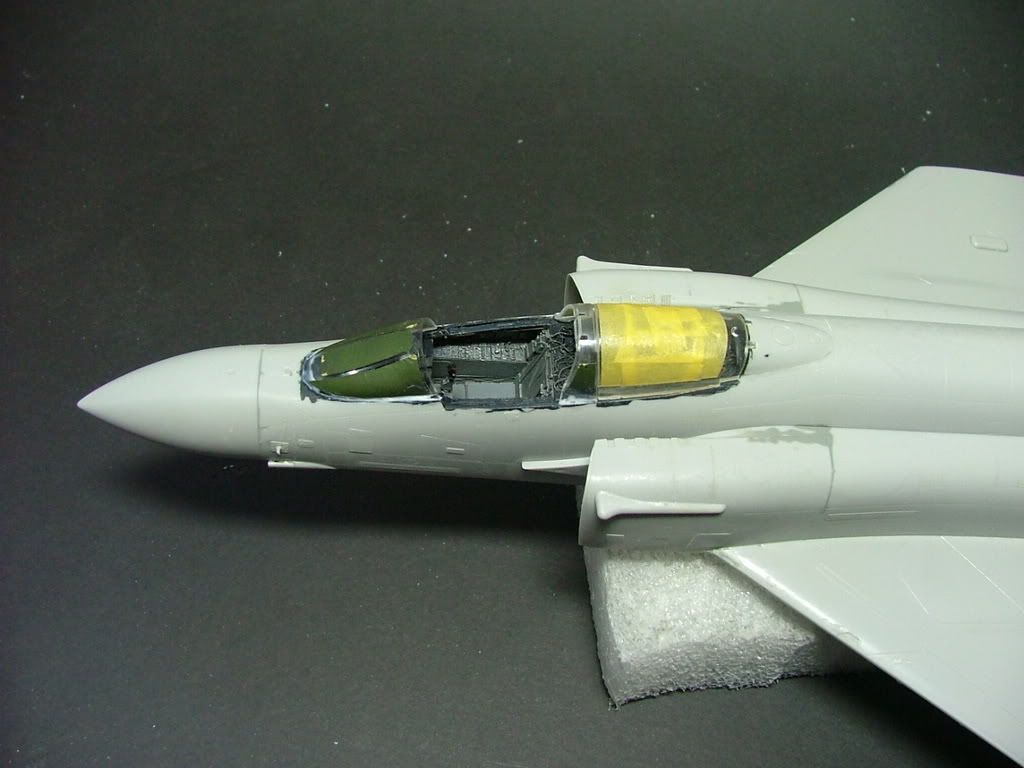
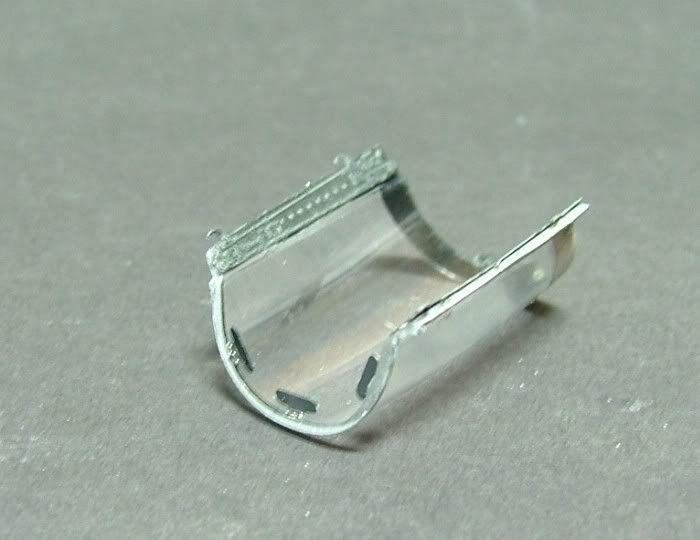
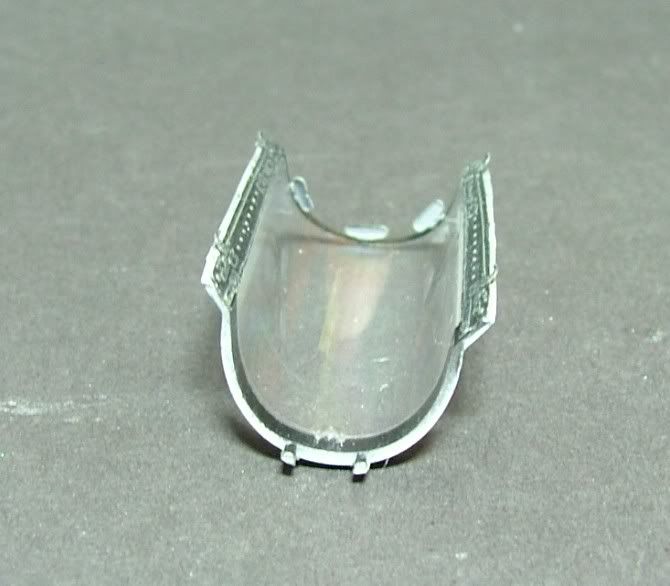
Masked up the canopies. You can find a video tutorial on this in the Video workshops.
On with the electronics cooling scoops and sand them in.
Canopies on with PVA glue.
The S model Phantom has strengthening plates, these come in the form of PE parts that come with the kit. These are attached with CA glue.
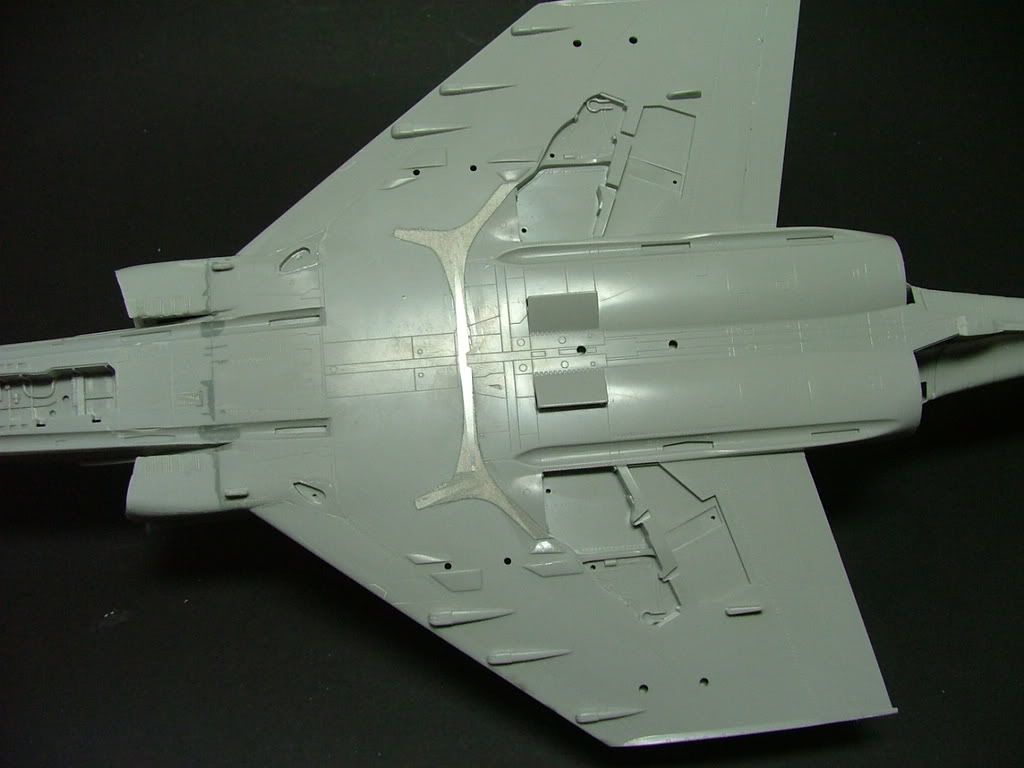
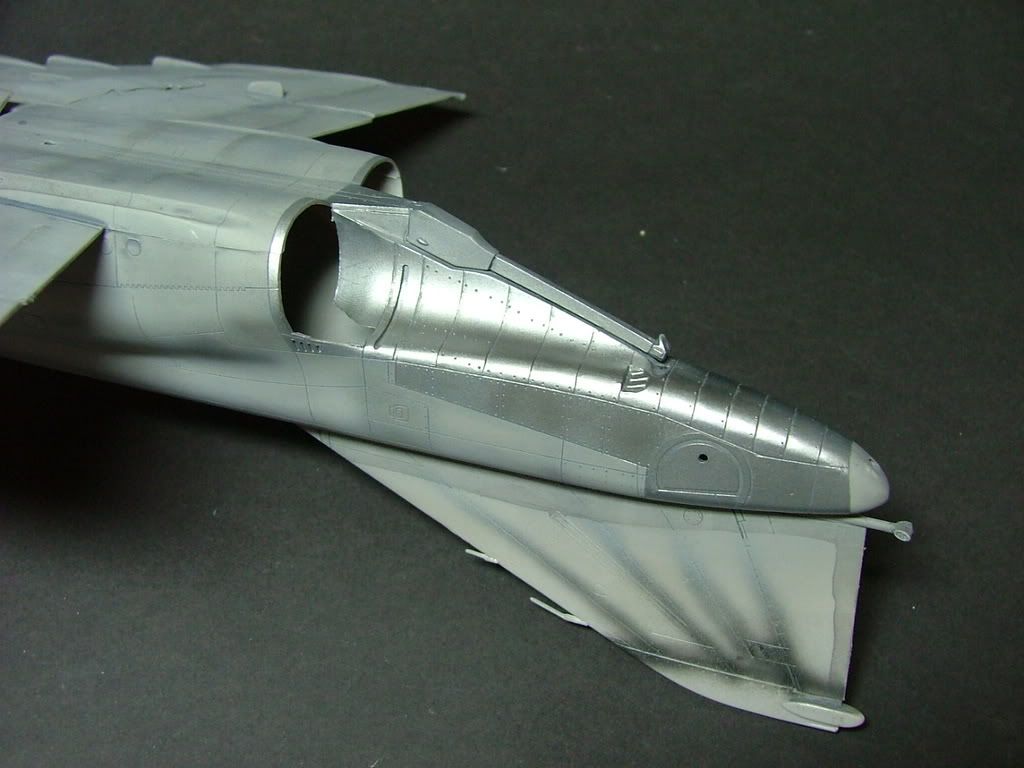
The Navy Phantoms don't have these triangles and need to be removed.
By keeping the sanding stick flat, sand it off. Than use your sanding sponges to tidy it up.
You will need to re scribe the areas that have had the panel lines rubbed out.
The outer wing pylons need to either have the gaps filled or in this case use the sway braces from a Hasegawa weapon set.
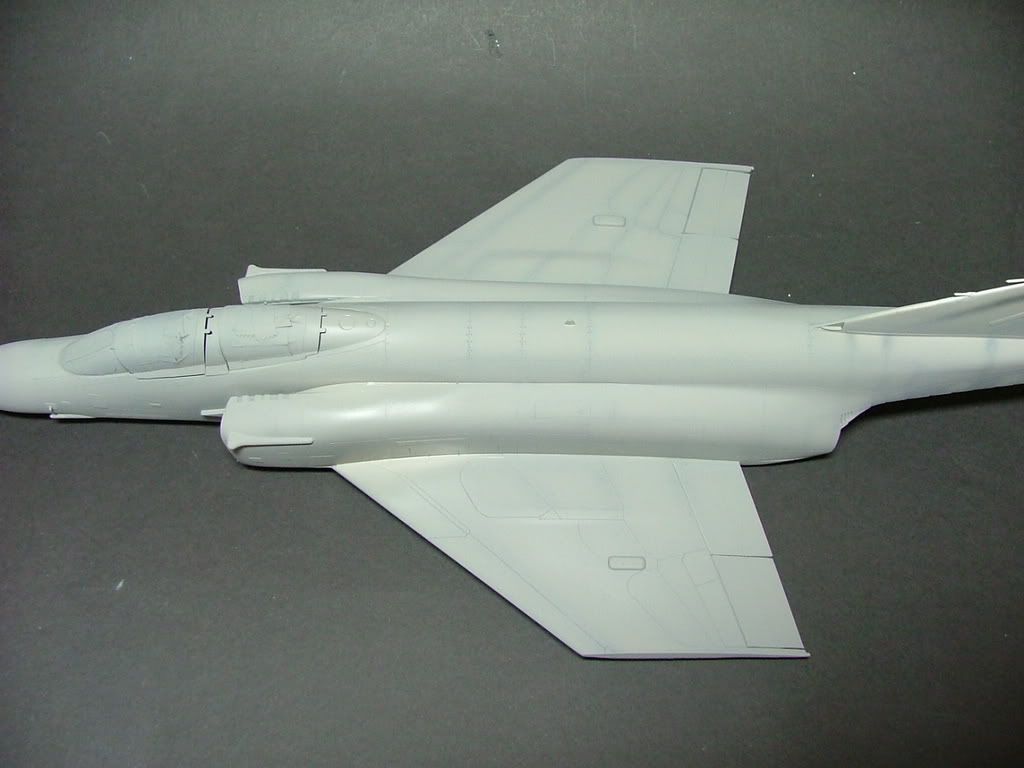
I wasn't to happy with the top of the intakes so I used a little filler for the first time on the kit.
The Phantom at rest has it's ailerons dropped a little, so to make this I cut both sides of the ailerons.
Next I scribed the underside quite deep but not right through.
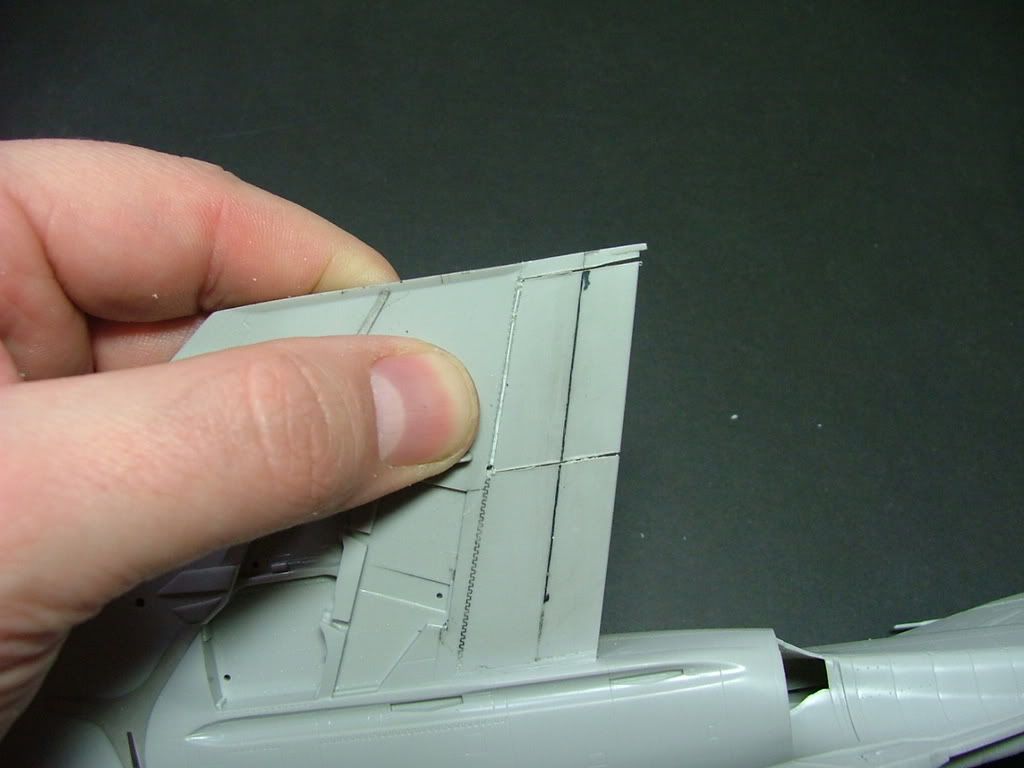
Then with a light run with a knife along the top. You should be able to pull the ailerons down to an angle you're happy with.
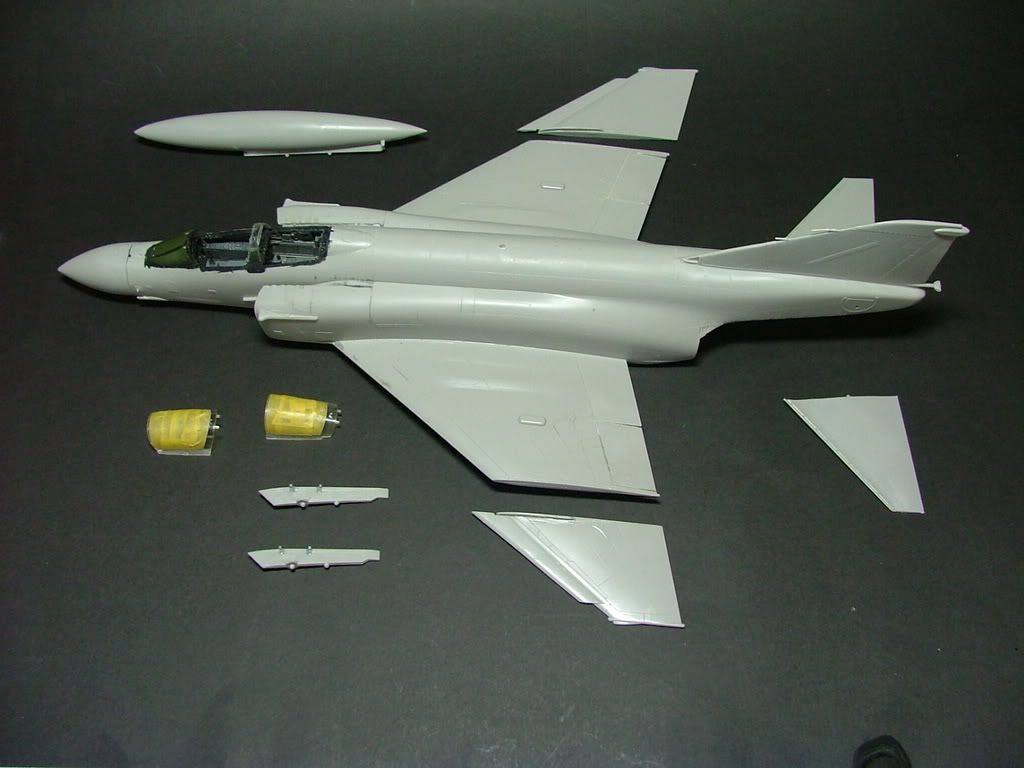
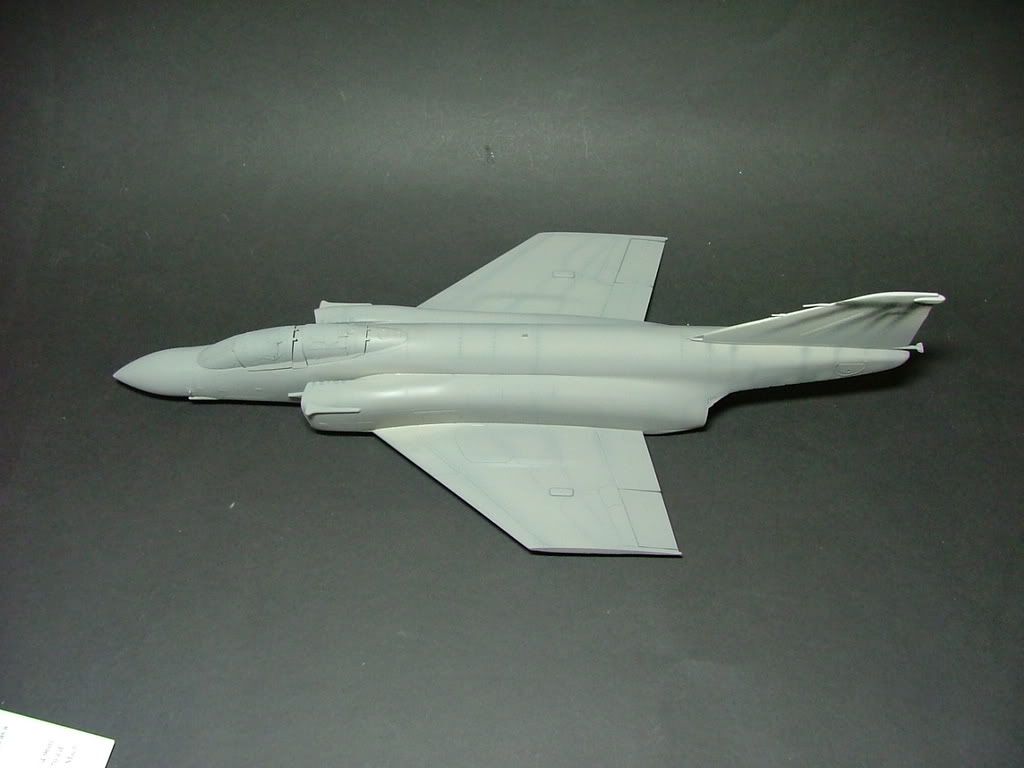
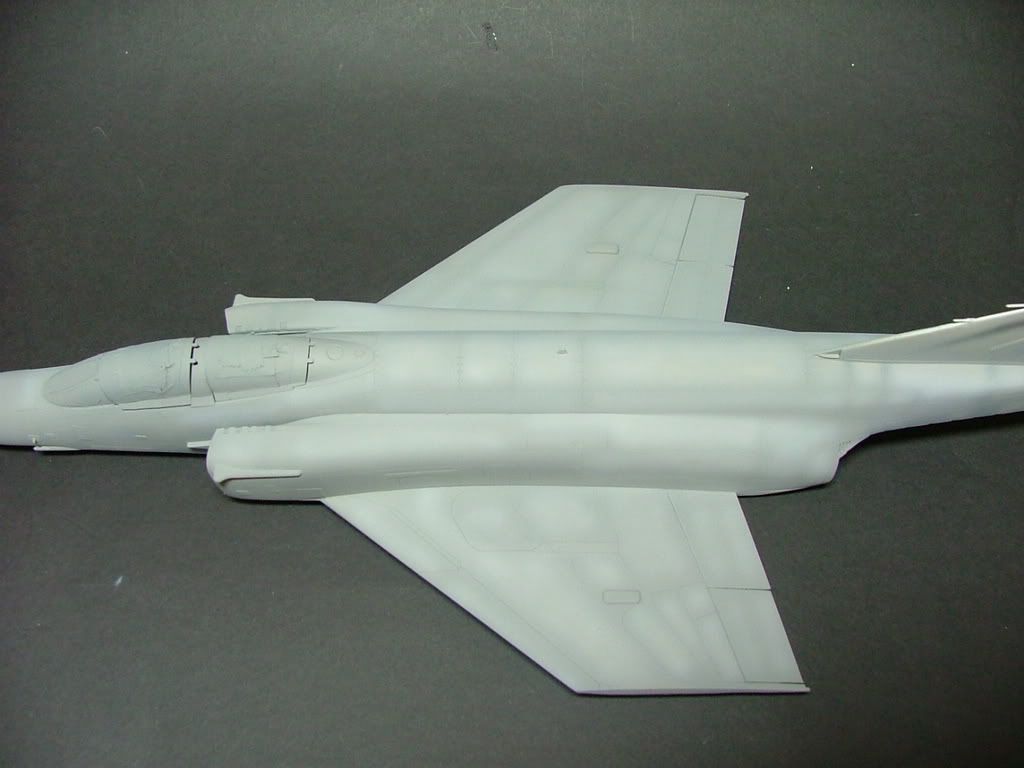
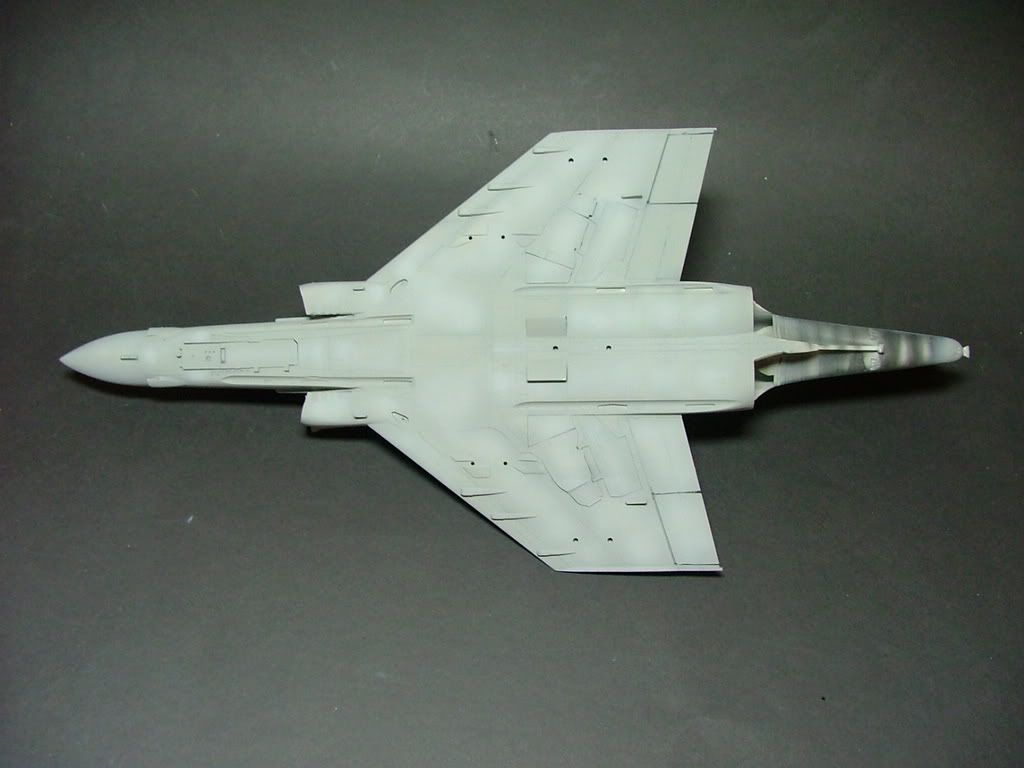
Now with all the parts built, it's ready for spraying.
Neat Flat black (XF-1) is sprayed over the canopies
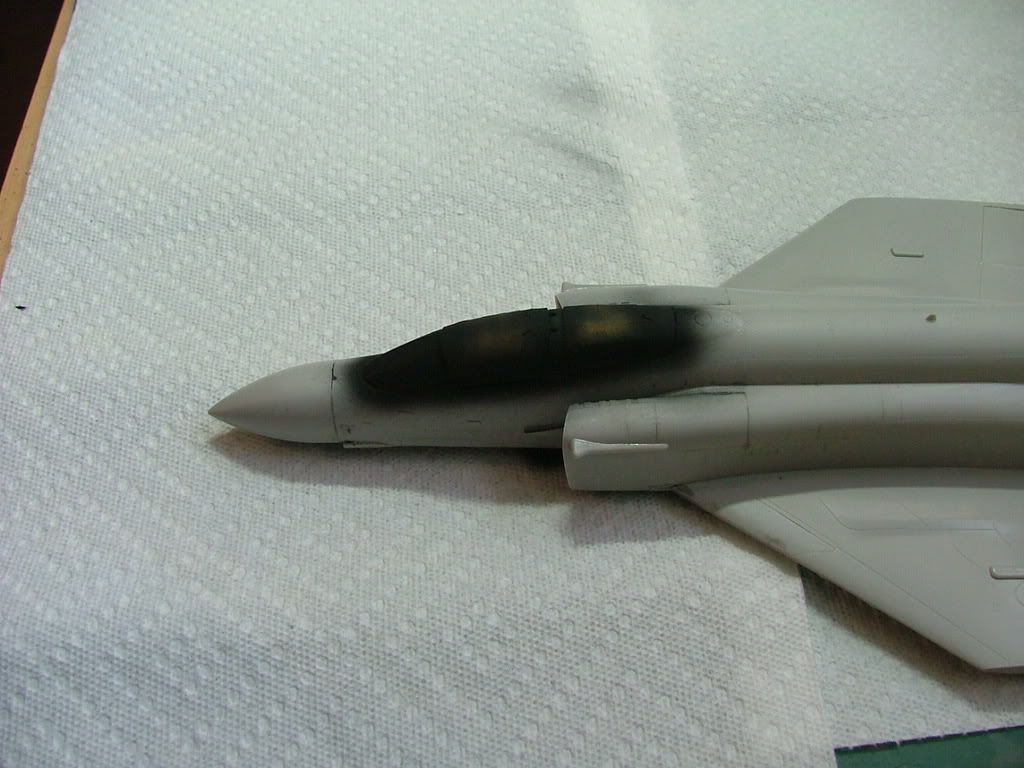
Then thinning the black, the whole thing is pre-shaded
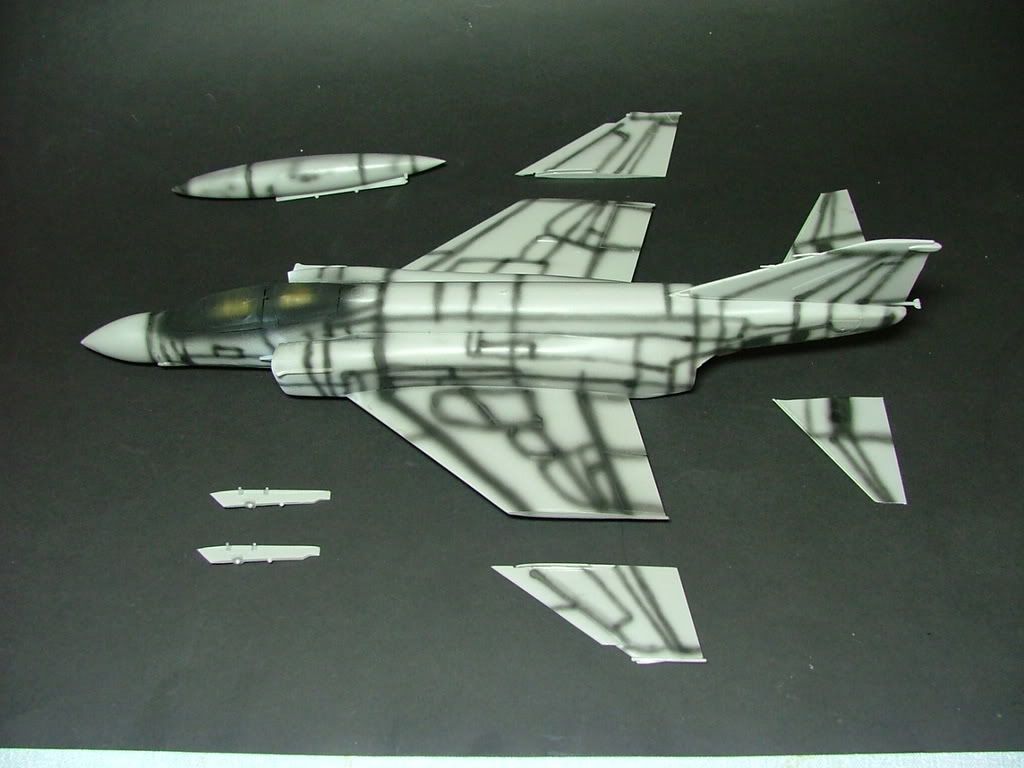
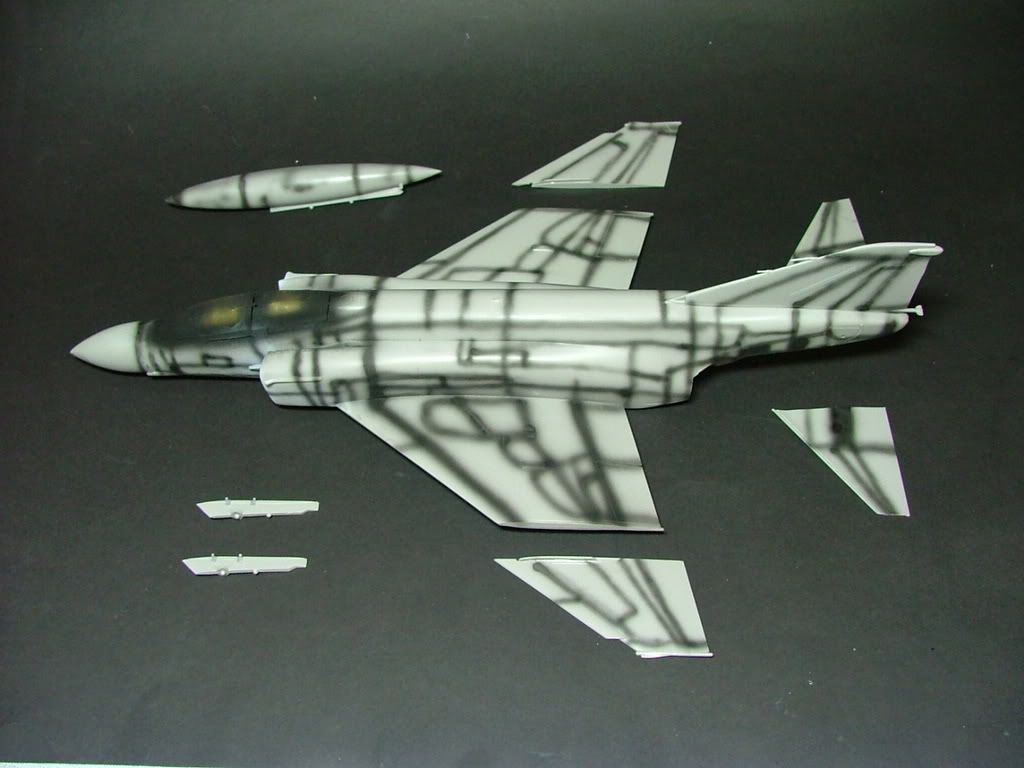
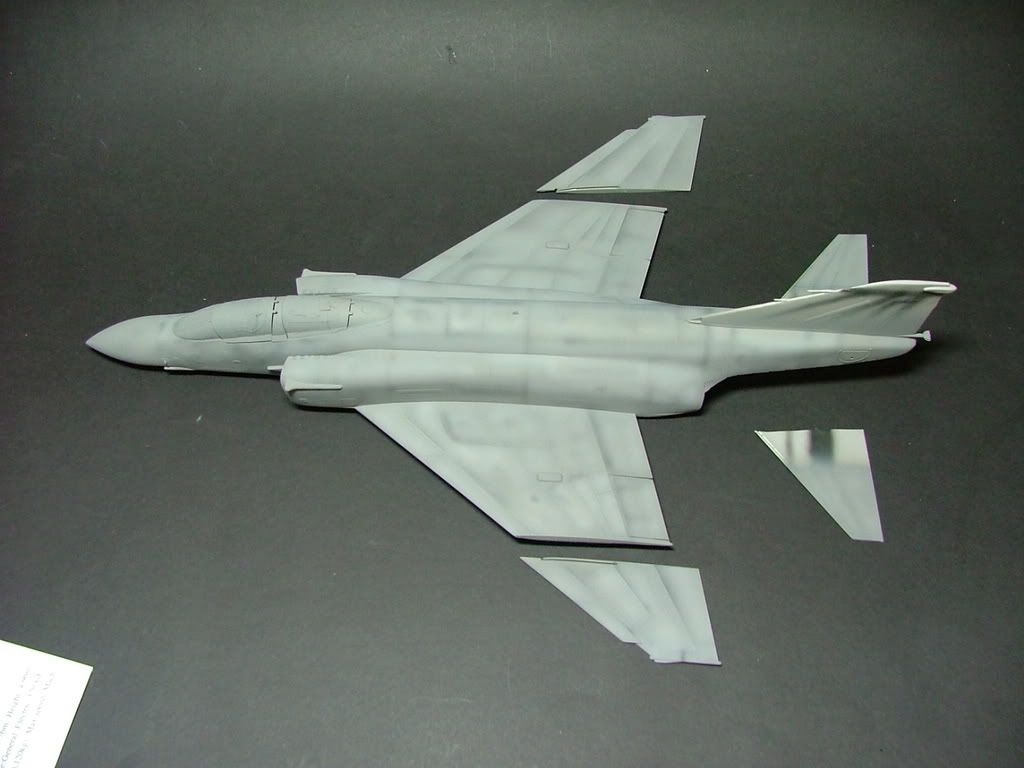
A thin coat of Light gull grey (XF-20 with a few drops of XF-54 grey) goes on next all over the whole model
The paint is thinned a little more and a few drops of flat white (XF-2) added. The centre of the panels are sprayed to fade the paint a little.
For a little post shading I added a few more drops of Flat Black (XF-1) to the mix and then picked out the panel lines to give it that dirty look.
The Promodellers Dark Wash was then painted all over the flat finished model. I also added a few drops off the light wash all over the model while the dark wash was still wet and left to dry.
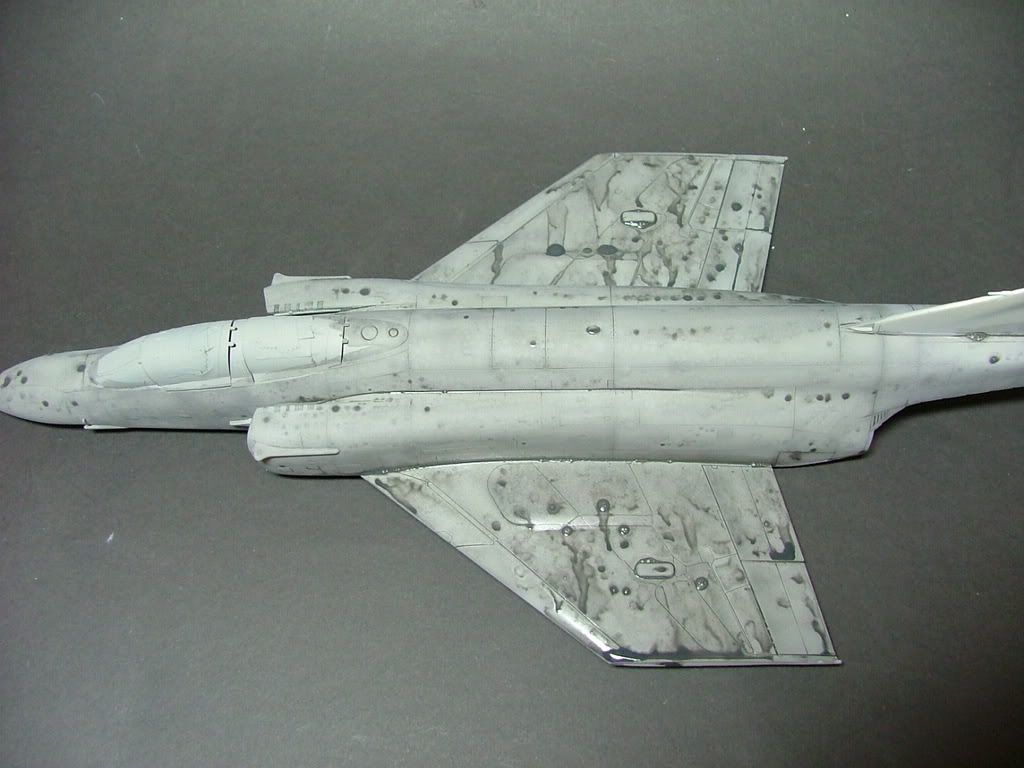
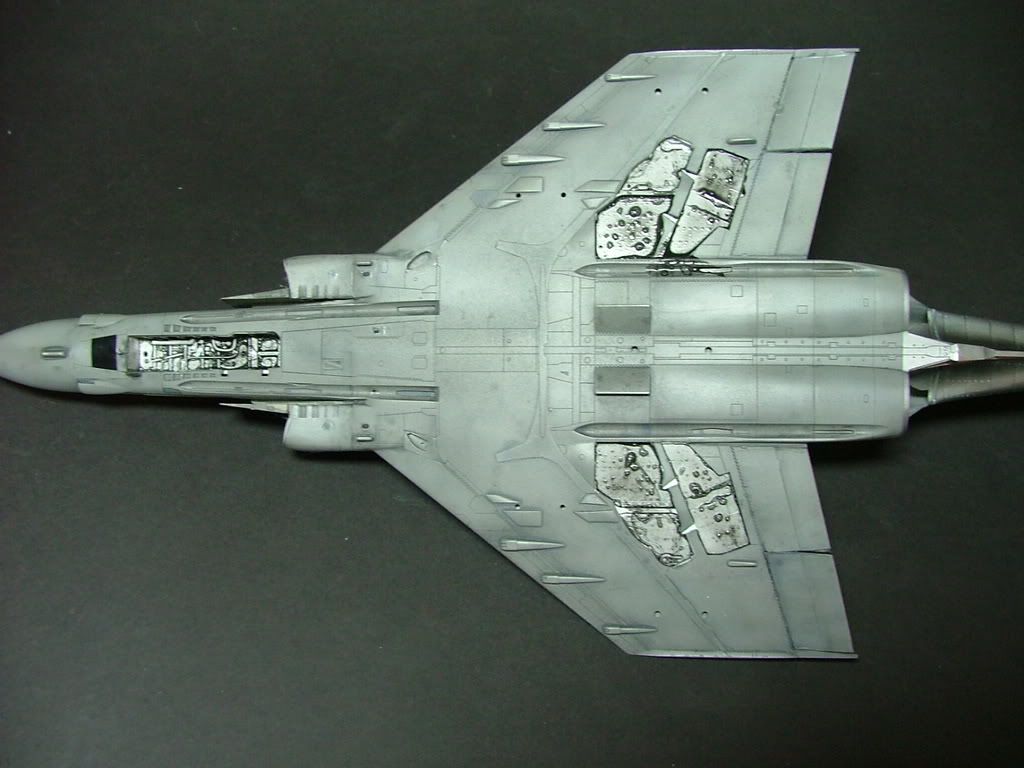
Wiping the wash off, as you can see on the wing, the mix of light and dark washes have given it a nice weathered look.
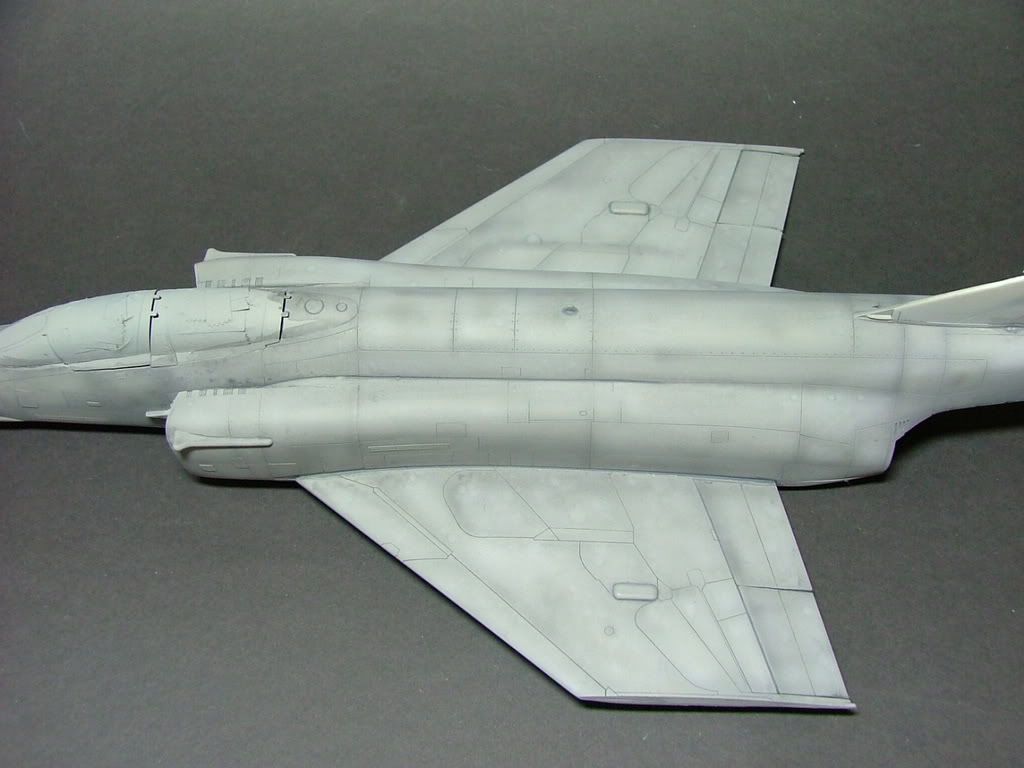
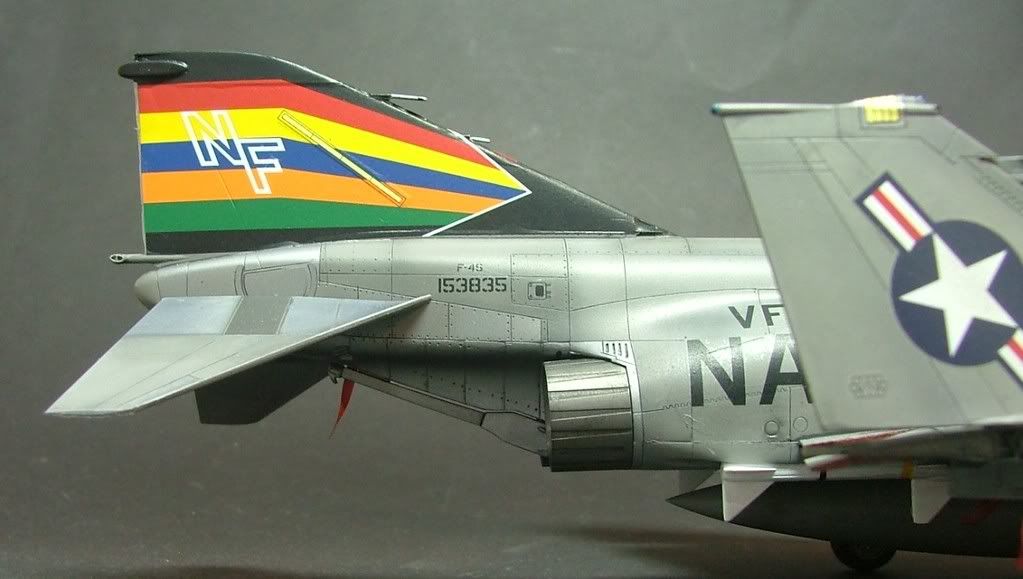
Alclads were sprayed on next. I used stainless steel and steel.
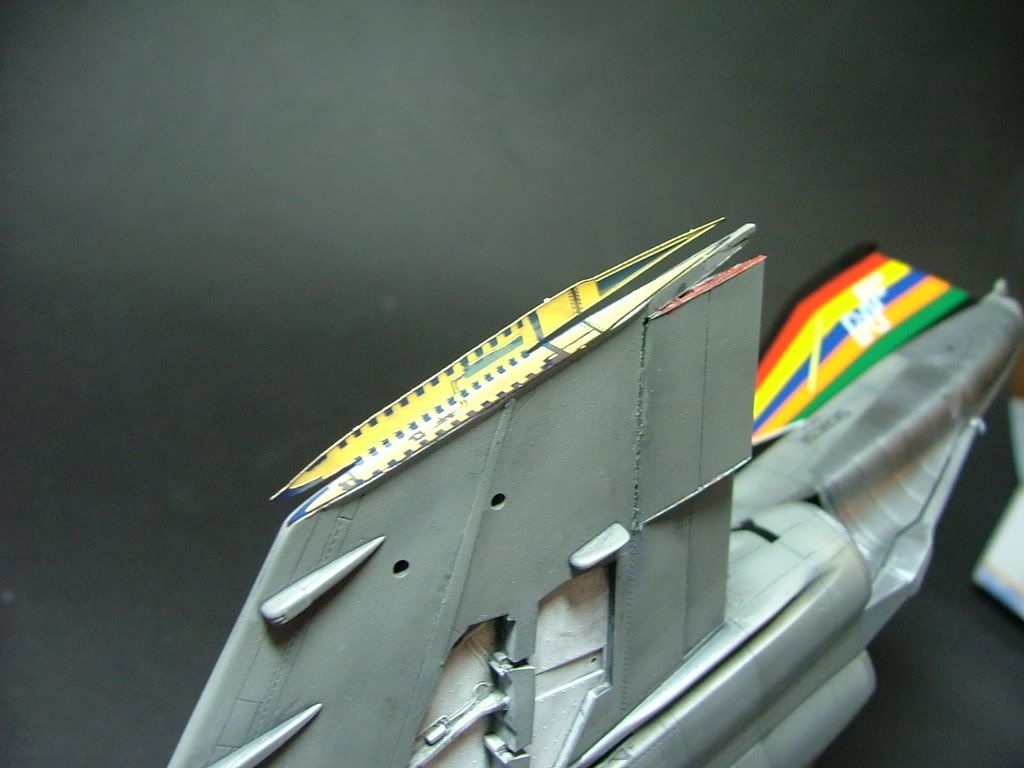
The whole thing was given two coats of future and left to dry. It was then decaled using Micro sol (the red one).
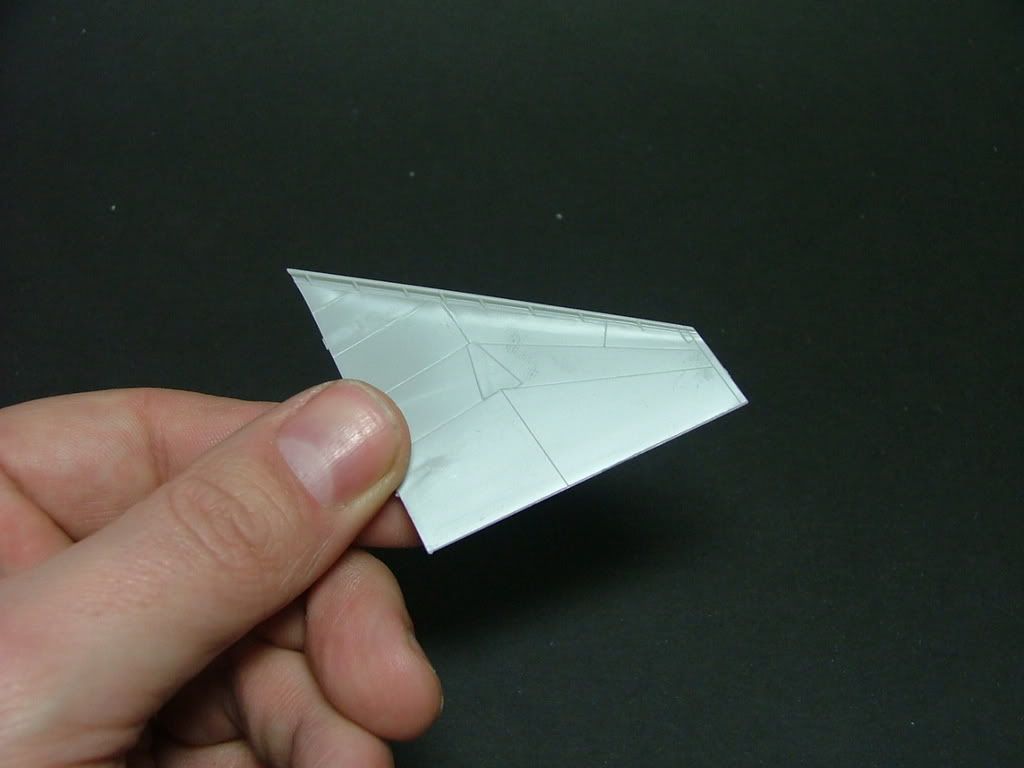
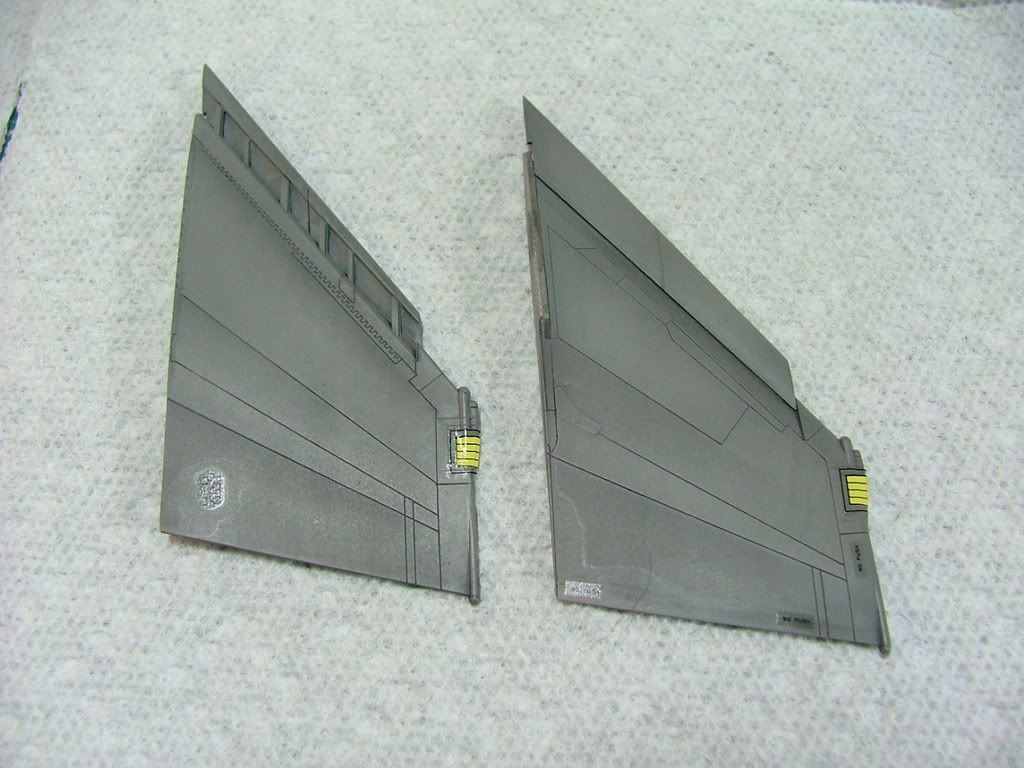
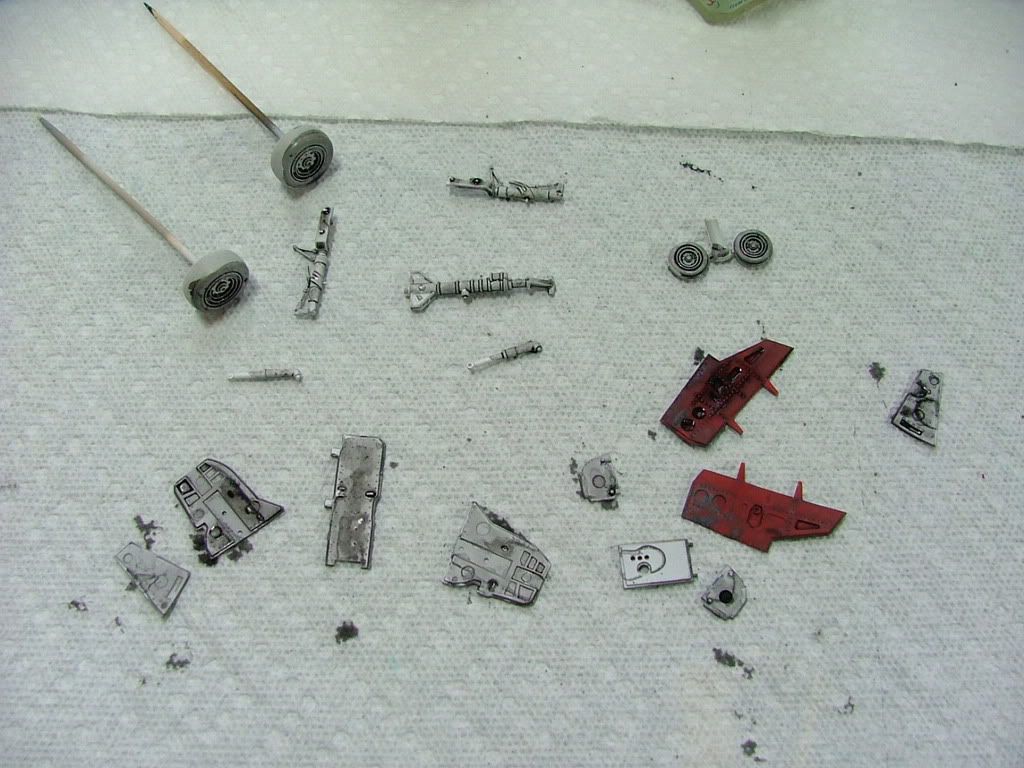
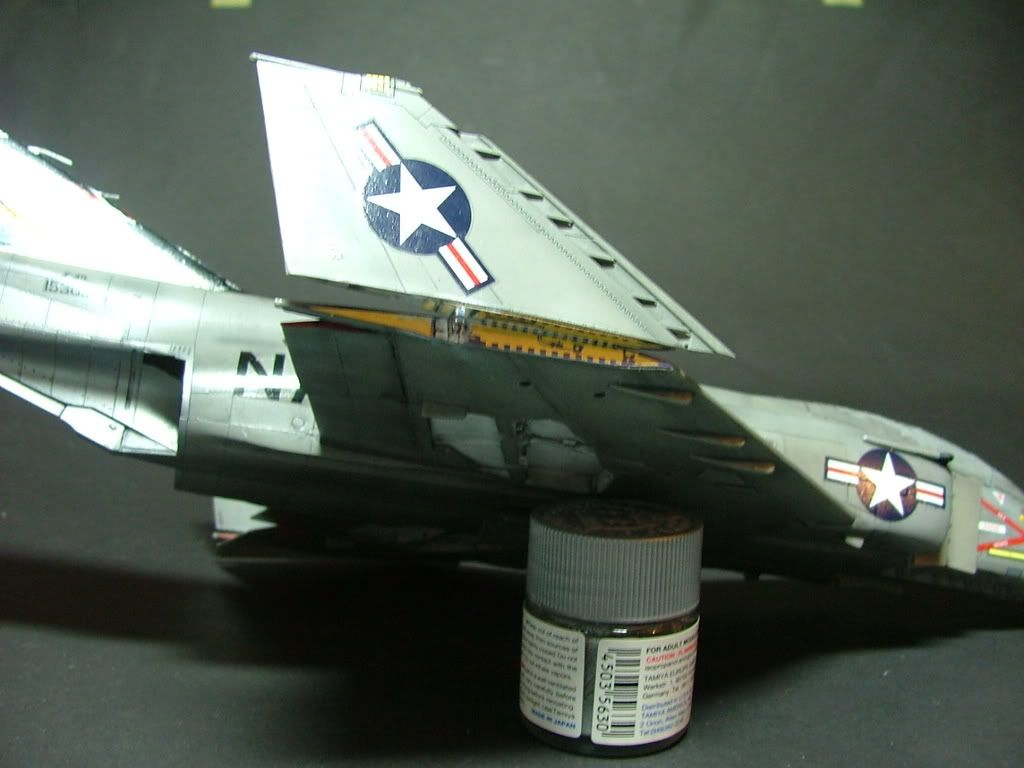
A closer look at the outer wing before they're attched to the main wing with the Airwaves PE set.
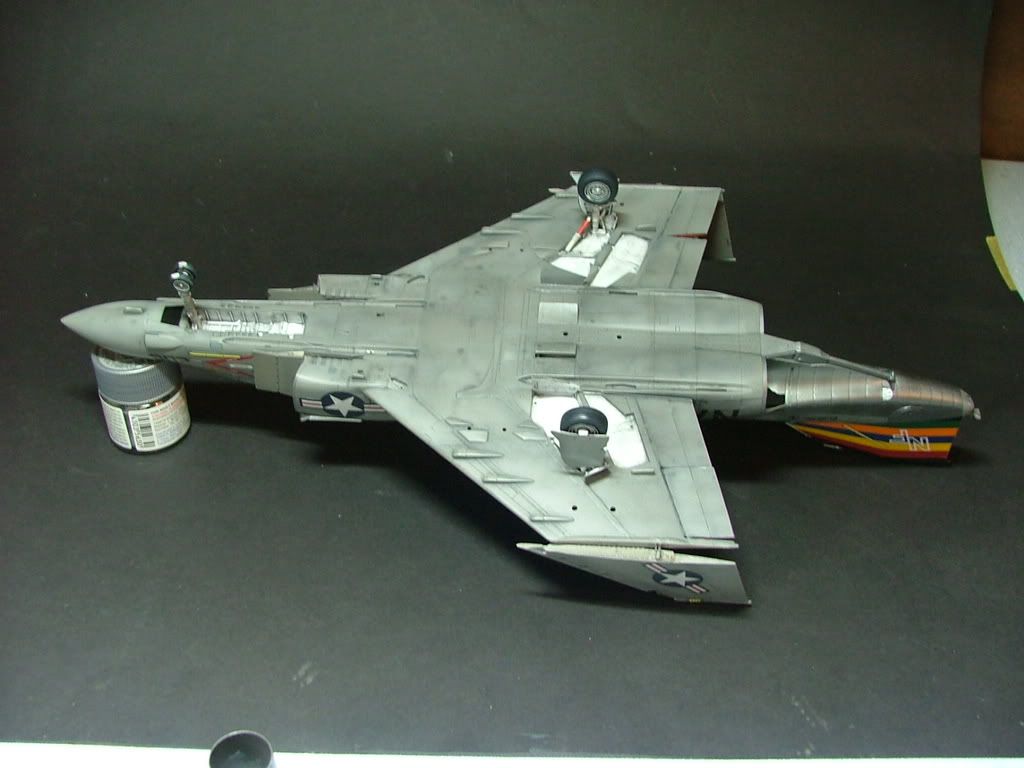
The undercarriage and inner parts were given a wash with the black wash
The Wing folds were attached to the main wings first.
When they were dry, the outer wings were added.
A small PE U shaped part was added.
The PE parts were next painted gray, weathered and dry brushed.
The whole thing was given three coats of flat finish to tone it all back down. Then I removed the Masks from the canopies.
The PE parts are added next to the canopies with PVA glue.
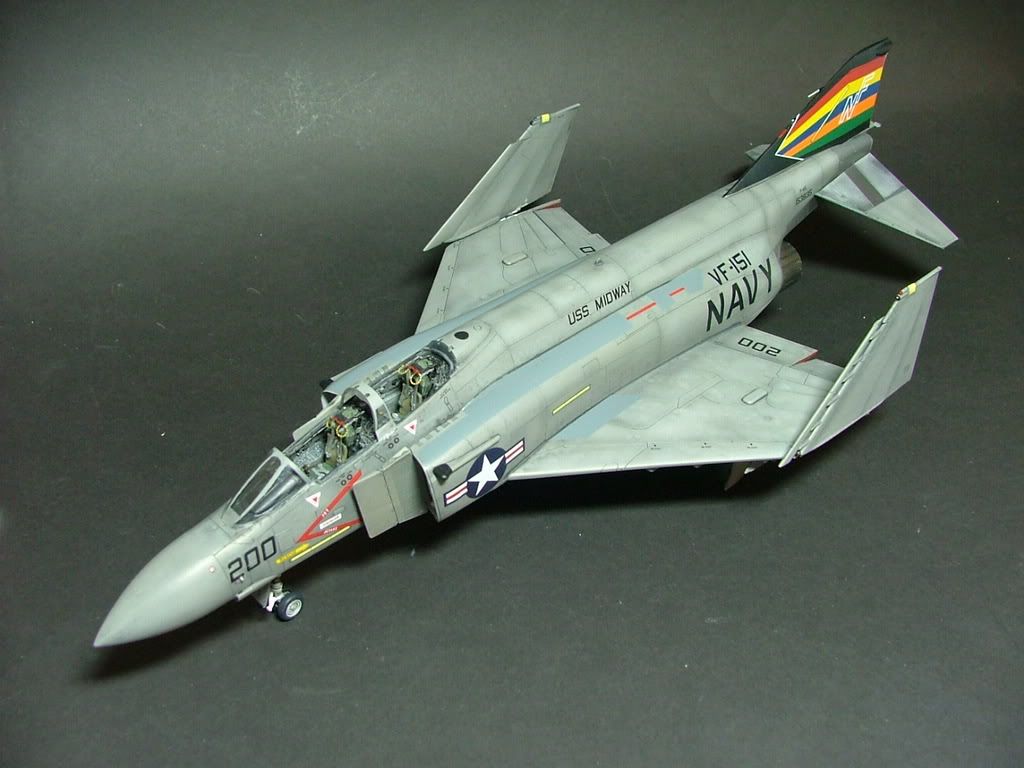
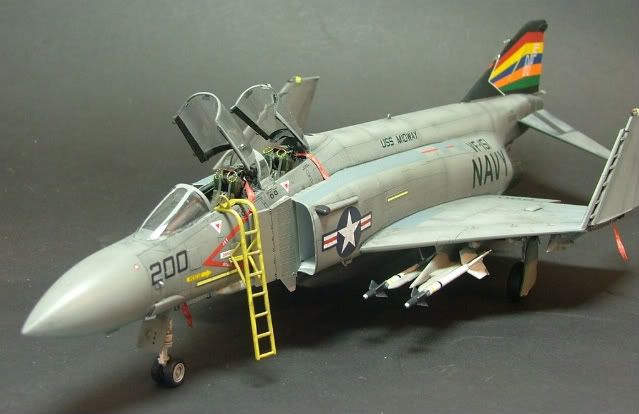
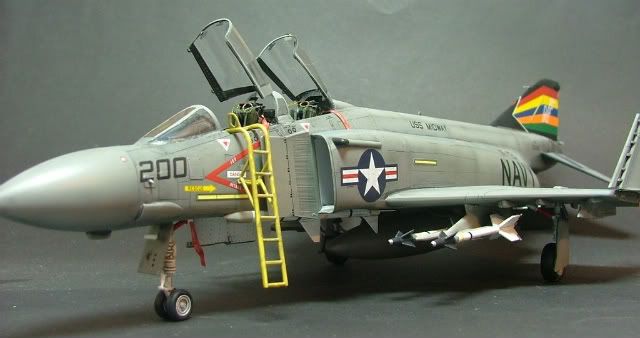
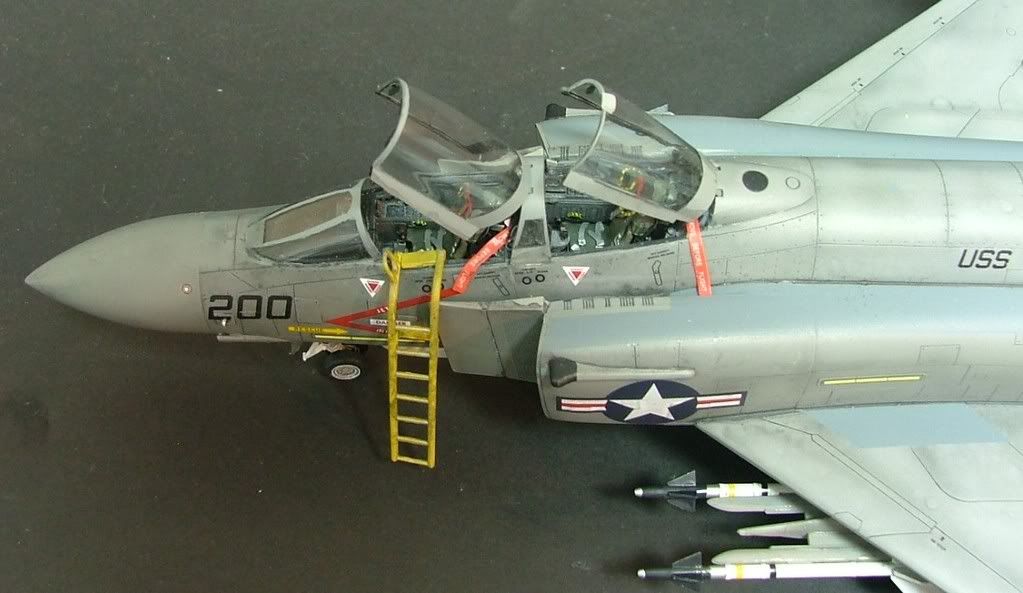
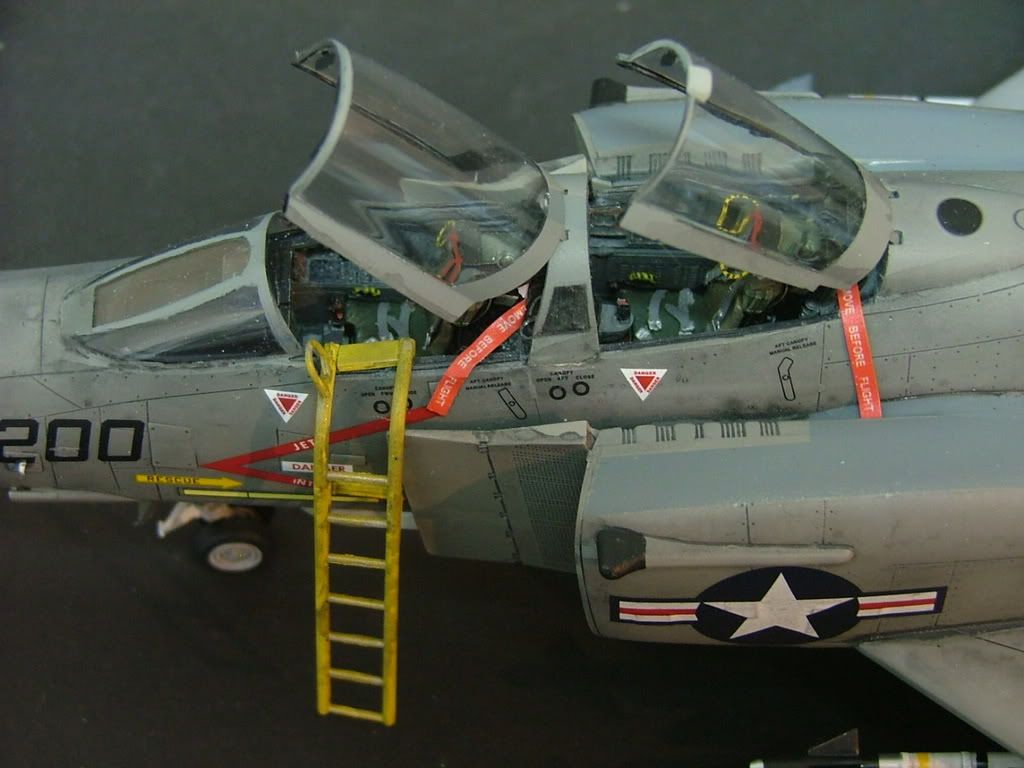
The canopies are added as well as some PE remove before flight tags, Now it's just the weapons to go!
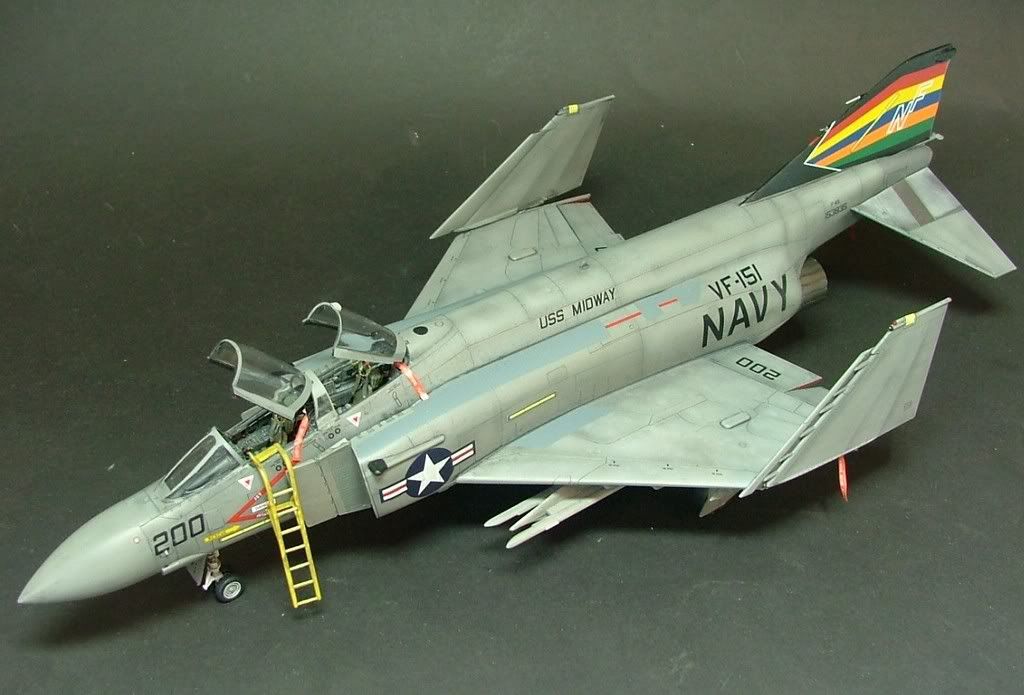
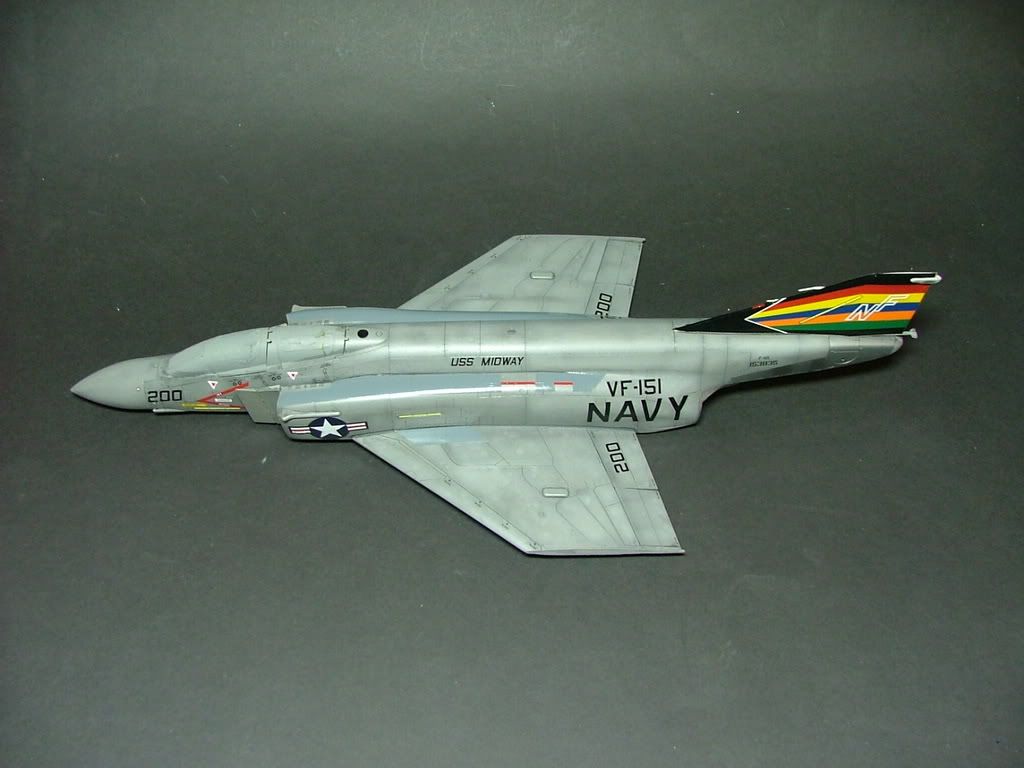
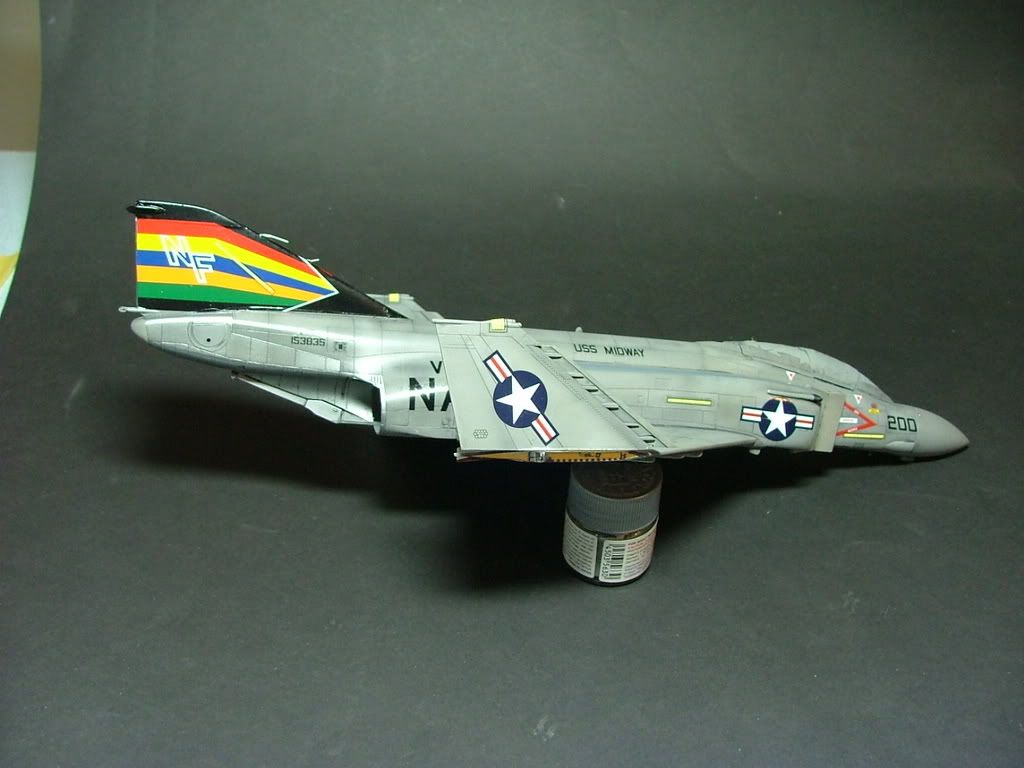
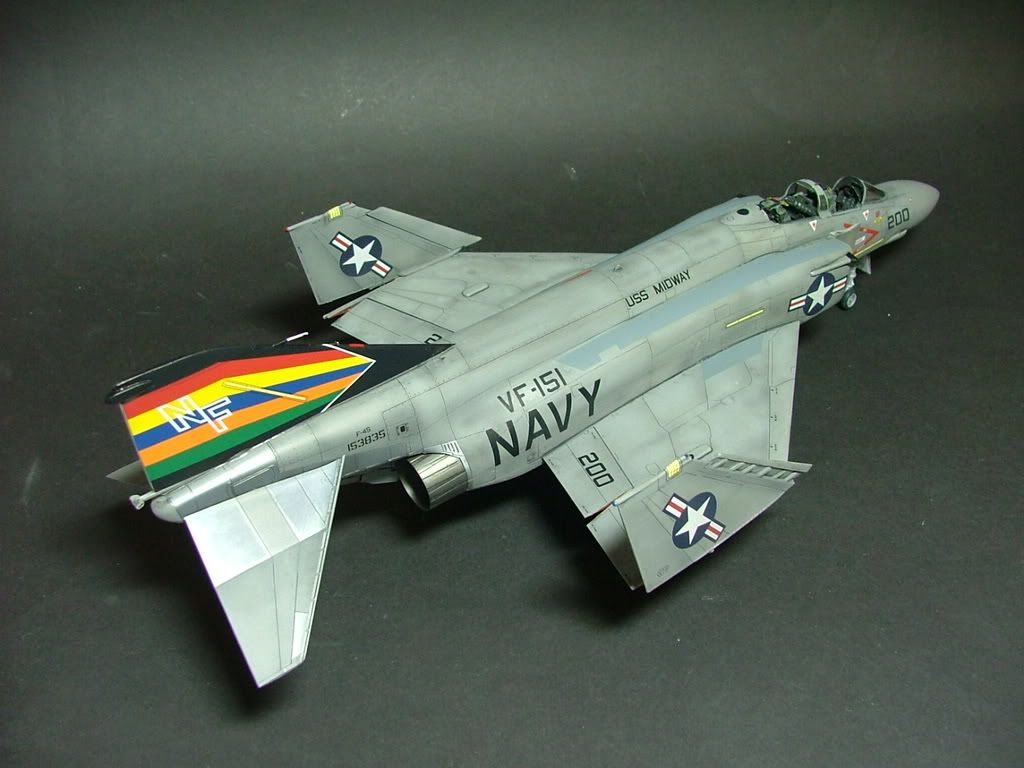
Weapons on, Sidewinders and Sparrows and we're done for this build.

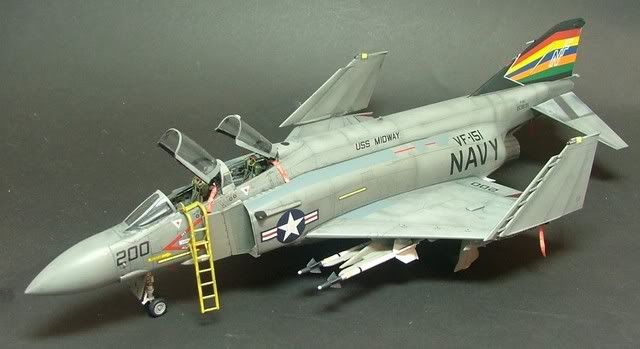
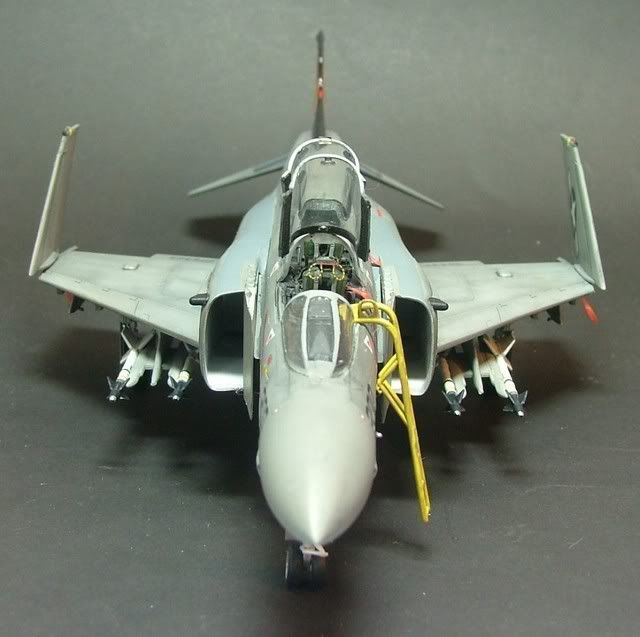
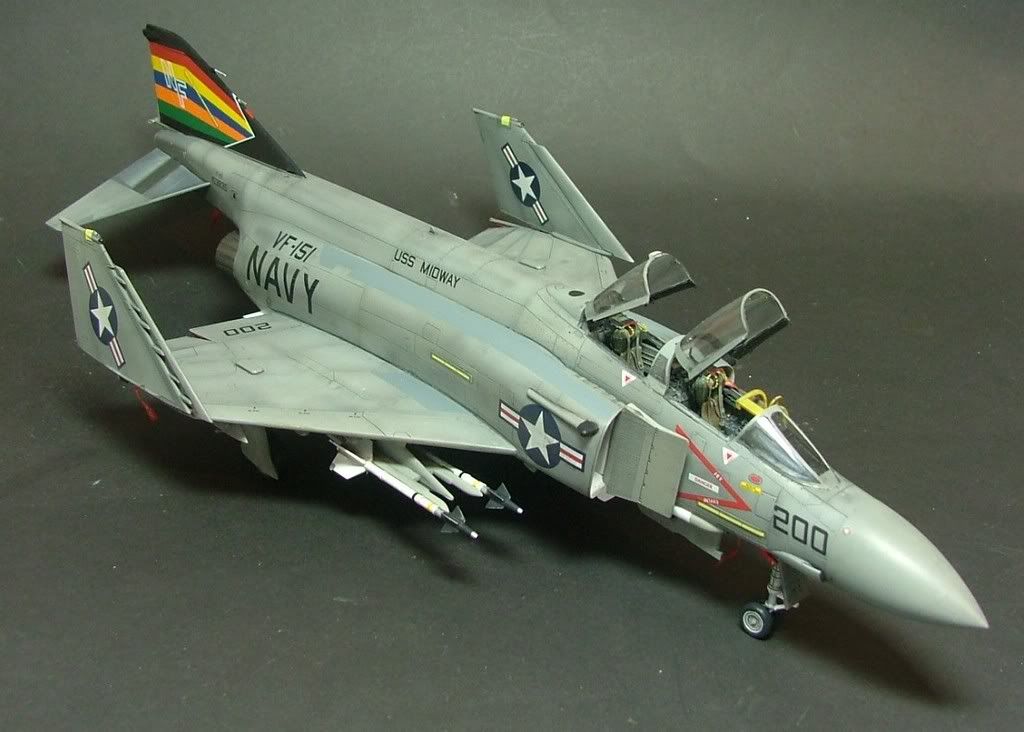
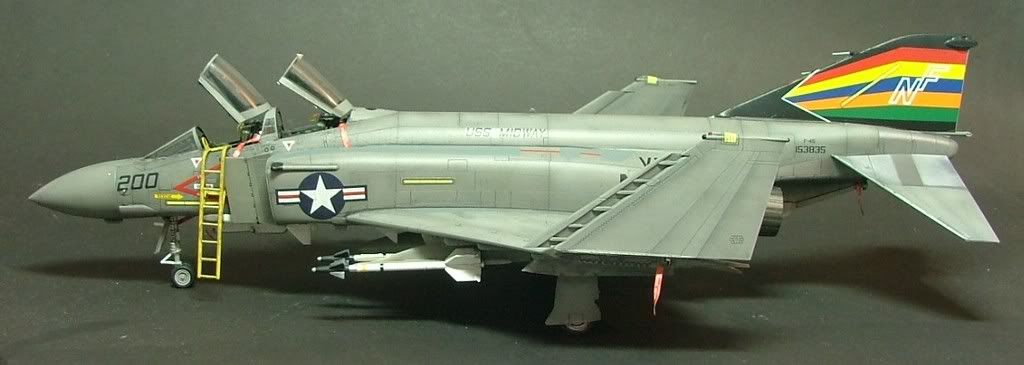
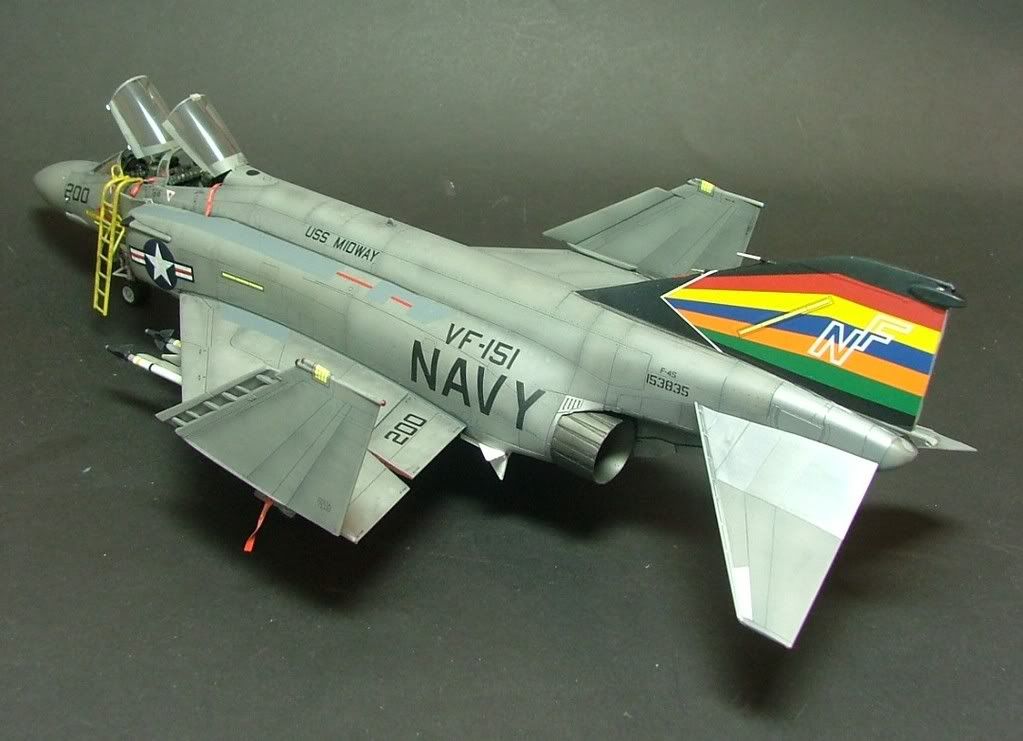
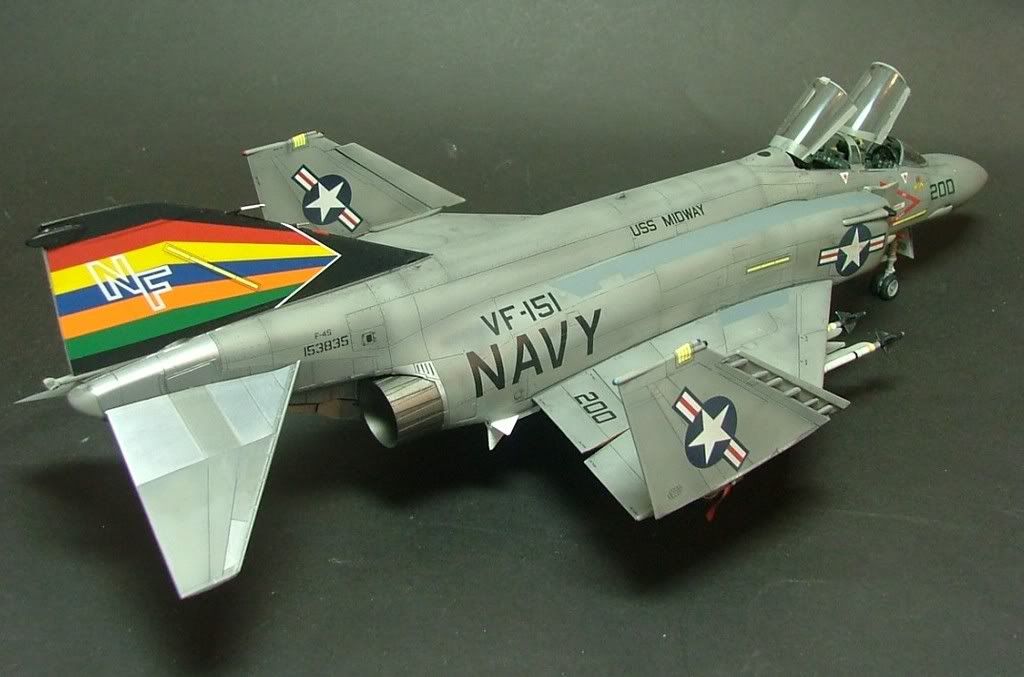

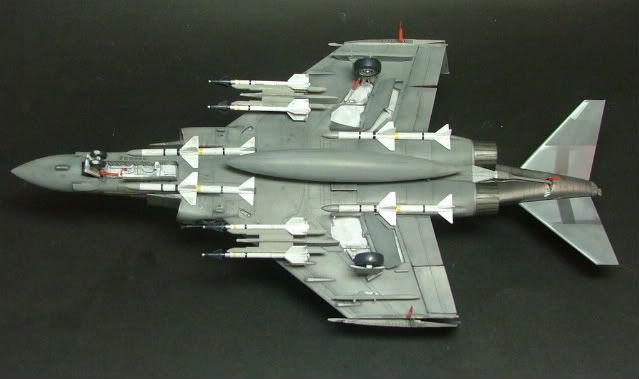
I hope you have enjoyed the build and found it of some help. It's Been a pleasure to do.
Happy modeling
Phil